


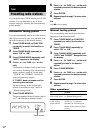

CD – Play
13
GB
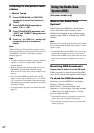
Use buttons on the unit for the operation.
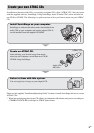
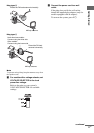
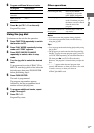
1 Press Z.
2 Insert discs with the label side facing
forward.
Check that the lever on the left side of the
respective slot raises.
3 Press Z.
To remove discs
1 Press Z.
2 Hold down the lever on the left side of
the respective slot to elevate the disc,
then lift it out with your other hand.
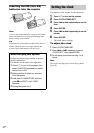
To exchange discs during
playback
1 Press DISC SKIP/EX-CHANGE during
playback.
2 Remove and insert discs in any slot
except that of the currently playing
disc.
Notes
• Do not place anything (such as the remote or cords)
in front of the disc tray. When opening the disc tray,
it may catch and cause malfunction.
• Do not use a disc with tape, seals or paste on it as this
may cause malfunction.
• Do not use a non-standard shape disc.
• Do not load an 8 cm disc. Doing so may cause the
system to malfunction.
• When you eject a disc, handle the disc by its edge. Do
not touch the surface.
• When using the DISC SKIP/EX-CHANGE function,
be sure that you do not insert a disc in the slot of the
current playing disc. If you do, “CHECK” and the
respective disc number will be displayed alternately.
This may cause malfunction.
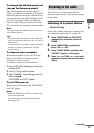
CD – Play
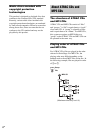
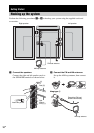
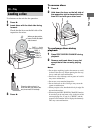
Loading a disc
When you play a disc,
insert it with the label
side forward.
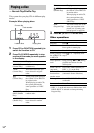
DISC 1 – 5 slot
(for 12 cm disc only)
DISC 1
DISC 2
DISC 3
DISC 4
DISC 5
Place the disc so that it is
flush with the gray side of the
slot, then insert it vertically.