


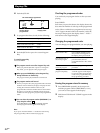


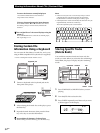
Storing Information About CDs (Custom Files)
30
EN
4 Turn the JOG dial until the desired character
appears in the display.
The cursor disappears and the first space for the
Disc Memo flashes.
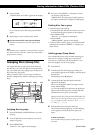
As you turn the JOG dial clockwise, the characters
appear in the following order. Turn the JOG dial
counterclockwise to go in reverse order.
(space) A B C D E F G H I J K L M N O P Q R S T U
V W X Y Z a b c d e f g h i j k l m n o p q r s t u v w
x y z 0 1 2 3 4 5 6 7 8 9 ! " # $ % & ' ( ) * + , – . / : ; <
= > ? @ [ \ ] ^ _ ` { | } ⁄
5 Push the JOG dial to select the character.
The selected character lights up, and the flashing
cursor appears to indicate the next space to be
input.
To make a correction
Press CLEAR and begin again by inputting the correct
characters.
6 Repeat Steps 4 and 5 to input more characters.
7 Press INPUT to store the Disc Memo.
The display shows the Disc Memo.
Repeat Steps 1 to 7 to assign Disc Memos to other
discs.
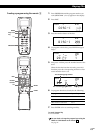
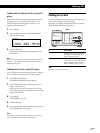
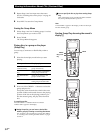
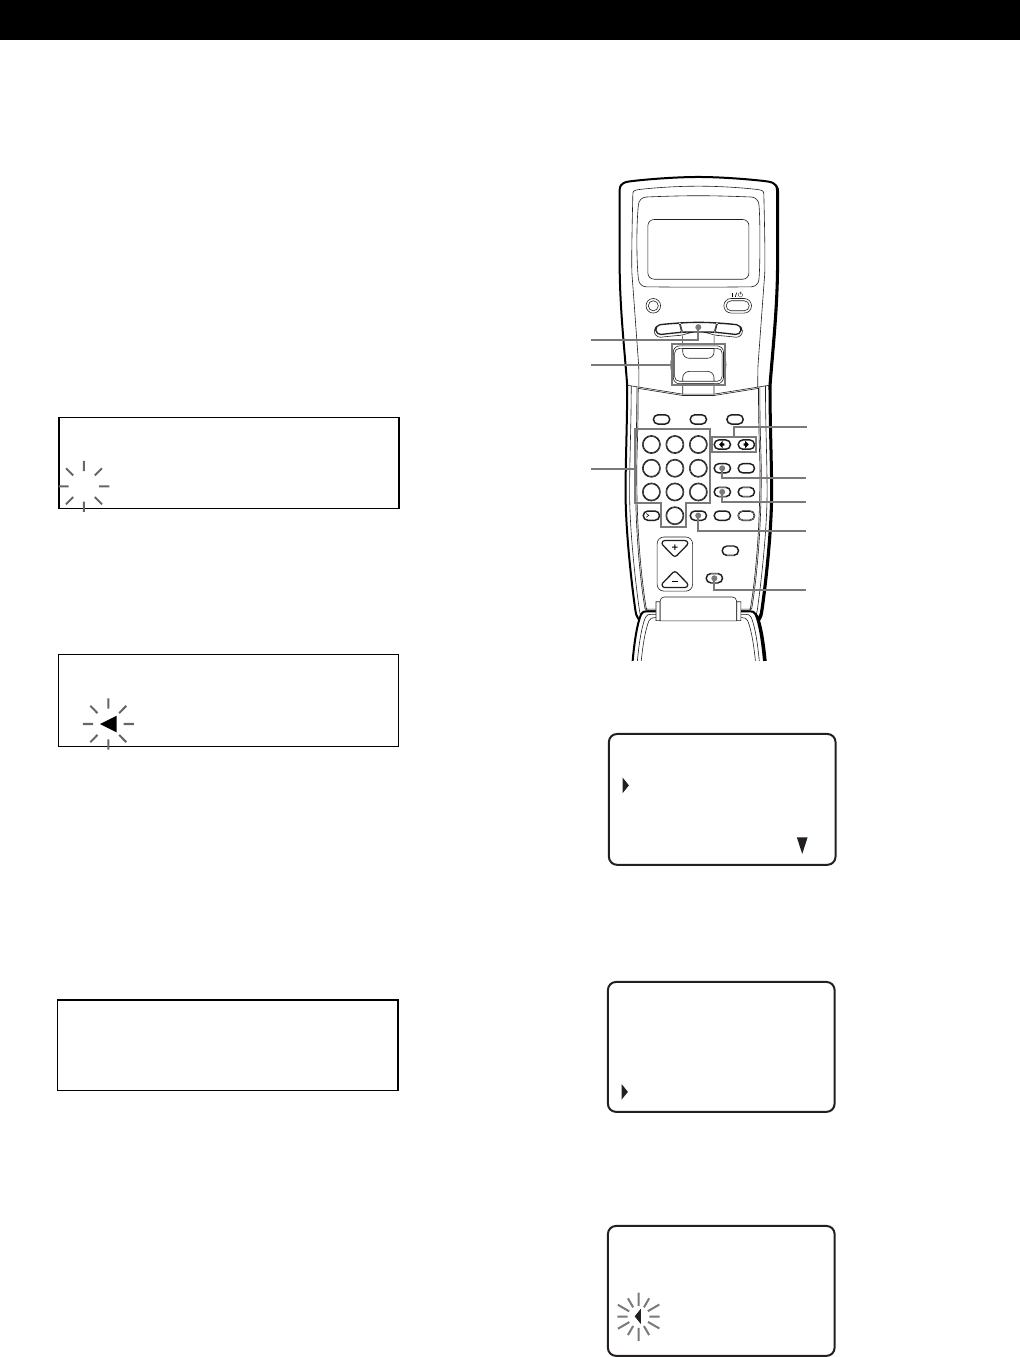
Labeling discs observing the remote’s
display Z
1
Press MENU.
2 Move the cursor (”) to “Disc memo input” by
using the Easy scroll key, then press the Easy scroll
key.
3 Move the cursor to the disc you want to assign a
Disc Memo, then press the Easy scroll key.
The flashing cursor (“) appears.
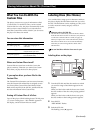
Number
buttons
ENTER
CLEAR
SPACE
CAPS
MENU
Easy scroll
key
ALL DISCS
CD1
DISC
AB
S
ALL DISCS
CD1
AB
S
ALL DISCS
CD1
DISC
20
SONYHITS
GROUP
ENTER DEL
CLEAR
DISC SKIP
CHECK
NO DELAY
SPACE X-FADE
CAPS HIT LIST
DISC HIGH-LIGHT
3
DEF MEMO INPUT
6
MNO
9
WXY
2
ABC&!?
5
JKL
8
TUV
10/0
10
QZ
1
4
GHI
7
PRS
MENU
PUSH ENTER
TRACK
PLAYER SELECT
BACK
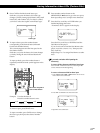
Memo sea r c h
Program play
Program i nput
Group sel ect
CD1
i sc memo i nput
01:*DISC-1*
03:*DISC-3*
02
D
: *DISC-2*
CD1
[
i sc memo i nput
sDi c6:
(
AB
)
D
CD1
]
MEMO INPUT
?//
Erasing the Disc Memo
1 Follow Steps 1 to 3 in “Labeling discs on the
player” on page 29 to select the Disc Memo you
want to erase.
2 Press CLEAR.
The Disc Memo disappears.
Press INPUT to show the disc number again.