


Settings
14
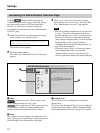
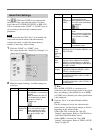
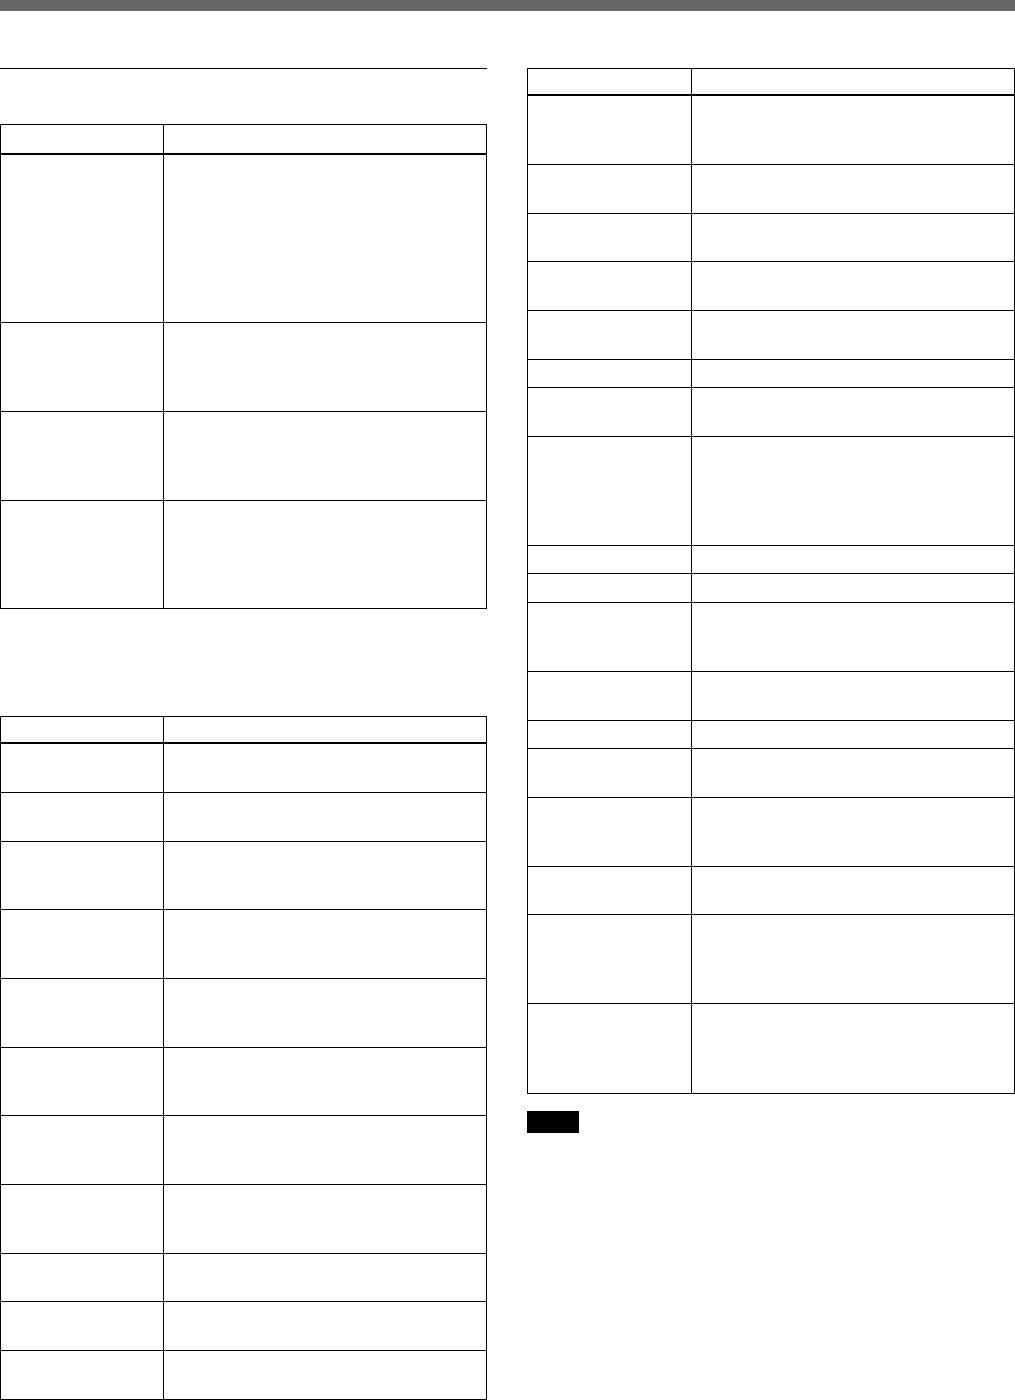
Alarm Settings
Setting
Alarm Enabled
Always
Restricted
Between
Start
Stop
Mon to Sun
Alarm ON at:
Positive-edge
Alarm ON at:
Negative-edge
Image every X
second(s)
Number of PRE
alarm images
Number of POST
alarm images
Description
Alarm input is enabled when this box is
checked.
Alarm input is always enabled when
this radio button is selected.
Alarm input is enabled for a specific
time of day when this radio button is
selected.
When the [Restricted Between] radio
button is selected, enter the start time
here.
When the [Restricted Between] radio
button is selected, enter the stop time
here.
Check the boxes to specify particular
days on which the alarm input should
be enabled.
Check this box to have a rising alarm
input signal indicate the occurrence of
an alarm event.
Check this box to have a falling alarm
input signal indicate the occurrence of
an alarm event.
Select the storage interval for images
during an alarm event.
Enter the number of images (0 to 10)
to be saved prior to an alarm event.
Enter the number of images (0 to 50)
to be saved after an alarm event.
Setting
Alarm duration
No Upload
Upload Via FTP
Host Name
User Name
Password
Upload Via e-mail
(one image only)
To Email
Subject
Text
Camera Link
Use Passive Mode
FTP Port Number
Upload Path: (FTP
only)
Base File Name
Date/Time Suffix
Sequence
Number
Suffix set to
Maximum
Sequence
Number
Suffix up to:
Description
Enter the time (seconds) from an
alarm occurrence until the alarm mode
is cleared.
Select this radio button to disable
transfer of saved images.
Select this radio button to transfer
saved images by ftp.
Enter the host name of the transfer
destination.
Enter the user’s name on the host at
the transfer destination.
Enter the password of the above user.
Select this button to send a saved
image as an e-mail attachment.
Enter the mail address of the
destination for image files. Multiple
addresses may be entered by
separating with commas. Up to 100
characters may be entered.
Enter the title text for the e-mail.
Enter the body text for the e-mail.
Check this box to include in the e-mail
a link to the real-time image on the
camera where an alarm event occurs.
To use Passive mode, select this
check box.
Enter the port number.
Enter the path of the save destination
for image files sent by ftp to a host.
Enter the file name prefix (the fixed
part of the file name) to be assigned to
image files sent.
Select this radio button to append the
date and time to the base file name.
Select this radio button to append a
sequential number to the prefix.
When appending a sequential number
to the prefix, select this radio button
and enter a value to specify a
maximum for the number.
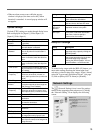
Note
• When the Alarm function is active, you cannot set the
[Quality] of video images to [Hyper]. For details on
video image settings, see “Video Image Settings”
(page 26).
• Alarm events that occur while writing to alarm
memory are not saved in the memory.
• When an alarm event occurs immediately after
writing to the alarm memory, the image stored may
not comply with the settings applied to images prior
to the alarm.
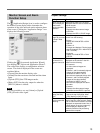
Setting
Alarm Buffer,
Overwrite
Alarm Pop-Up
Window
Switch image
when Alarm is ON
Relay-OUT at
Alarm
Description
A pre-determined amount of memory
is used to store images before and
after an alarm event. If the quantity of
images exceeds the allotted amount,
select whether to overwrite previously
stored contents, oldest first. Select
either [ON] (overwrite) or [OFF] (no
overwrite).
Select whether a pop-up window
should appear when an alarm event
occurs: either [Enable] (display pop-
up) or [Disable] (no pop-up).
Select whether to switch the display to
the alarm-detecting camera when an
alarm event occurs: either [Enable] or
[Disable] switching.
You can select whether to turn the
relay output on or not when an alarm
occurs, by setting to [Enable]
(activates the function) or to [Disable]
(deactivates the function).
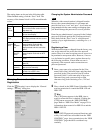
The following settings are made through screens that
are displayed for [Input 1] (Alarm Input 1) to [Input 4]
(Alarm Input 4).