


model name1[MZ-B100] model name2[MZ------]
[3-235-455-11(1)]
masterpage:Right
filename[C:\SON_SSIAJX_102\MZ-B100\3235455121GBESRU\02GB-
MZB100UCE\040OPE.fm]
39-GB
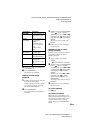
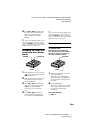
5 Press . or > repeatedly until
the number of the destination track
within the group flashes in the
display, and then press EDIT/
ENTER.
z
You can also use the SPEED CONTROL dial to
select and then enter the menu. Turn the dial
(instead of ./>) to show the menu items
one by one and press the dial (instead of EDIT/
ENTER) to enter the selected menu.
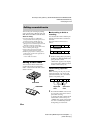
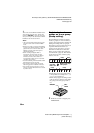
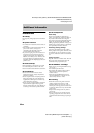
Changing the order of a
group on a disc (Group
move)
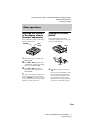
1 Press GROUP for 2 seconds or more.
“ ” lights up in the display and the
group mode turns on.
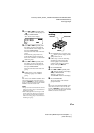
2 While playing a track within a group
whose order you want to change,
press EDIT/ENTER.
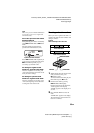
3 Press . or > repeatedly until
“ : Move” flashes in the display,
and then press EDIT/ENTER.
You can now move the selected
group.
4 Press . or > repeatedly to
select the destination point on the
disc, and then press EDIT/ENTER.
z
You can also use the SPEED CONTROL dial to
select and then enter the menu. Turn the dial
(instead of ./>) to show the menu items
one by one and press the dial (instead of EDIT/
ENTER) to enter the selected menu.
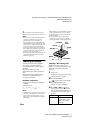
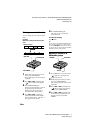
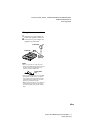
Erasing tracks
To erase a track
Note that once a recording has
been erased, you cannot retrieve it.
Be sure to verify the contents of
the track you want to erase.
1 While playing the track you want to
erase, press ERASE.
“Erase OK?” and “PushENTER”
appear alternately in the display and
the recorder plays the selected track
repeatedly.
2 Press EDIT/ENTER.
The track is erased and the next track
starts to play. All the tracks after the
one erased are automatically
renumbered.
To cancel erasing
Press xSTOP.
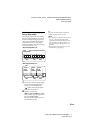
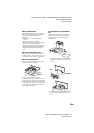
./>
EDIT/ENTER
GROUP
EDIT/ENTER
ERASE