


25
OPERATION
VIDEO Operation (Continued)
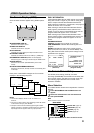
Normal Recording
Preparation:
Turn on the power of both the DVD/VCR Receiver and TV.
Tune the TV to the DVD/VCR Receiver output channel (CH 3
or 4) or set the TV’s source selector to VIDEO.
If a direct VIDEO/AUDIO connection is made between the
DVD/VCR Receiver and the TV, set the TV’s source selector
to VIDEO.
1
Insert a video cassette with the safety tab intact.
2
Select the desired channel with CH/PRESET
(+/–) or number (0-9) buttons.
If you are recording from another source via audio/video
input jacks (at the Rear or Front panel), select LINE1 (L1),
LINE2 (L2).
3
Set the desired recording speed (SP or EP) with
the SP/EP button.
4
Set the MTS mode as desired (See page 18, 28).
5
Press z REC/ITR once.
Recording will start. (The REC indicator will light in
the display window.)
REC indicator appears only when the Output Source is
set to VIDEO.
If a cassette with no safety tab is loaded, the cassette
will be ejected automatically.
6
Press x (STOP) to stop recording.
If the tape reaches the end before x (STOP) is pressed,
the DVD/VCR Receiver will automatically stop, rewind,
eject the tape and turn itself off.
To pause recording
1 Press X (PAUSE) to pause the tape during record-
ing.
The REC indicator will flash and RECP appears in the dis-
play window.
2 When you want to continue recording, press
X (PAUSE) or z REC/ITR.
After 5 minutes in Pause mode, the tape will be stopped
automatically to protect the tape and the video heads.
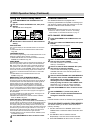
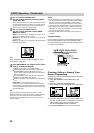
To record one TV program while
watching another
1 Use TV/VIDEO button on the remote to select the TV
mode during recording.
“TV MODE” appears in the display window.
2 Using the TV, select the channel to be viewed.
Tip
Always use X (PAUSE) for best results when making changes
during recording.
For example: To change channels during recording, first press
X (PAUSE) to put the unit in pause mode. Select the desired
channel on the DVD/VCR Receiver, then press X (PAUSE)
again to resume recording.
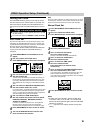
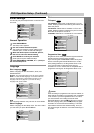
Timer Recording
This DVD/VCR Receiver can be programmed to record
up to 8 programs within a period of 1 year. For unattend-
ed recording, the timer needs to know the channels to be
recorded and the starting and ending times.
Preparation:
Turn on the power of both the DVD/VCR Receiver and the
TV.
Be sure the TV is set to the DVD/VCR Receiver output channel
(CH3 or CH4).
Make sure the TUNING BAND in the TUNING menu is set
appropriately (TV or CATV).
1
Insert a video cassette with the safety tab intact.
2
Press SETUP/MENU and the MAIN menu will
appear.
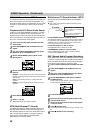
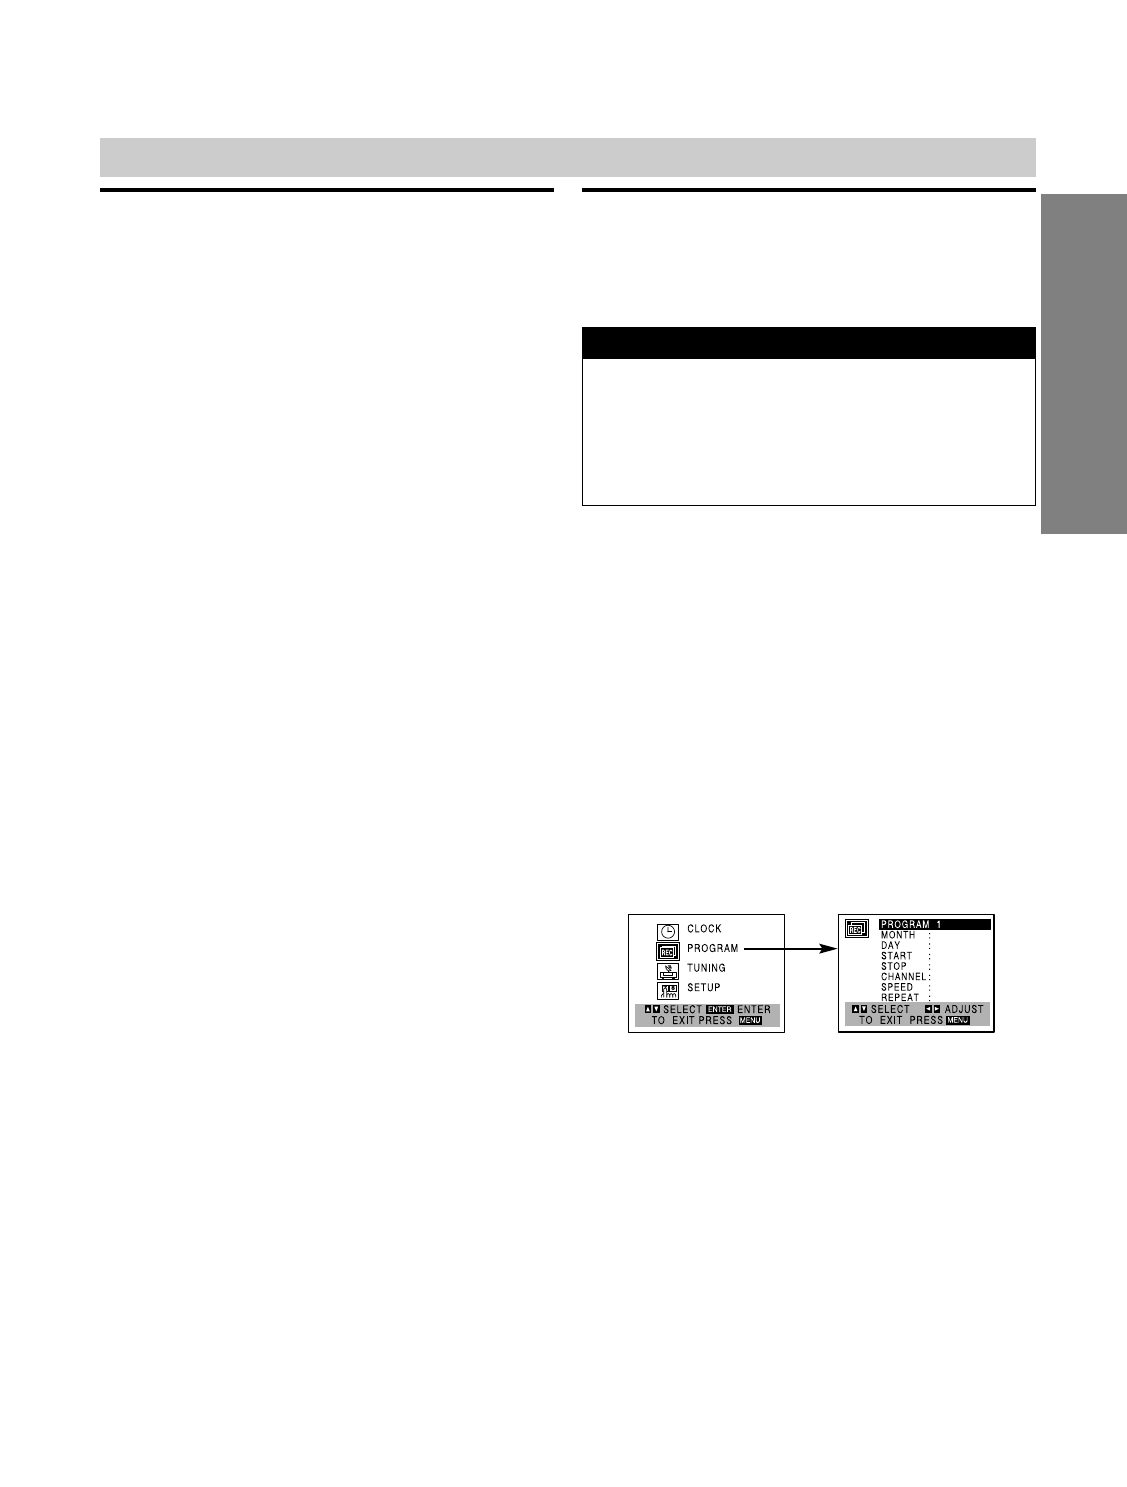
3
Use V/v to select the PROGRAM menu.
4
Press ENTER to go to the PROGRAM menu.
The PROGRAM menu will appear.
If all 8 programs have been entered, FULLY
PROGRAMMED message will appear for a moment
and then PROGRAM 1 will appear on the TV screen.
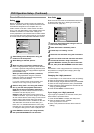
5
Use B/b to select the PROGRAM No. (1-8).
6
Use v to select the MONTH option.
Use B/b to select the desired month.
7
Use v to select the DAY option.
Use B/b to select the desired day.
8
Use v to select the START option.
Use B/b to select the desired start time.
9
Use v to select the STOP option.
Use B/b to select the desired stop time.
10
Use v to select the CHANNEL option.
Use B/b to select the desired channel (Channel,
LINE1(L1) or LINE2(L2)).
Cable Users: If you have Cable TV and used Cable Box in
Connecting Antenna/Cable TV to DVD/VCR Receiver
(page 11), using a cable box converter, you must set the
channel in this step to match the cable box output channel
(usually CH 3 or 4). Change channels on the cable box
instead of with the DVD/VCR Receiver.
If you try to set the program timer before setting the clock,
PLEASE SET THE CLOCK appears for a moment and
then CLOCK menu appears on the TV screen. Set the time
and date before proceeding.
Make sure a tape is in the DVD/VCR Receiver and the
safety tab is in place or the tape will be automatically
ejected.
Things to know before starting