


26
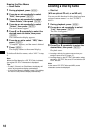
Selecting the aspect ratio
— Aspect
You can deform or clip out images to fit the
screen size with the aspect ratio selected.
1 Press (MENU).
2 Press < or , repeatedly to select
“Display,” then press (ENTER).
3 Press < or , repeatedly to select
“Aspect,” then press (ENTER).
4 Press < or , repeatedly to select the
desired image mode.
Each time you press < or ,, the image
type changes as follows:
When “Video full” or “Video & Spectrum
Analyzer” is selected.
Standard2 y Standard1 y Wide2 y
Wide1 y Cinema2 y Cinema1
When “Video & Capture” or “Video &
Slideshow” is selected.
Standard3 y Wide3 y Cinema3
To adjust the image position
Cinema and Wide type images can be scrolled
up or down by pressing M or m.
5 Press (MENU).
The display returns to the normal display.
Note
Depending on the selected image mode (aspect ratio),
display characters may not be displayed correctly.
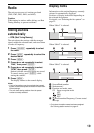
Display patterns and image types
The following image types are available
depending on the selected display patterns in the
Video mode.
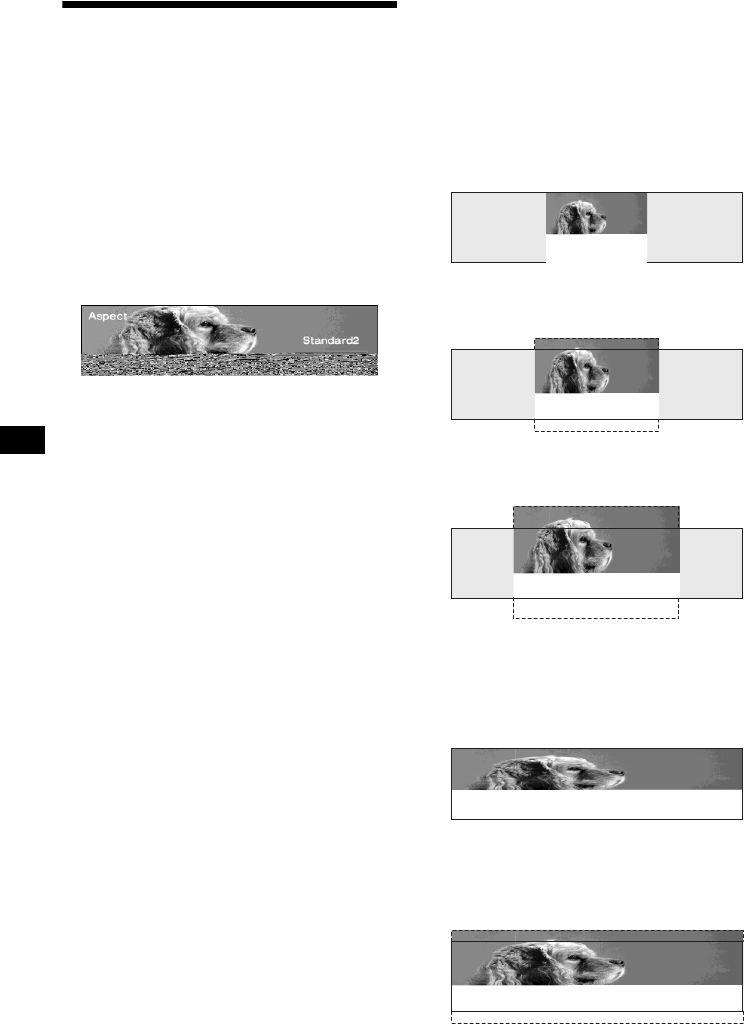
When “Video & Spectrum Analyzer” or “Video
full” is selected.
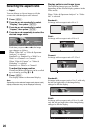
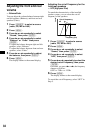
Standard1:
An image with an aspect ratio of 4 to 3.
Wide1:
An image with an aspect ratio of 16 to 9.
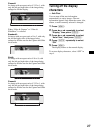
Cinema1:
An image with an aspect ratio of 2.35 to 1
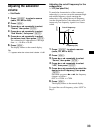
Standard2:
An image with an aspect ratio of 4 to 3, with only
the left and right sides of the image being
enlarged to fill the display.
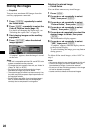
Wide2:
An image with an aspect ratio of 16 to 9, with
only the left and right sides of the image being
enlarged to fill the display.