


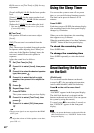
44
US
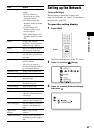
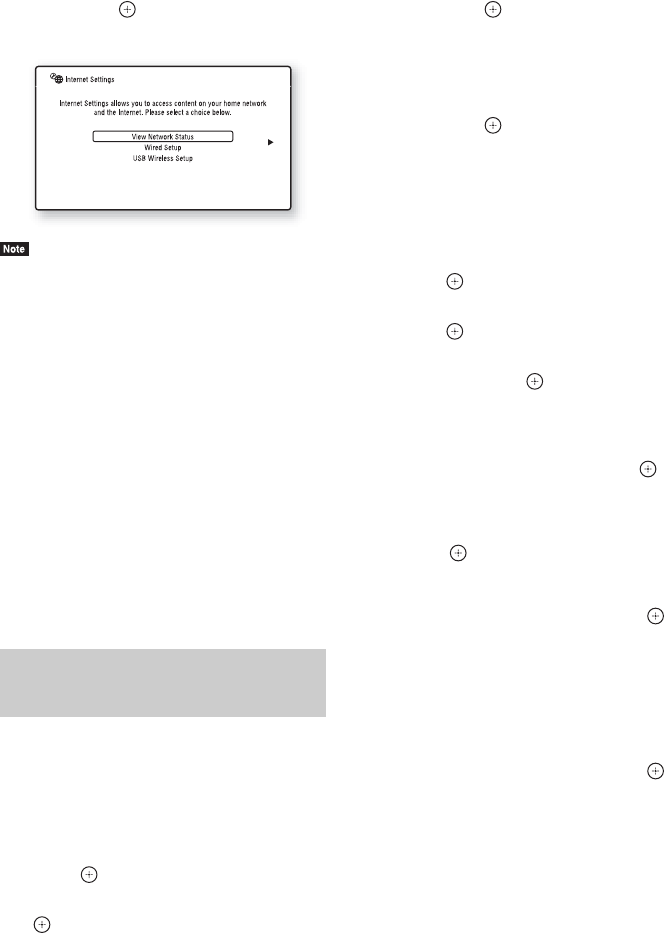
4 Press X/x to select [Internet Settings],
then press .
The [Internet Settings] display appears.
• The [Internet Settings] items are necessary to connect
to the Internet. Enter the respective (alphanumeric)
values for your broadband router or Wireless LAN
router. The items that need to be set may differ,
depending on the Internet service provider or the
router. For details, refer to the instruction manuals
that have been provided by your Internet service
provider or supplied with the router.
• For more information, go to the following URL.
For customers in the U.S.:
http://www.sony.com/support
For customers in Canada:
English: http://www.sony.ca/support
French: http://fr.sony.ca/support
For customers in Mexico and Latin America:
http://esupport.sony.com/LA
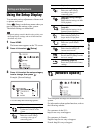
Follow the Steps below for connecting to a LAN
(Local Area Network).
Auto setting
1 Press X/x to select [Wired Setup] on
the [Internet Settings] display, then
press .
2 Press X/x to select [Auto], then press
.
The system performs the network setting
automatically, and internet settings appear
on the TV screen.
3 Press c.
4 Press X/x to select [Save & Connect],
then press .
The system starts checking the network
connection.
5 Check that the message [Internet
Settings is now complete.] appears,
then press .
The setup is finished. If the message does
not appear, follow the on-screen messages.
Manual setting
1 Press X/x to select [Wired Setup] on
the [Internet Settings] display, then
press .
2 Press X/x to select [Custom], then
press .
3 Press X/x to select the network setting
type, then press .
• [Auto]: The system sets the IP address
automatically, and the [DNS Settings]
display appears.
When you select [Auto] and press , the
system sets the DNS setting
automatically.
When you select [Specify IP address] and
press , enter the DNS settings
manually.
Press C/X/x/c and the number buttons to
set the following items, then press .
– [Primary DNS]
– [Secondary DNS]
• [Specify IP address]: Enter the network
settings manually according to your
network environment.
Press C/X/x/c and the number buttons to
set the following items, then press .
–[IP Address]
– [Subnet Mask]
– [Default Gateway]
– [Primary DNS]
– [Secondary DNS]
When connecting to the LAN
with a LAN cable