


10
i
i
i
i
i
i
i
i
i
i
i
i
i
i
i
i
i
i
i
i
i
i
i
i
i
i
i
i
i
i
i
i
i
i
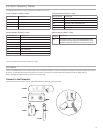
Gain Adjustment
Operation
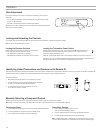
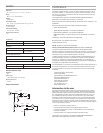
Locking and Unlocking the Controls
Locking the Receiver Controls
Simultaneously press and hold the group and channel buttons
until LK appears on the LCD. Repeat to unlock.
• LK is displayed if a locked control is pressed
• UN is displayed momentarily to confirm the unlock command
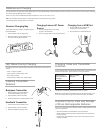
Identifying Linked Transmitters and Receivers with Remote ID
Use the Remote ID feature to identify linked transmitter and receiver pairs in multiple receiver systems. When Remote ID is active, the receiver LCD will blink and display ID.
The status LED of the corresponding transmitter will alternately flash red and green for approximately 45 seconds.
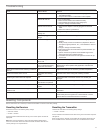
Manually Selecting a Group and Channel
Specific groups and channels can be assigned to the receiver instead of using the automatic scan function.
Note: Group 3 should only be used in controlled Wi-Fi environments to prevent interference from unexpected Wi-Fi devices.
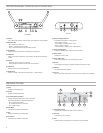
Selecting a Group
1. Press and hold the group button for 2 seconds until the group display flashes.
2. Press the group button to scroll through the available groups.
3. The receiver will automatically save the selected group.
The controls of the receiver and transmitter can be locked to prevent accidental or unauthorized changes to settings.
Note: Locks are not affected by power cycles.
Use the gain buttons on the receiver to increase or decrease the gain of a linked
transmitter:
• Turn on the linked transmitter and momentarily press the gain buttons to adjust
the gain in 1 dB increments
• For faster gain adjustments, press and hold the gain buttons
Tip: Monitor the audio and observe the receiver audio meter level while adjusting the
gain to prevent signal overload.
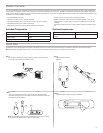
To activate Remote ID:
1. Momentarily press the link button on the transmitter or receiver.
2. The LCD of the linked receiver will blink and display ID and the sta-
tus LED on the linked transmitter will flash red/green.
3. To exit Remote ID mode, momentarily press the link but-
ton or allow the function to timeout.
Selecting a Channel
1. Press and hold the channel button for 2 sec-
onds until the channel display flashes.
2. Press the channel button to scroll through the available channels.
3. The receiver will automatically save the selected channel.
Note: A double dash symbol-- displayed on the receiver screen during a chan-
nel scan indicates that there are no available channels within the selected group.
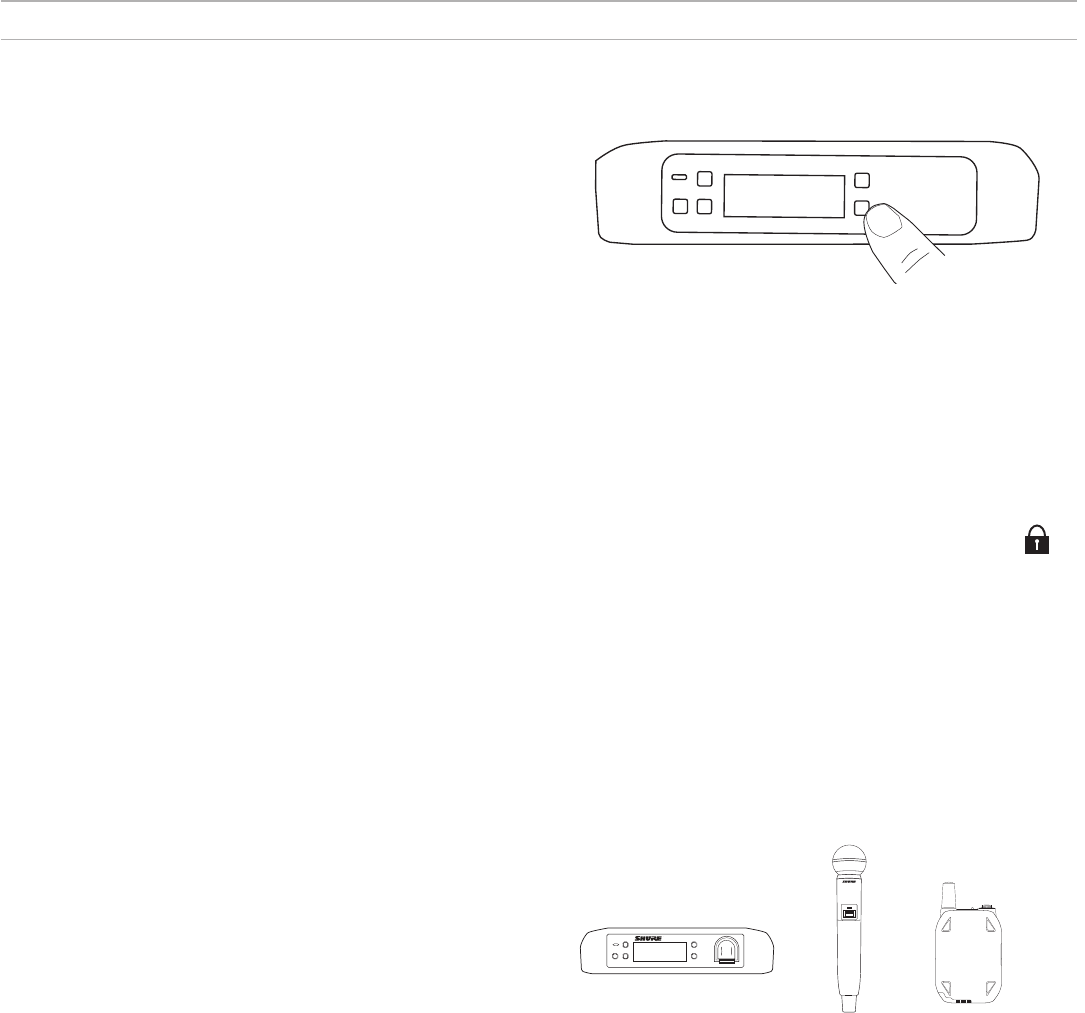
Locking the Transmitter Power Switch
Starting with the transmitter set to off, press and hold the LINK button while turning on
the transmitter. Continue to hold the link button until the lock icon appears on the re-
ceiver LCD. Repeat sequence to unlock.
Optionally, the transmitter power switch can be remotely locked from the receiver front panel:
Simultaneously press and hold the group and link buttons for approximately 2 seconds until the
flashing lock icon appears on the receiver LCD. Repeat sequence to unlock.
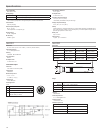
rf group
link
channel
gain
+
-
I
I
I
I
I
I
I
I
I
I
I
I
I
I
I
I
I
I
I
GLXD4
rf group
channel
-
gain
+
link
ID
I
I
I
I
I
I
I
I
I
I
I
I
I
I
I
I
I
I
I
I
I
I
I
I
I
I
GLXD2
on
I
I
I
I
I
I
I
I
I
I
I
I
I
I
I
I
I
I
I
I
I
I
I
I
I
I
I
I
I
I
I
I
I
I
I
I