ENGLISH
20
• The volume level of each channel can be adjusted easily with the test tone function.
Adjusting each channel level with test tone
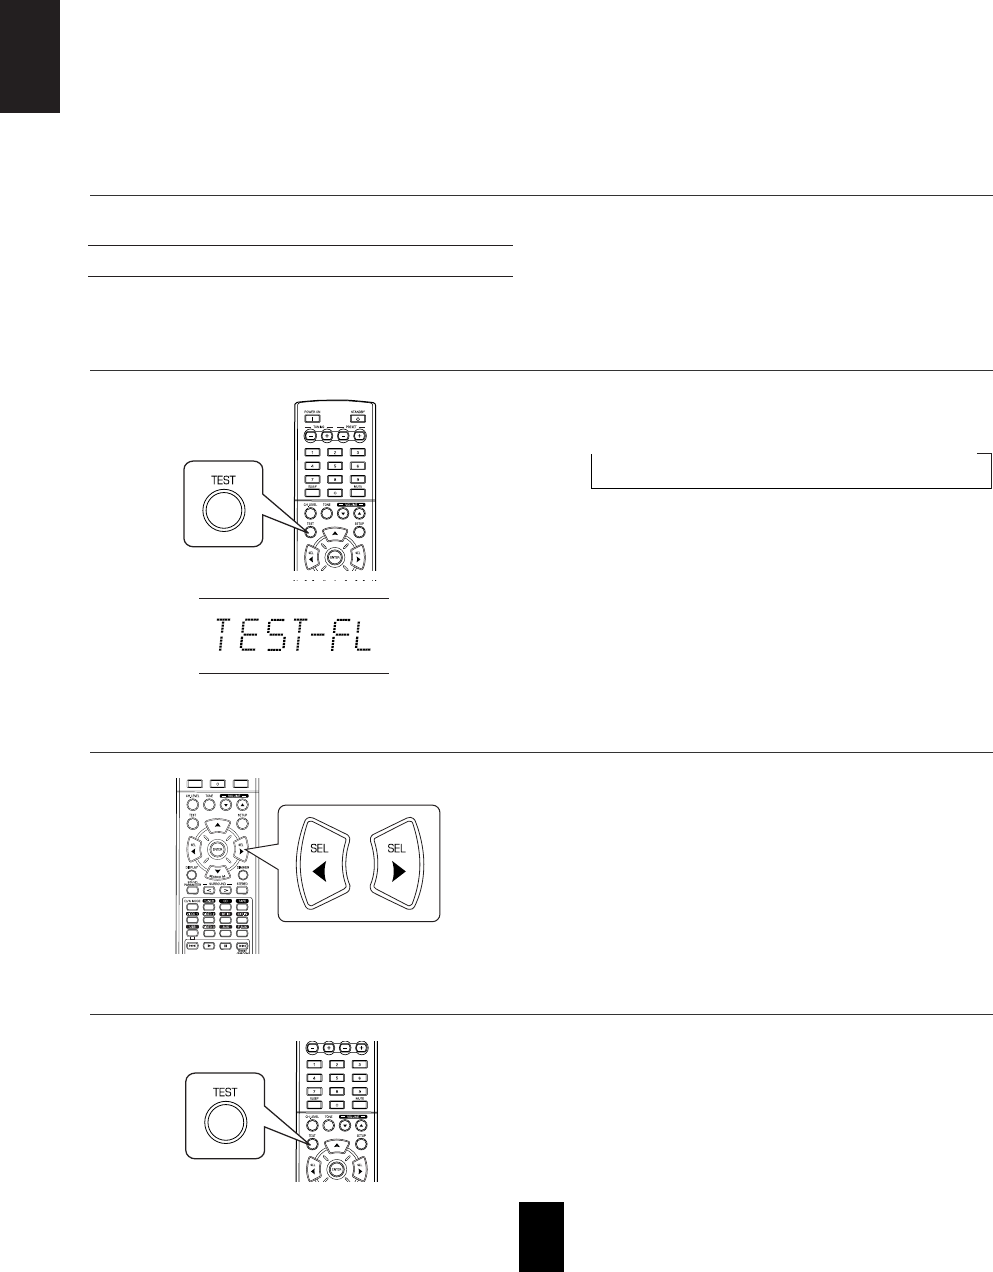
• The test tone mode is displayed and will be heard from
the speaker of each channel for 2 seconds as follows:
FL C FR SR SL SW
Front Left Center Front Right Surround Right Surround Left Subwoofer
• When the speaker setting is "N (None or No)", the test
tone of the corresponding channel is not available.
Notes :
The test tone function does not work as expected if :
• The SPEAKER button is set to off.
• USB IN or EXTERNAL IN is selected as an input
source.
• It is in the stereo or the 2CH downmix mode.
1. Enter the test tone mode.
2. At each channel, adjust the level as desired until the sound level of each speaker is heard to be equally loud.
3. Cancel the test tone function.
• You can select the desired channel with the CONTROL
UP(
)/DOWN( ) buttons or the CURSOR UP( )/
DOWN(
) buttons.
4. Repeat the above steps 2 and 3 to adjust other parameters.
When selecting the "PANO (Panorama)" mode
This mode extends the front stereo image to include the surround speakers for an exciting "wraparound" effect with side wall
imaging.
Select "OFF" or "ON"(default value: OFF).
When selecting the "C. WIDTH (Center width)" control
This adjusts the center image so it may be heard only from the center speaker, only from the left/right speakers as a phantom
image, or from all three front speakers to varying degrees.
The control can be set in 8 steps from 0 to 7(default value : 3).
When selecting the "DIMEN (Dimension)" control
This gradually adjusts the soundfield either towards the front or towards the rear. The control can be set in 7 steps from -3 to
+3 (default value : 0).
continued


