


Operations
ENGLISH
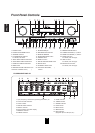
LISTENING TO A PROGRAM SOURCE
Before operation
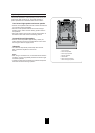
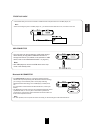
• Enter the standby mode.
• The STANDBY indicator lights up.
This means that the receiver is not
disconnected from the AC mains and a
small amount of current is retained to
support the operation readiness.
• To switch the power off, push the POWER
switch again.
• Then the power is cut off and the STANDBY
indicator goes off.
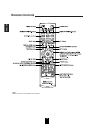
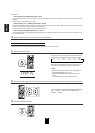
• Each time the POWER ON/STANDBY button on the front
panel is pressed, the receiver is turned on to enter the
operating mode or off to enter the standby mode.
• On the remote control, press the POWER ON button to
enter the operating mode or press the STANDBY button
to enter the standby mode.
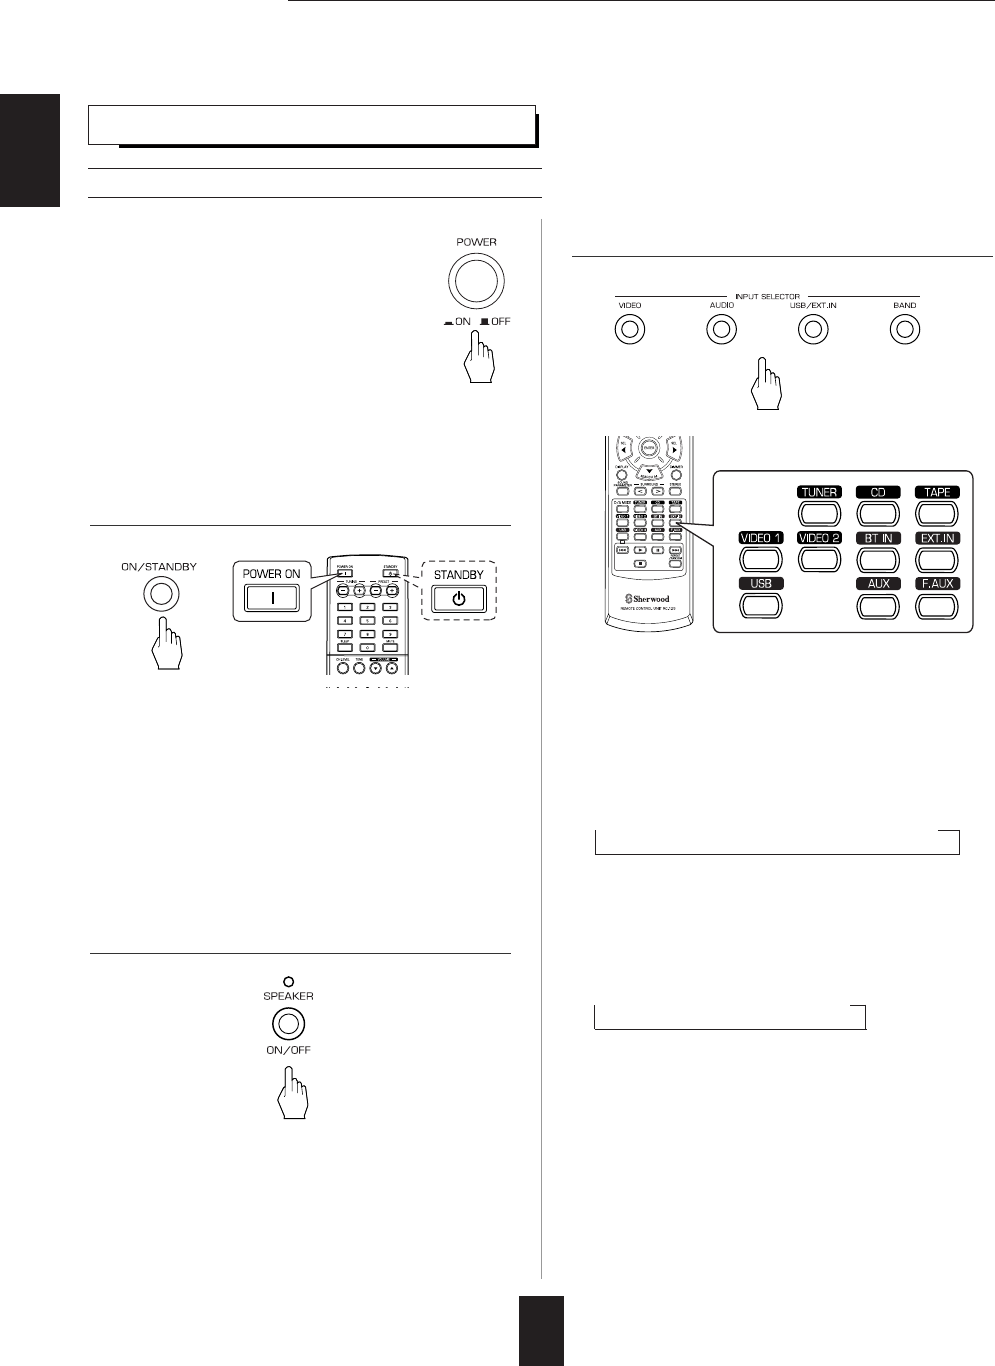
• In the standby mode, if the INPUT SELECTOR button is
pressed, the receiver is turned on automatically and the
desired input is selected.
• Each time the "VIDEO" button on the front panel is
pressed, the input source changes as follows:
VIDEO 1
VIDEO 2
• Each time the "AUDIO" button on the front panel is
pressed, the input source changes as follows:
CD AUX F AUX TAPE BT IN
• Each time the "USB/EXT.IN" button is pressed, the
input source changes as follows:
EXT IN
USB IN
• Each time the "BAND" button is pressed, the band
changes as follows:
FM ST FM MONO AM
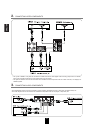
• When selecting the EXTERNAL IN, 6 seperate analog
signals from the component connected to this input
pass through the tone and volume circuits only and can
be heard from your speakers.
• These analog signals can be heard only, not recorded.
or
or
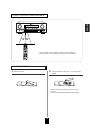
POWER
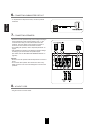
1. In the standby mode, turn the power on.
• Then the SPEAKER indicator lights up and the sound
can be heard from the speakers connected to the
speaker terminals.
• When using the headphone for private listening, press
the SPEAKER button again to switch the speakers off.
2. Switch the speakers on.
3. Select the desired input source.
14
Note : Before operating this receiver, first set this unit as desired for optimum performance, doing the system setup
procedures. (For details, refer to "System Setup" on page 33.)