


9
8
7
6
5
4
3
2
1
9
E-10
2012 September 14
HT-SB60
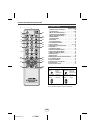
Remote control
Caution:
● Remove the battery if the sound bar will not be used for
a long period of time. This will prevent potential damage
due to battery leakage.
● Do not use rechargeable battery (nickel-cadmium
battery, etc.).
● Installing the battery incorrectly may cause the sound
bar to malfunction.
● Batteries (battery pack or batteries installed) shall not
be exposed to excessive heat such as sunshine, fire or
the like.
Notes concerning use:
● Replace the battery if the operating distance is reduced
or if the operation becomes erratic. Purchase a “AA”
size battery (UM/SUM-3, R6, HP-7 or similar).
● Periodically clean the transmitter on the remote control
and the sensor on the sound bar with a soft cloth.
● Exposing the sensor on the sound bar to strong light
may interfere with operation. Change the lighting or the
direction of the sound bar.
● Keep the remote control away from moisture, heat,
shock, and vibrations.
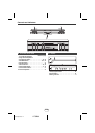
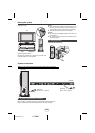
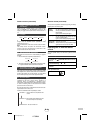
Point the remote control directly at the remote sensor on
the sound bar.
The remote control can be used within the range
shown below:
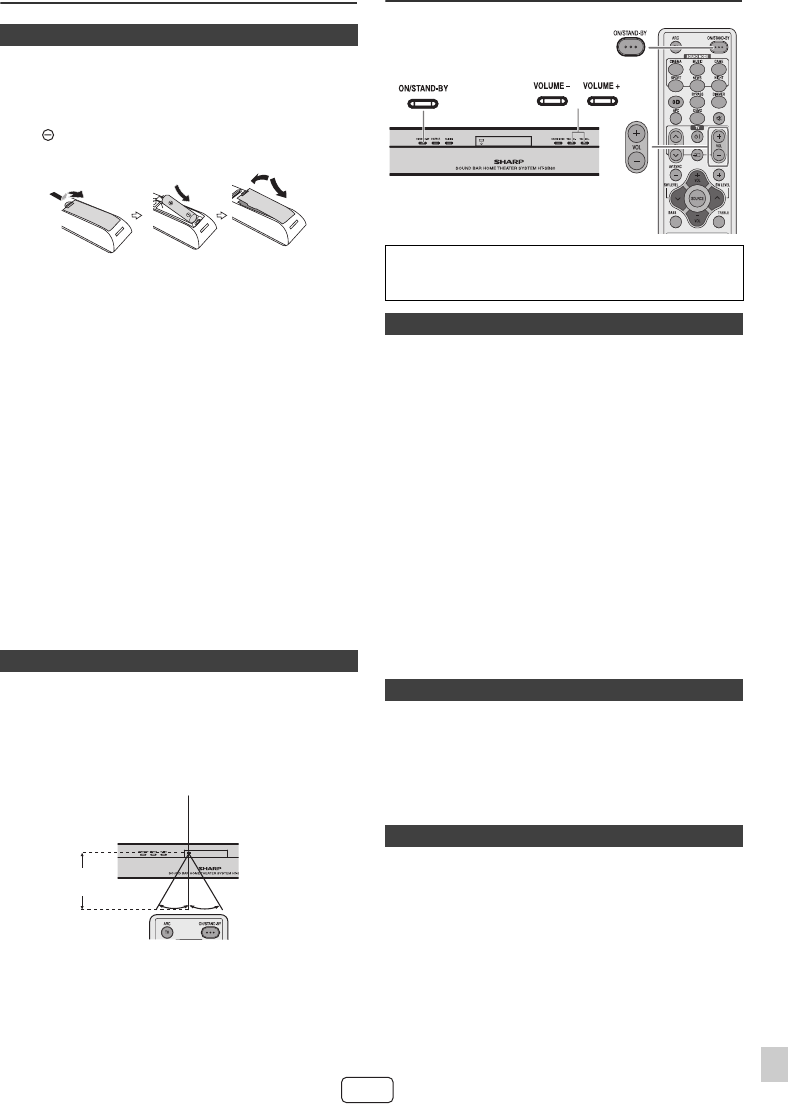
General control
Press the ON/STAND-BY button on the sound bar or the
remote control.
● The power turns on and the subwoofer indicator turns
blue. If the power does not turn on, check whether the
AC power lead is plugged in properly.
● The system will automatically power on if TV or similar
component which supports HDMI CEC, is turned on.
To set the sound bar to stand-by mode:
Press the ON/STAND-BY button again on the main unit or
the remote control and the subwoofer indicator turns red.
Notes:
● A slight audio delay after TV is turned ON does not
mean that the system is faulty. This is normal.
● “AQUOS speaker is enabled” message will be
displayed if SHARP LCD TV does not detect HT-SB60
during power on. However the message “AQUOS audio
with AQUOS LINK is enabled” will be displayed soon as
HT-SB60 is detected. These messages may vary for
other TV model.
● The first time the sound bar is plugged in, the sound bar
will enter the demonstration mode.
● To cancel the demonstration mode, press the DEMO
button on the remote control during power stand-by
mode.
● To enter to the low power consumption mode, press
and hold the DEMO button (Demo indicator turns off).
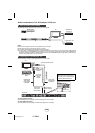
The sound bar and subwoofer will link automatically
(wirelessly) when turned on as it is already pre-linked at
the factory. If the link cannot be established, please set the
connection by the following method.
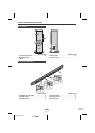
1. Press and hold the PAIRING button on the sound bar for
more than 3 seconds.
2. Within 2 minutes, press and hold the PAIRING button on
the subwoofer for more than 3 seconds.
● During pairing process:
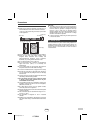
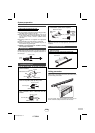
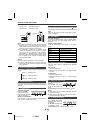
■ Battery installation
1
Open the battery cover.
2 Insert the supplied battery according to the terminal
indicated in the battery compartment.
When inserting or removing the battery, push it towards
the battery terminals.
3 Close the battery cover.
■ Test of the remote control
Remote sensor
0.2 m - 6 m
(8" - 20')
15°15°
Make sure to enable the HDMI CEC when making
HDMI connection. For details, refer to the operation
manual of the TV.
■ To turn the power on
■ Demonstration mode
■ Connecting the wireless Subwoofer
On sound bar: “PAIRING” will blink.
On subwoofer: indicator will blink in blue.
AUDIO