4
INSTALLING THE TRANSMITTER
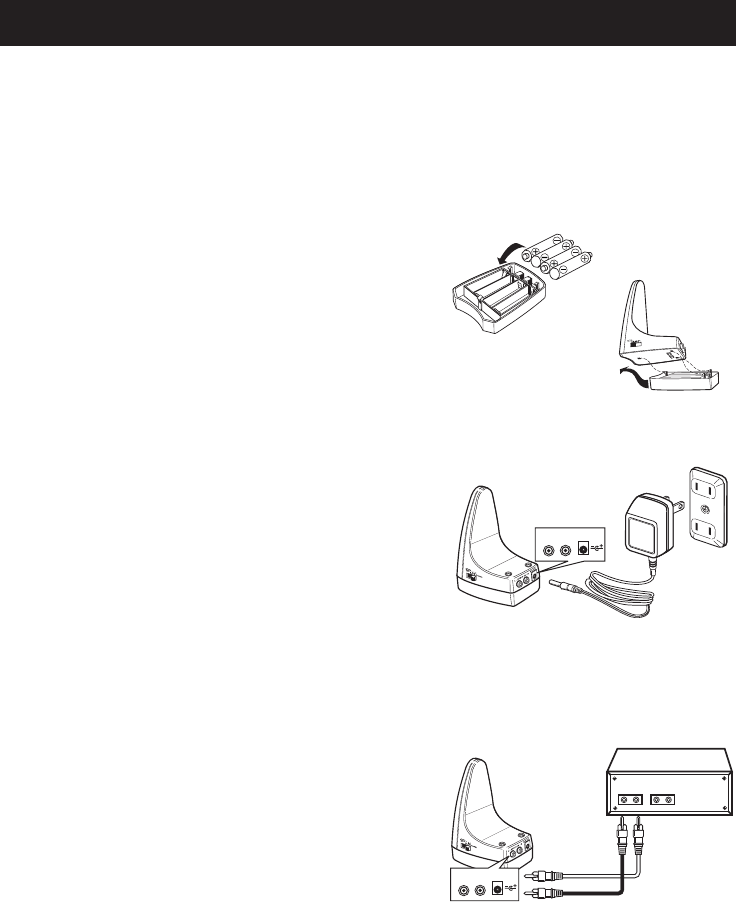
1) CONNECTING POWER
(A) DC OPERATION
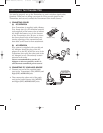
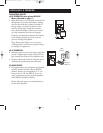
Your Transmitter is supplied with a Battery
Tray. Insert four (4) x AA Alkaline batteries
(not supplied) to the battery slot as indicat-
ed. Attach the battery tray to the bottom
of the Transmitter unit. Be sure to insert
the three plastic locks of the battery tray
into the openings of the transmitter base,
then slide to the front for firm attachment.
(B) AC OPERATION
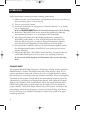
Your system is supplied with one 600 mA
AC Adapter. Insert the plug of the AC
adapter in to the DC Jack at the rear of the
Transmitter, then plug the other end of the
AC Adapter in to a conveniently located
electrical wall outlet.
You are recommended to use the AC
Adapter as often as possible, as this is
still the most economical power source!
2) CONNECTING TO YOUR AUDIO SOURCE
• Connect one end of the supplied patch
cord to the Transmitter's Left
(WHITE) and
Right (RED) AUDIO IN Jacks
.
• Then connect the other end of the patch
cord to the Audio Sources Left (WHITE)
and Right (RED) AUDIO OUT Jacks.
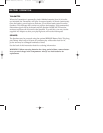
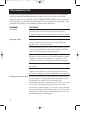
You need to properly set up the Transmitter to send a wireless signal to the
Speakers. There are two things you must do. First, provide power to the
Transmitter, and second, connect the Transmitter to the Audio Source.
1 2 3
CHANNEL
OFF
SIZE "AA" x 4 PCS.
L - AUDIO IN - R
DC 6V
L
R
AUX. OUT
AUDIO SOURCE
(eg.: TV, VCR, HOME STEREO)
AUDIO IN
R
L
R
L
L - AUDIO IN - R
DC 6V
Battery Tray
WSP200 Manual(1J1513 ) 6/10/99 2:04 PM Page 4


