


6
INSTALLATION: UNPACKING & RACK MOUNTING
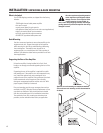
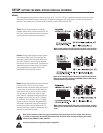
Rack Mounting
Supporting the Rear of the Amplifier
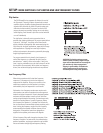
What is Included
Unless the amplifier is being installed in its final, fixed
location, we strongly recommend supporting the rear of the
amplifier.
Supporting the rear of the amplifier is required for mobile
and portable use. If the amplifier is to be transported in any
way, install the optional rear rack mounting ear kit to
support the rear of the amplifier. During transport, the shock
loads encountered on the chassis and rack can easily
damage an unsupported amplifier and the rack rails. With
proper support, reliability is enhanced.
Rear rack mounting ear kits are an accessory item and are
available from QSC’s Technical Services Department or from
your dealer or distributor. Refer to the literature included
with the rack mounting ear kit for installation instructions.
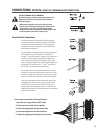
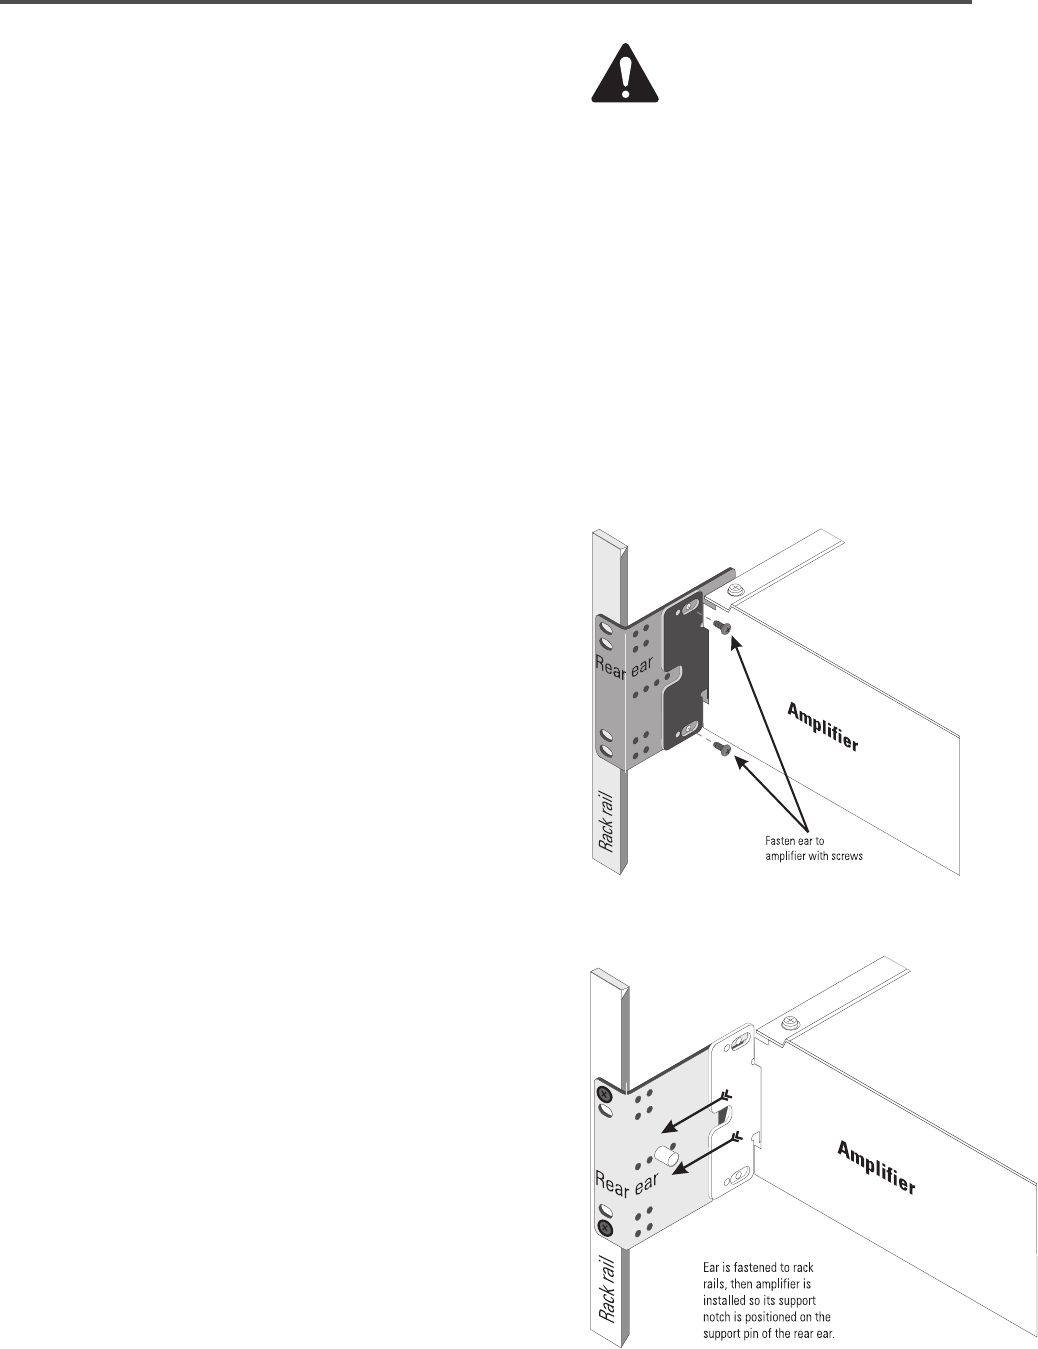
Two methods of rear rack mounting ear attachment are
possible; use the method that best suits you application.
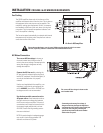
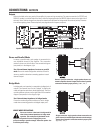
Use four screws and washers to secure the amplifier to the
equipment rack rails. Support the weight of the amplifier
while securing it to the rails to avoid bending or distorting
the mounting ears. The amplifier may be used in an
equipment rack or as a stand-alone unit. Rack mounting is
optional. Self-adhesive rubber feet are provided for non-rack
mount applications.
Save the container and packing material
so the amplifier may be shipped without
damage if service is ever required. If the
original container is not available, be
sure to use a strong shipping container with enough
packing material to prevent the amplifier from being
damaged in transit.
Optional rear rack mounting ear attachment methods-
refer to the rear rack mounting ear kit’s documentation
for details
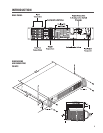
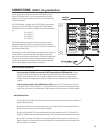
Your CX168 shipping container, as shipped from the factory,
includes:
- CX168 eight channel audio power amplifier
- this user’s manual
- security cover (plate) for gain controls
- self-adhesive rubber feet (use for non-rack mount applications)
- eight 3-pin terminal block input connectors
- two 8-pin terminal block output connectors
- #14AWG IEC-type detachable power cord