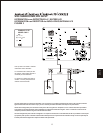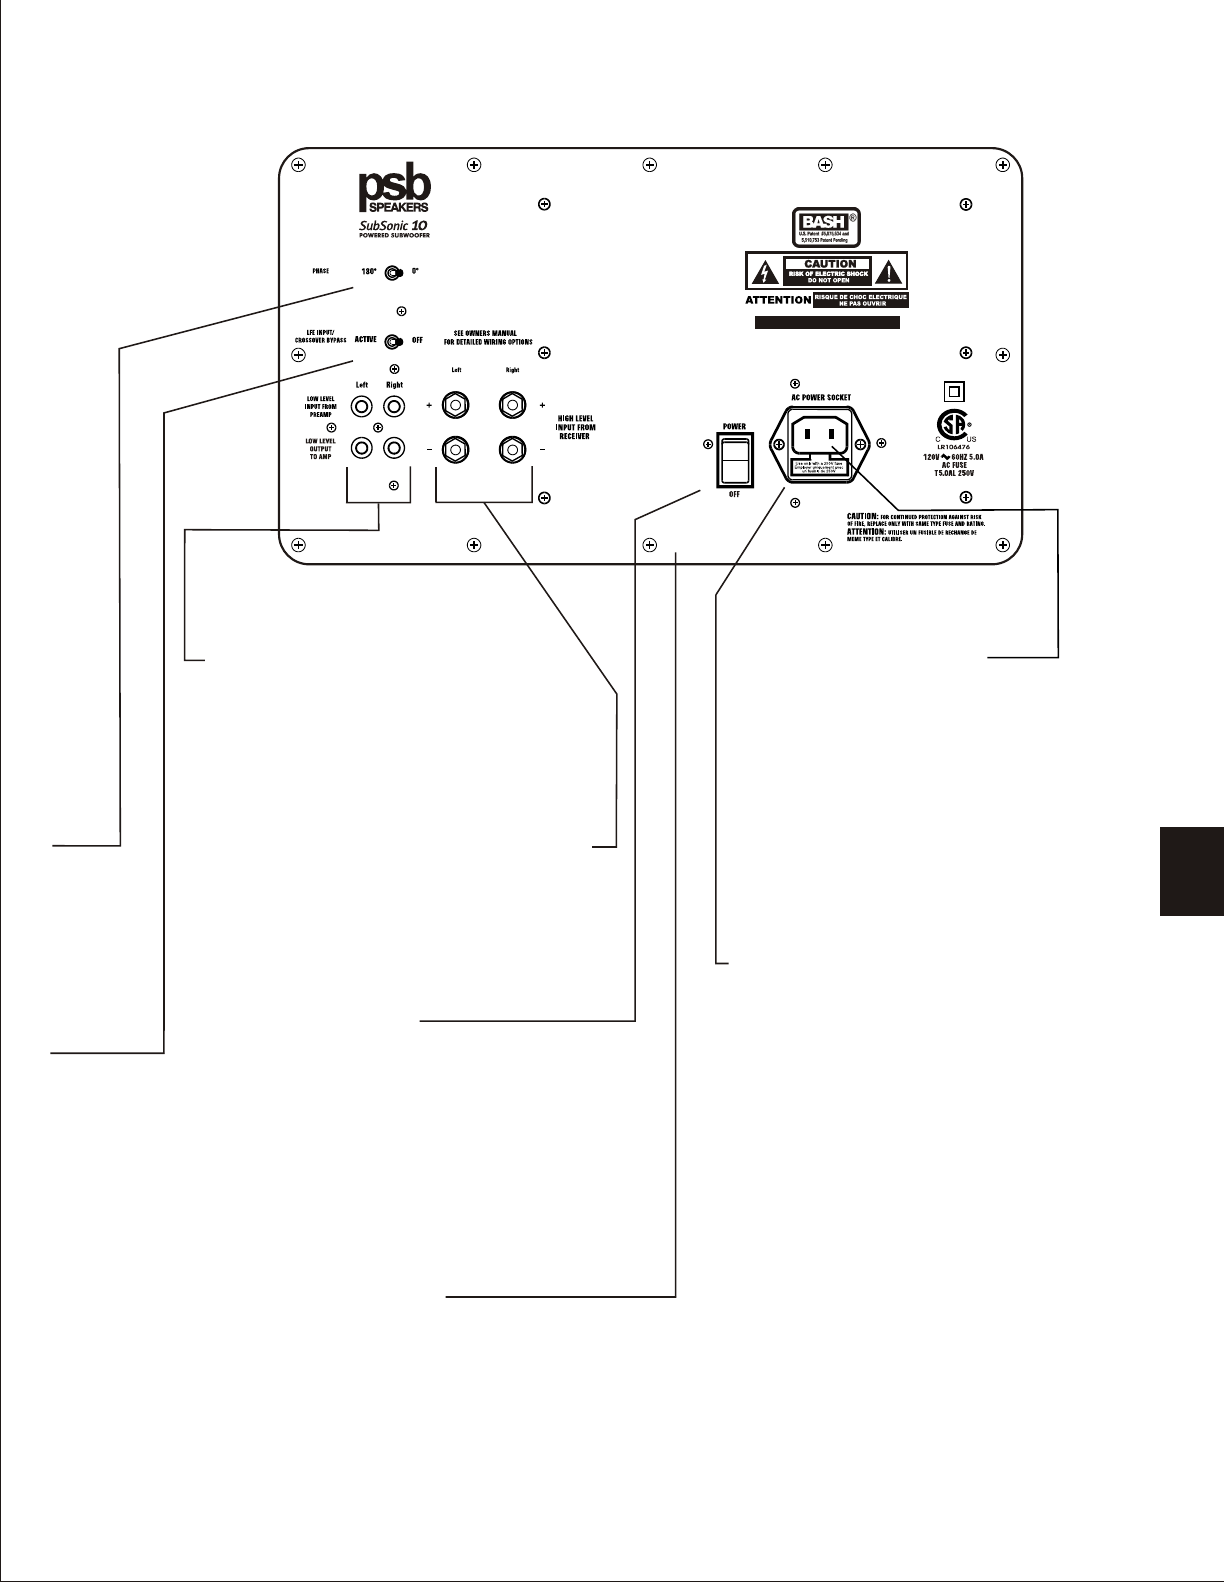
When you turn on the subwoofer and
there is no LED light and/or sound,
please check the fuse (accessible
from the rear panel) to ensure it is
electrically intact. The fuse could have
become broken during transit. A spare
fuse is contained within the fuse holder
compartment behind the inscribed text.
Use a wide slot screwdriver to pry the
fuse holder compartment from the AC
power socket. If it is necessary to
replace the fuse, use a fuse equivalent
to the type and rating of the fuse
shipped with the product. See the
specifications page at the end of the
manual for a detail description of the
fuse required for your model of
subwoofer.
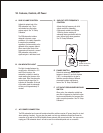
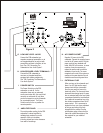
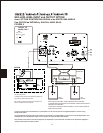
LOW/LINE LEVEL JACKS
EXTERNAL FUSE
G.
H.
I.
J.
POWER SWITCH
K.
AMPLIFIER PANEL
L.
The metal provides cooling for the PSB
subwoofer’s internal amplifier by
radiating heat produced in normal
operation. Allow air circulation,
including at least four inches clearance
from wall or furnishings.
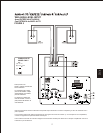
Connect the PSB subwoofer to a
separate-component preamplifier, or to
an integrated amplifier or receiver with
preamplifier-out/main-in facilities, at line
level. See “VIII. Connecting The
Subwoofer to Your Audio System”.
The Power Switch turns the PSB
subwoofer on and off. As the
subwoofer draws only an extremely
small current when idle, this may be left
normally on and turned off only when
you do not expect to use the subwoofer
for an extended period. The Power
Switch must be in the on position for
normal operation.
11
HIGH/SPEAKER LEVEL TERMINALS
AC POWER SOCKET
Supplies AC power to the PSB
subwoofer. Connect the supplied power
cord to the AC power socket. Plug the
power cord into any standard wall
outlet. With 230 volt versions, in some
countries it may be necessary to
replace the power cord to meet the
standards in use locally. The same
receptacle as the rest of the system or
another on the same electrical circuit
should be used to avoid ground hum.
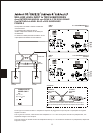
Connect the PSB subwoofer to
receivers or integrated amplifiers
equipped with speaker outputs only.
See “VIII. Connecting The Subwoofer to
Your Audio System".
Made in Canada / Fabrique au Canada
Figure 2
ENGENG


