VII. Features, Controls, AC Power
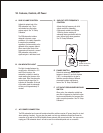
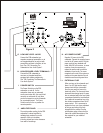
AC POWER CONNECTION
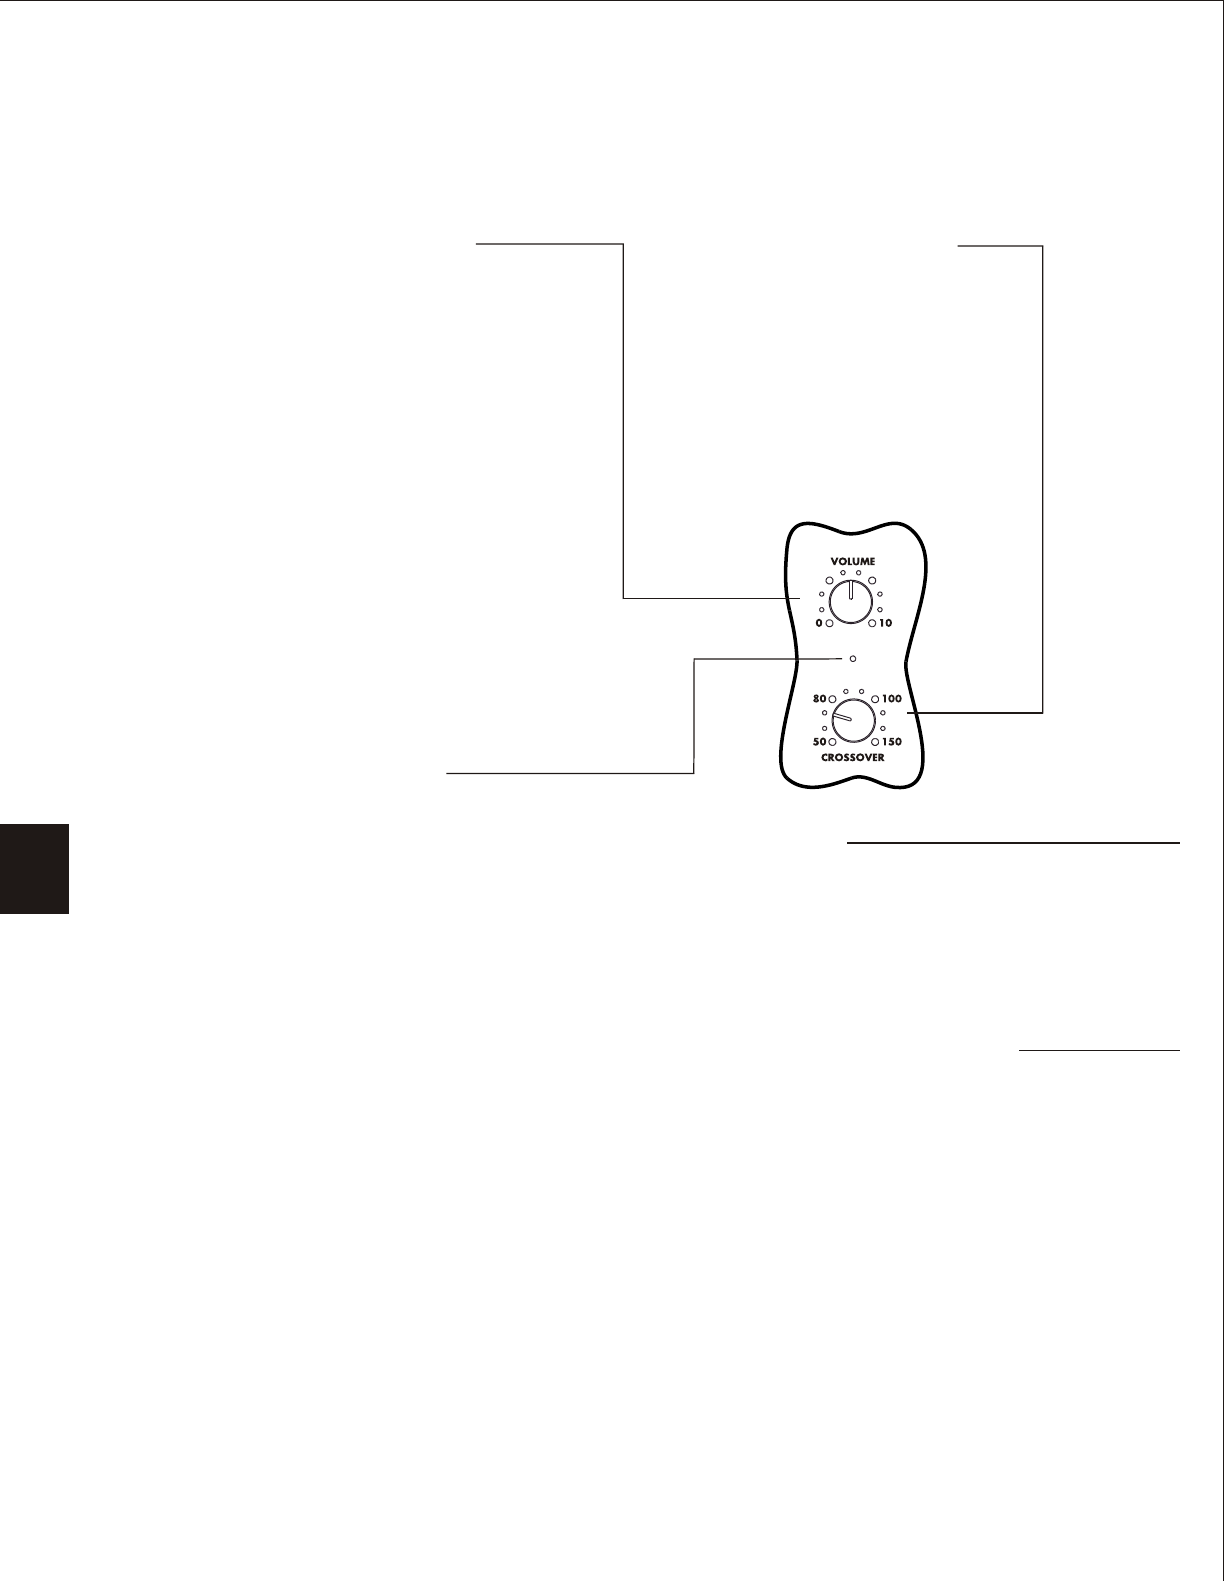
SUB CUT-OFF FREQUENCY
CONTROL
ON INDICATOR LIGHT
The light is located between the
control knobs. With both the 120
and 230 volt versions, the
subwoofer is initially in stand-by
mode awaiting the presence of an
audio signal. When the subwoofer
receives an audio signal the On
indicator will illuminate. At the end
of the audio signal the subwoofer
will stay on for approximately 15
minutes.
SUB VOLUME CONTROL
(located on the front
of the subwoofer)
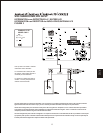
Figure 1
A.
B.
C.
D.
E.
F.
Adjusts the output level of the
PSB subwoofer only: This is
not intended as a day-to-day
volume control. See “IX. Setup
Calibration”
The PSB subwoofer includes
designed-in dynamic-range
protection: it is virtually impossible
to overdrive the subwoofer,
regardless of volume setting or the
demands of the program material.
Where even higher levels of low
frequencies are required, a second
PSB subwoofer can provide a
significant gain in total bass levels.
Adjusts the high-frequency roll-off of
signals sent to the subwoofer.
Continuously variable from 50Hz to
150Hz for precise matching of
subwoofer bass reproduction with the
main (left and right) stereo speakers.
See “IX. Setup Calibration”
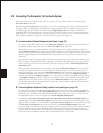
The PSB subwoofer has its own self-contained amplifier and thus requires AC power (keep this in mind
when selecting a location). You may plug the power cord into any standard wall outlet and leave the
connection in the wall as the PSB subwoofer draws extremely little current when idle. You may want to
unplug your PSB subwoofer when it will not be used for an extended period such as a vacation.
10
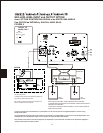
PHASE SWITCH
LFE INPUT/CROSSOVER BYPASS
SWITCH
When active, the subwoofer variable low
pass filter is bypassed so that this function
can be accomplished by the low pass filter
within a receiver/processor. See “IX. Setup
Calibration”.
Selects the subwoofer output phase
between in-phase (0°) and out-of-phase
(180°), to compensate for the low to
mid bass acoustic effects of different
placement locations and listening
rooms. See “IX. Setup Calibration”.


