


For Customer Service, call 800-377-7655.
7
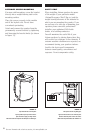
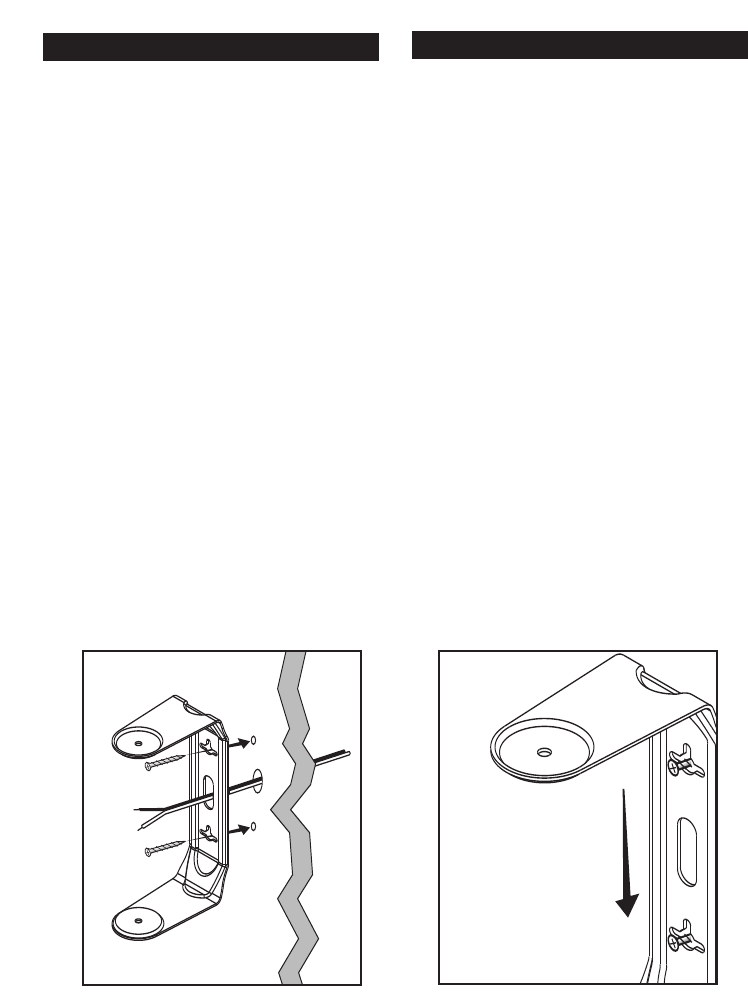
8) If speaker wire is being fed from a hole
in the wall behind the bracket, pull this
speaker wire through the hole in the
bracket before mounting the bracket
[figure 11].
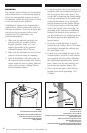
9) Line up the bracket, attached to the
speaker, so that the screw heads pass
through the large center hole of the
bracket’s keyhole slots.
10) Let the speaker and bracket slide straight
down, allowing the screw head to slip
behind the smaller end of the keyhole
slot [figure 12].
11) Tug gently on the speaker to make certain
that the screws and bracket are properly
aligned and that the wall anchors
are secure.
12) If the bracket is not held snug against
the wall by the screw heads, remove the
speaker from the wall, drive the screws
in a little further and then remount
the speaker.
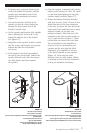
13) Once the speaker is mounted, the bracket
knobs can be loosened to “aim” the speak-
er, and then hand-tightened to keep the
speaker angled correctly [figure 13].
1
4)
Follow the hookup directions included
with your receiver. Strip 1/2 inch of insu-
lation from each of the two conductors
of the wire to expose the bare metal and
twist each of the conductors into a single
unfrayed strand (so you have two
unfrayed strands). Note that one of the
terminals on the rear of each speaker is
red (+) and the other is black (-). Make
certain that you connect the wire from
the red terminal of your amplifier or
receiver to the red terminal on your
speaker and the wire from the black
terminal of your amplifier or receiver
to the black terminal on your speaker
[figure 14]. Most wire has some
indicator (such as color-coding, ribbing
or writing) on one of the two conductors
to help you maintain consistency.
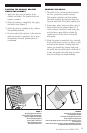
FIGURE 11
Feed speaker wire from wall through
bracket wire hole for easy mounting.
Para montar el altavoz con facilidad, pase el cable de altavoz que sale de la pared por el agujero
para cable del soporte.
Passez le fil de haut-parleur à travers le trou du
support pour faciliter l'installation.
Verlegen Sie das Lautsprecherkabel einfach von der W
and
durch die entsprechende Öffnung in der Halterung.
FIGURE 12
Slide the bracket down on the screw heads
to catch the keyhole slots.
Deslice el soporte hacia abajo sobre las cabezas de los tornillos para que encajen en las ranuras
en forma de ojo de cerradura.
Glissez le support sur la tête de la vis jusqu'à ce qu'elle s'enclenche dans la fente.
Schieben Sie die Halterung auf die Schraubköpfe herunter, so dass sie in den Ritzen einrastet.