8 Polk Audio Customer Service 800-377-7655 (Outside USA & Canada: 410-358-3600)
CONNECTING THE SUBWOOFER TO
THE SYSTEM—HOOKUP OPTIONS
IMPORTANT NOTE: USE ONLY ONE OF THESE OPTIONS.
NEVER COMBINE HOOKUP OPTIONS.
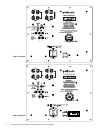
OPTION #1 Receivers that include a “SUB OUT” feature—
the most common hookup method with Dolby Digital
®
and DTS
®
receivers.
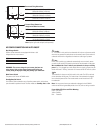
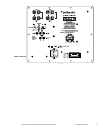
• Connect a single RCA cable from the “SUB OUT” of your receiver to the LFE
input of the subwoofer. This connection method bypasses the subwoofer’s
internal filter and relies on the filter built into your receiver. Make no other
signal connections. Do not use speaker wire to make the connection to
the subwoofer.
• Connect all other speakers directly to the receiver. Adjust your receiver’s
speaker configurations as follows:
Front speakers = SMALL
Center and Surrounds = SMALL
Subwoofer = ON, YES, or PRESENT
• Depending on your front speakers’ bass output capabilities, set the crossover
frequency on the receiver to 80Hz for tower and bookshelf speakers (speakers
with a woofer 5 1/4" in diameter or larger) and 100-120Hz for satellite
speakers. Consult your receiver’s owner’s manual for instructions.
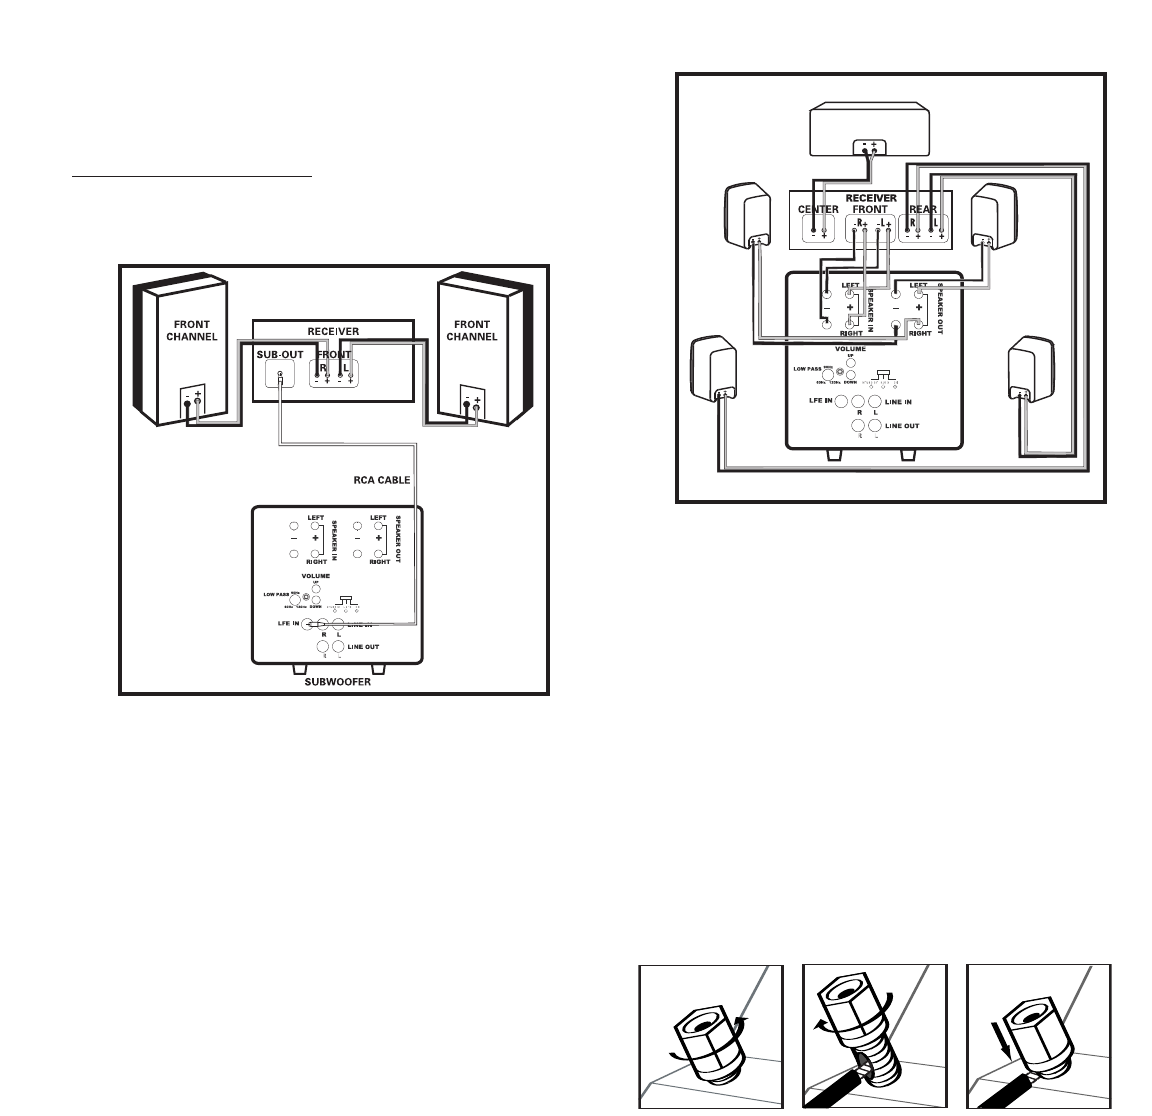
OPTION #2 Two channel or Dolby Pro Logic
®
receiver with no “SUB OUT.”
Use two-conductor 16 gauge or thicker speaker wir
es. See your Polk Audio
dealer for wir
e recommendations.
Note: Do not use the line or LFE input in this configuration.
•
Connect the left and right front speaker outputs of your r
eceiver to the
speaker level inputs of the subwoofer using speaker wire (see “Making
Binding Post/Speaker Wire Connections” for detailed instructions).
• Connect the left and right front speakers using speaker wire
from the speaker level outputs fr
om the subwoofer.
•
Connect the center channel speaker directly to the
center channel output from your receiver.
• Connect the rear surround satellites directly to the rear or surround
channel outputs from your r
eceiver
.
• Adjust your receiver’s speaker configurations as follows:
Front speakers = LARGE
Subwoofer = OFF or NO
Center and Surrounds = SMALL
Making Binding Post/Speaker Wire Connections
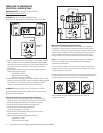
Note that one of the speaker input terminals on the rear of the subwoofer is
marked red (+) and the other black (-). Make certain that you connect the wire
from the red (+) terminal of your receiver to the red (+) terminal on your subwoofer
and the wire from the black (-) terminal of the receiver to the black (-) terminal
on your subwoofer. Speaker wire has some indication (such as color coding,
ribbing, or writing) on one of the two conductors to help maintain consistency.
Note: If your subwoofer doesn’t seem to produce much bass, it is most likely
that one of the speaker wires is connected backwards. Double check all
connections for correct polarity.
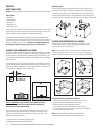
Strip 1/2" (12mm) of insulation from each of the two conductors on both ends
to expose the bare wire. Twist the exposed wire of each conductor to form two
un-frayed strands (one on each end).
Unscrew the binding post hex nuts several turns. Insert the exposed wire, ensuring
that none of the bare wire ends touch each other, because contact could result in
an electrical short and cause your receiver to turn off or malfunction.
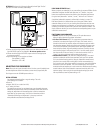
With the speaker wire inserted into the binding post, turn the hex nut
clockwise until it's snug.
(
Artwork not
t
o scale)
(
Artwork not
to scale)


