


10 PLINIUS ODEON
Installation & Operation
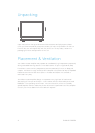
WARNING: RISK OF ELECTRIC SHOCK
This amplifier operates at hazardous voltage levels. We recommend that any work
requiring removal of the lid be referred to a suitably qualified and experienced service
technician. DO NOT place this amplifier in any position where liquids or any foreign
material may accidentally enter it.
PLEASE READ & UNDERSTAND THE PRECAUTIONS WITHIN THIS MANUAL
FOR PLACEMENT & OPERATION OF THIS PRODUCT.
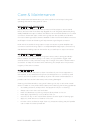
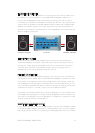
CONNECTIONS
Connections to your Odeon Power Amplifier should be made in the same order as
they are listed in this section. DO NOT attempt to connect your Odeon Power Amplifier
until you have read and fully understood these instructions.
Although these instructions refer to the connection of a Processor, the Odeon can also
be safely installed into multimedia systems by following the same installation guidelines.
Should you require any further assistance, please contact your Plinius dealer.
DO NOT POWER UP YOUR AMPLIFIER UNTIL YOU HAVE CONNECTED
YOUR INPUT/OUTPUTS CORRECTLY FOR YOUR SYSTEM.
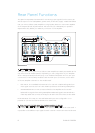
Note: Module 3 and Module 4 have the shortest ground return paths and will give the
best audio performance. It is recommended that these be used for front left and
right. Any fitted stereo modules should be used as rear channels.
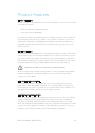
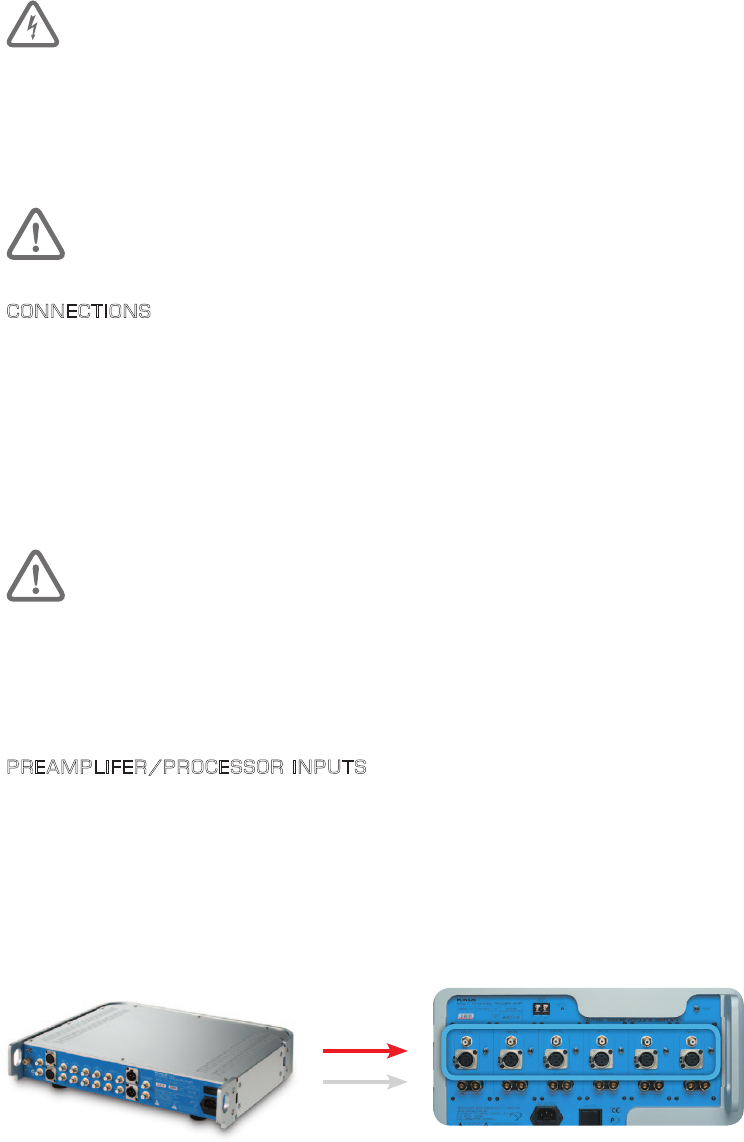
PREAMPLIFER/PROCESSOR INPUTS
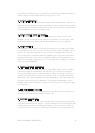
Connect your preamplifi er or processor to the input of the Plinius Odeon using suitable
single-ended RCA or Balanced XLR interconnect cables only. If using single-ended RCA
inputs, connect your Preamplifi er to the RCA inputs on the back of the Plinius Odeon.
Make sure the RCA connectors are a snug fi t and are inserted all the way in. For XLR
input connection, make sure the connectors are inserted all the way and latch into place.
NOTE: DO NOT connect XLR and RCA at the same time, use only one or the other.
PLINIUS PREAMPLIFIER ODEON INPUTS