


14
4 Getting Started
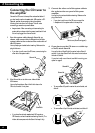
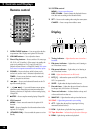
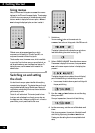
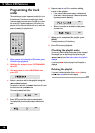
Using menus
Many of the features of this system are accessed from menus
displayed in the CD tuner’s fluorescent display. The advantage
of this is that you can use many of the features using just four
buttons: MENU to display the first menu option; 4 and
¢ to change the displayed option; and SET to select it.
SYSTEM
SET
MENU
4¢
Different menu options appear depending on which
component you're listening to; CD, radio, tape, MD, or a
component connected to the auxiliary inputs.
There’s another menu, the TIMER menu, which is available
in any mode. From the timer menu you can set the clock, as
well as use the wake up, record and sleep timer features. To
display this menu, use the TIMER button instead of the
MENU button.
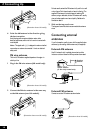
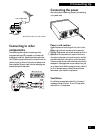
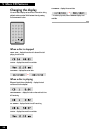
Switching on and setting
the clock
You should now have your system installed with everything
connected up and plugged in. This chapter takes you through
using the basic features: playing CDs and tapes, listening to
radio stations, and adjusting the volume, tone and balance to
get the sound you want.
First of all, we'll set the clock. This is mainly used for timer
functions, such as the sleep timer, though you can also use
the display as a clock. Unless you unplug the unit, or there's a
power failure, you only need to set the clock once.
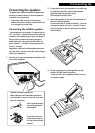
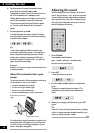
SYSTEM
TIMER
SET
DISP
CHARA
STANDBY/ON
4¢
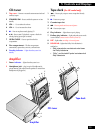
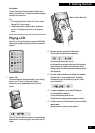
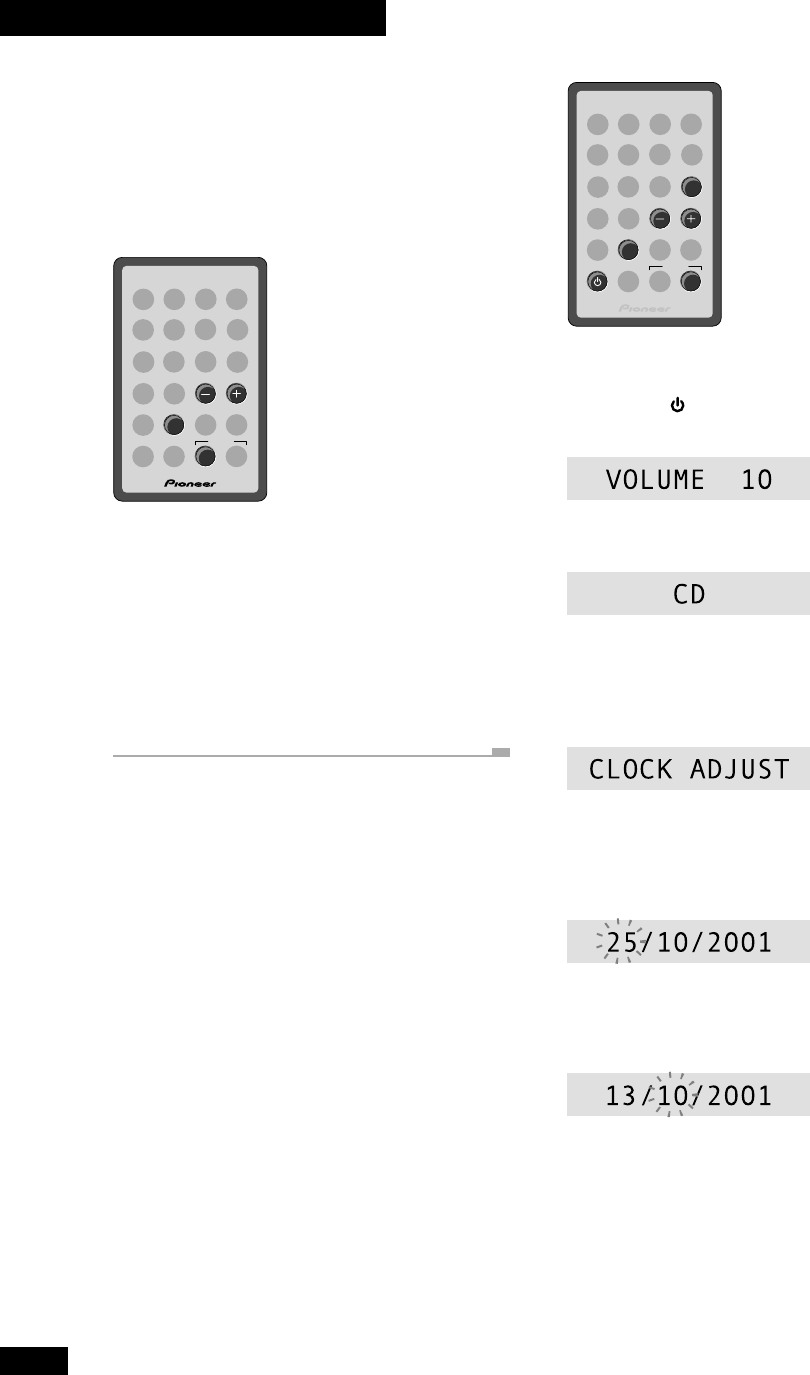
1 Switch on.
You can use the button on the remote control or
STANDBY/ON button on the top panel of the CD/tuner unit.
The display lights and briefly indicates the current volume
level before showing the current function (e.g. CD).
2 Select CLOCK ADJUST from the timer menu.
Press TIMER to display the timer menu, then press 4 or
¢ until CLOCK ADJUST is shown in the display, then
press SET.
The display changes to show a date and time, with the day*
part of the date blinking to indicate that you can set it.
• In some areas, the date is shown as year/month/day, with
the year part blinking.
3 Use the 4 and ¢ buttons to set the day,
then press SET.
Once you’ve pressed SET, the month will start blinking.
4 In the same way, set the rest of the date and
time.
Each time you press SET, the next part of the date/time will
start blinking. Adjust using the 4 and ¢ buttons.
Pressing SET after setting the minute completes the clock
setup.