


Connecting up 02
9
En
English
FrançaisDeutsch
Nederlands
Italiano Español
Caution
• These speaker terminals carry
HAZARDOUS live voltage. To prevent the
risk of electric shock when connecting or
disconnecting the speaker cables,
disconnect the power cord before touching
any uninsulated parts.
• Make sure no exposed speaker wire is
touching the rear panel, this may cause the
amplifier to turn off automatically.
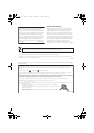
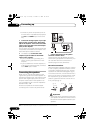
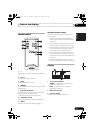
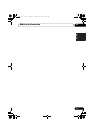
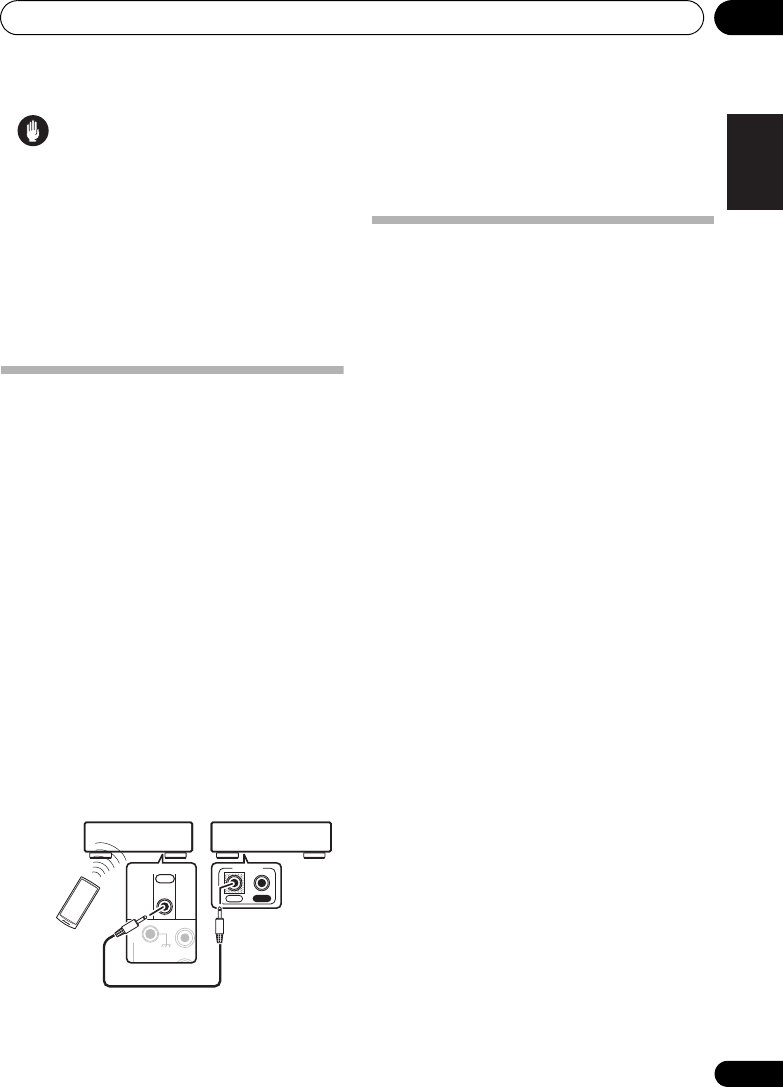
Operating other Pioneer
components with this unit’s
sensor
Many Pioneer components have SR CONTROL
jacks which can be used to link components
together so that you can use just the remote
sensor of one component. When you use a
remote control, the control signal is passed
along the chain to the appropriate component.
• Note that if you use this feature, make sure
that you also have at least one set of analog
audio jacks connected to another
component for grounding purposes.
1 Connect the
CONTROL OUT
of this
amplifier to the
CONTROL IN
jack of another
Pioneer component.
Use a cable with a mono mini-plug on each
end for the connection.
2 If the Pioneer component also has a
CONTROL OUT
jack, you can continue the
chain in the same way for as many
components as you have.
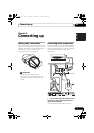
Plugging in
Make sure to complete all connections before
connecting to an AC outlet.
• Connect the AC power cord to the AC IN
inlet on the rear panel of the amplifier, then
plug into a power outlet.
GND
L
SIGNAL
CONTROL
OUT
D
IM
M
ER
O
P
EN/CLO
S
E
PUR
E A
U
D
I
O
IN
CONTROL
OUT
Pioneer component
Pioneer
component
remote
control
This amplifier
A6_MY.book Page 9 Tuesday, November 14, 2006 10:19 AM