


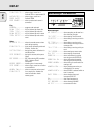
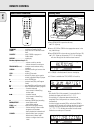

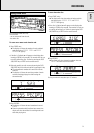

English
25
4 Press EASY JOG/ENTER or ENTER on the remote control to
confirm.
➜ The display will ask you to reconfirm your selection.
5 Press EASY JOG/ENTER or ENTER on the remote control to
reconfirm.
6 Press STORE/MENU to return to the submenu or STOP 9 to
exit.
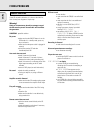
Text Memory Review/Erase Text Memory
1 Select the MEMORY VIEW submenu.
➜ MEMORY VIEW will appear on the display.
2 Press EASY JOG/ENTER or ENTER on the remote control to
confirm.
3 Select the disc you wish to erase.
4 Press EASY JOG/ENTER or ENTER on the remote control to
confirm.
➜ ERASE MEMORY will appear on the display.
5 Press EASY JOG/ENTER or ENTER on the remote control to
reconfirm.
6 Press the EASY JOG/ENTER key or ENTER on the remote
control to confirm erasure of the text for that particular disc.
7 Press STORE/MENU to return to the submenu or STOP 9 to
exit.
Note:
- If there are no discs in the memory, the message MEMORY
EMPTY will appear on the display.
- When the text memory of your CDRecorder is full, the
message MEMORY FULL will appear, followed by
FINALIZE CD If you want to add a CD to the list of discs
for which text is stored, you must erase a disc from this list
or finalize another disc. ("for which text is stored")
- MEMORY FULL/FINALIZE CD may also appear when
unfinalizing a CDRW disc for which text was stored (see
'Unfinalizing CDRW discs'). The same action(s) should be
taken in order to obtain memory space.
Auto track increment
1Select the AUTO TRACKING sub menu.
➜ AUTO TRACK will appear on the display.
2Press EASY JOG/ENTER or ENTER on the remote control to
confirm.
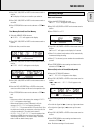
3Select TRACK ON or OFF.
4 Press EASY JOG/ENTER or ENTER on the remote control to
confirm.
➜ ON or OFF will appear on the display for 2 seconds.
•When ON is selected, track numbers will be automatically
incremented during recording.
•When OFF is selected, you can number the recorded tracks
yourself.
5 Press STORE/MENU to store settings and return to the
submenu or STOP 9 to exit.
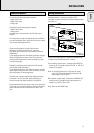
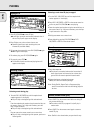
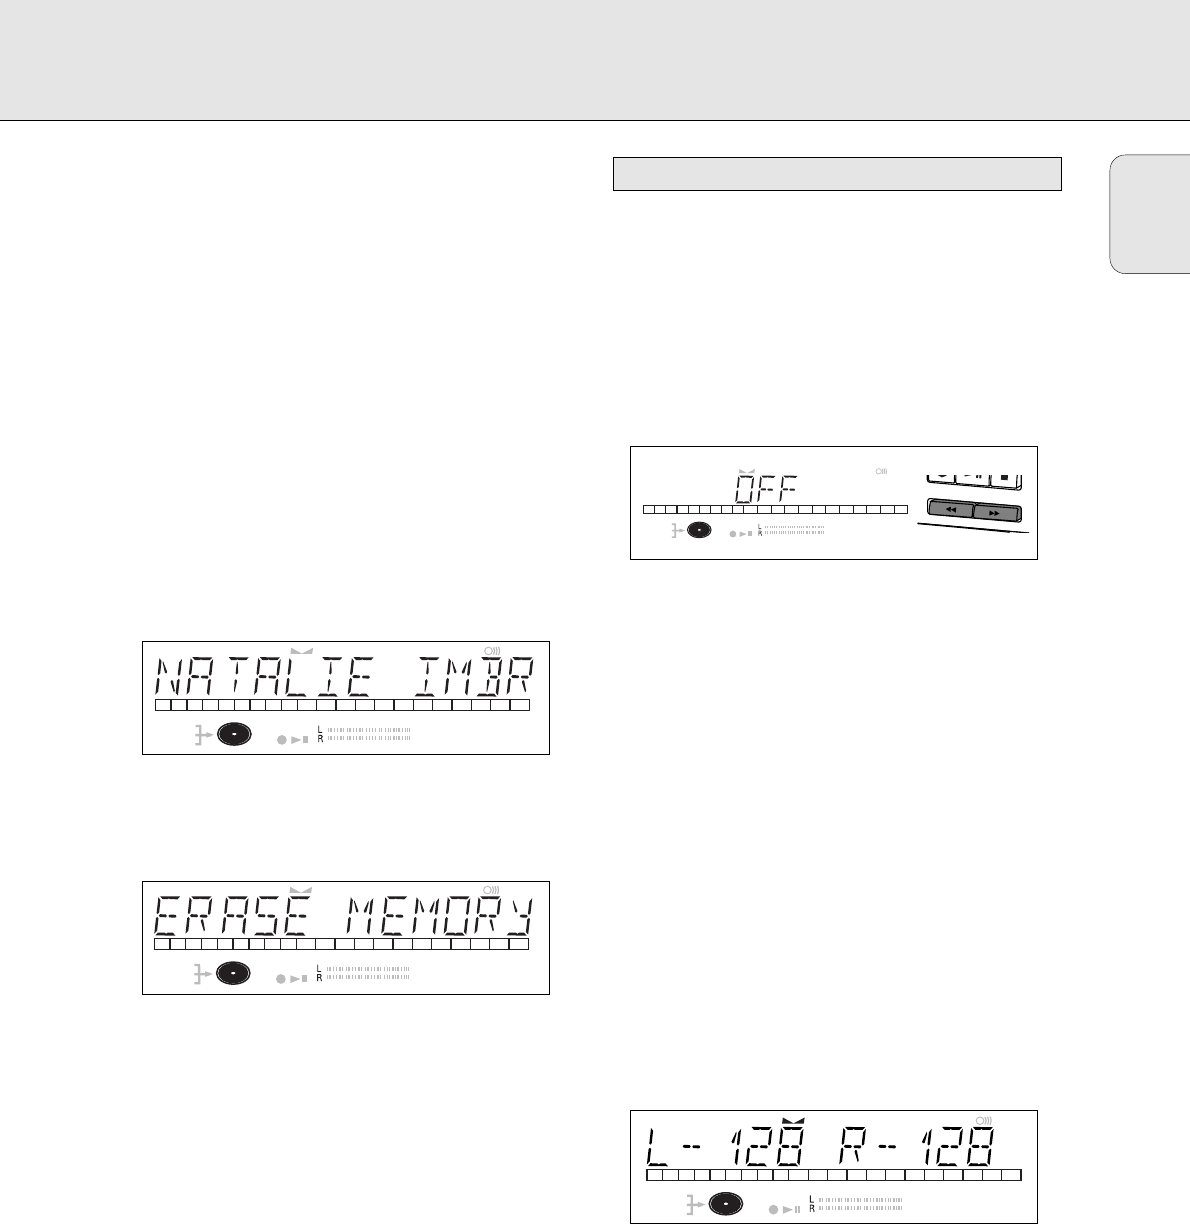
Balance (Only active in Record/Standby mode)
1 Select the SET BALANCE submenu.
➜ SET BALANCE will appear on the display.
2 Press EASY JOG/ENTER or ENTER on the remote control to
confirm.
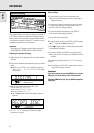
➜ FE and L-128 R-128 will appear on the
display.
3 Adjust recording balance by turning the EASY JOG/ENTER
key.
•Turn left: the figure left (F) counts up, right counts down.
•Turn right: the figure right (E) counts up, left counts
down.
4 Press EASY JOG/ENTER or ENTER on the remote control to
confirm.
5 Press STORE/MENU to store settings and return to the
submenu or STOP 9 to exit.
Note: The balance setting will not be stored.
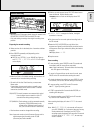
DIGITAL
OPTICAL
ANALOG
I
I
CD
SYNC
PROGRAM
SHUFFLE
REPEAT
SCAN
ALL
MANUAL
TRACK
RW
REM
TRACKREC TIME
REMTOTAL
TIME STEPTRACK
FADE
12345
DIGITAL
OPTICAL
ANALOG
I
I
CD
SYNC
PROGRAM
SHUFFLE
REPEAT
SCAN
ALL
MANUAL
TRACK
RW
REM
TRACKREC TIME
REMTOTAL
TIME STEPTRACK
FADE
12345
REWIND
E
FFWD
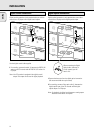
Recording settings
DIGITAL
OPTICAL
ANALOG
I
I
CD
SYNC
PROGRAM
SHUFFLE
REPEAT
SCAN
ALL
MANUAL
TRACK
RW
REM
TRACKREC TIME
REMTOTAL
TIME STEPTRACK
FADE
12345
DIGITAL
OPTICAL
ANALOG
I
I
CD
SYNC
PROGRAM
SHUFFLE
REPEAT
SCAN
ALL
MANUAL
TRACK
RW
REM
TRACKREC TIME
REMTOTAL
TIME STEPTRACK
FADE
12345
MENU MODE