


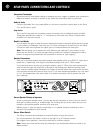

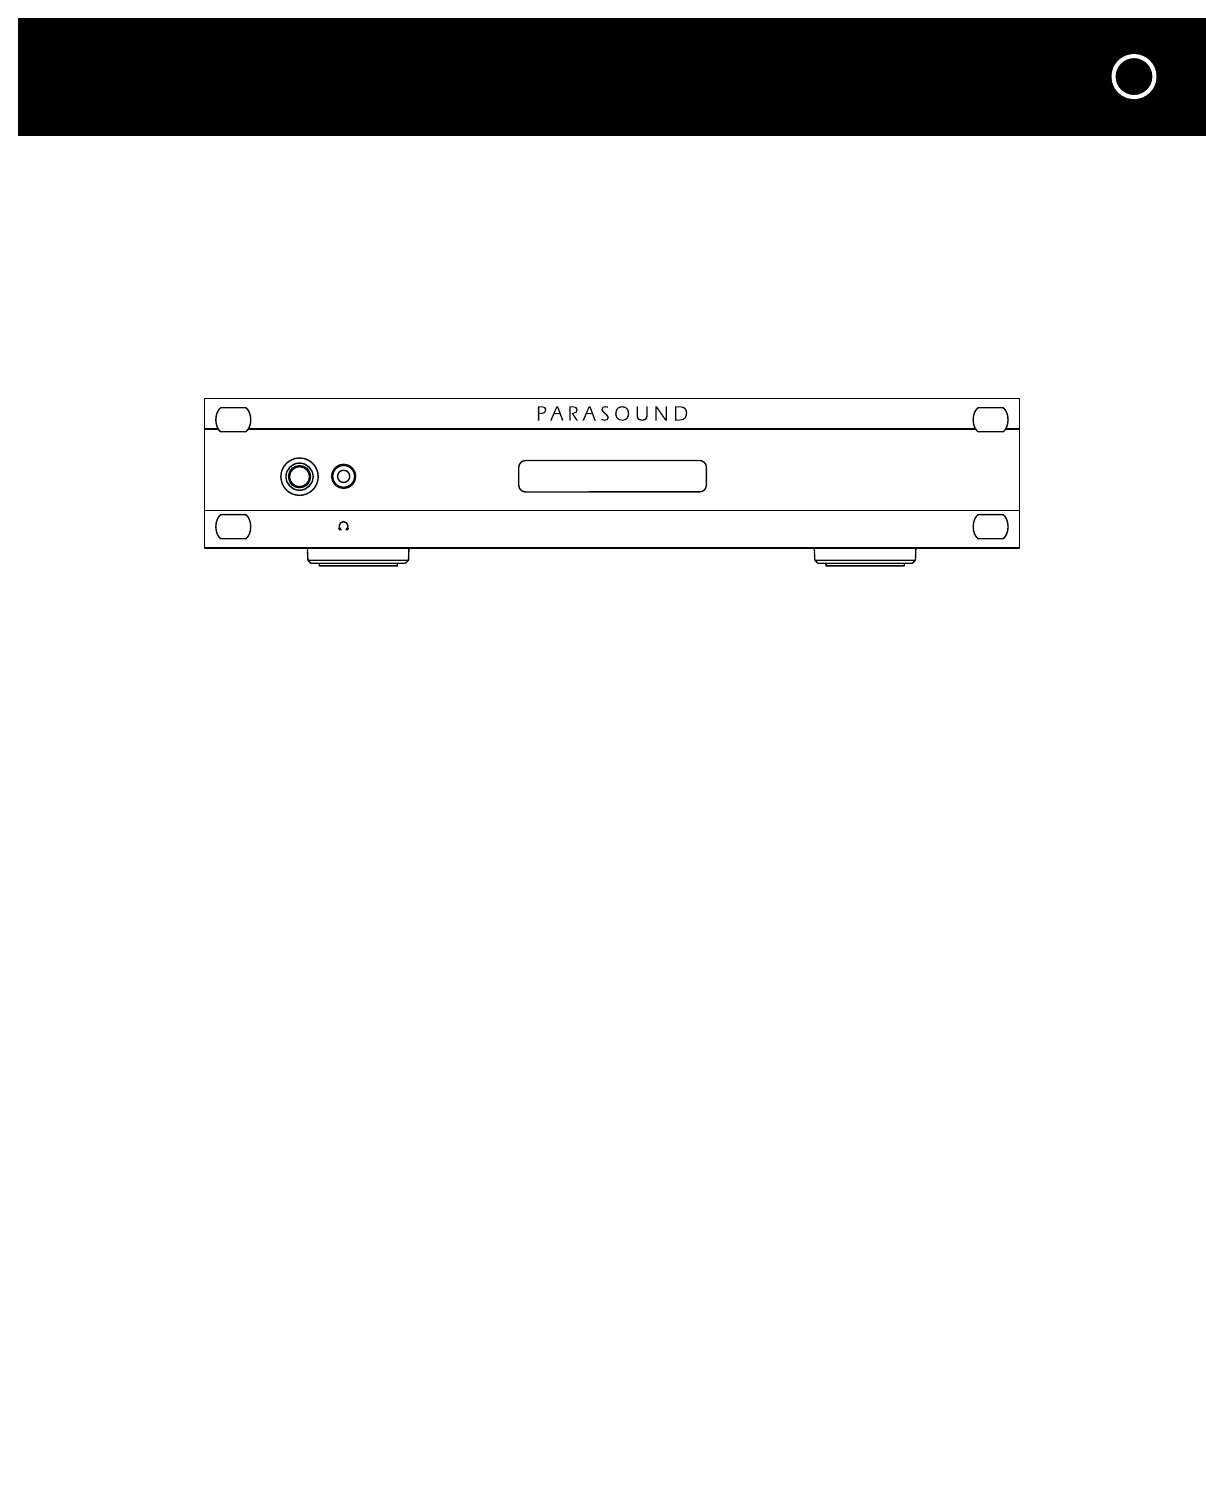
FRONT PANEL CONTROLS AND INDICATORS
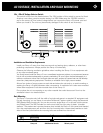
Power Button
Press the Power button once to turn the Zamp v.3 on, press it again to turn it off.
Note: The Power button is inoperative when the Auto On switch is set to Audio or 12V.
L and R Channel Indicators
L and R will illuminate green when the Zamp v.3 is turned on and is operating normally. The
green L or R indicator will not light if the fault condition is only in that channel. Neither L or R
will illuminate if there is a general fault or if the temperature is too high.
Protect Indicator
Protect will illuminate red when the Zamp v.3 has experienced either an internal or external fault
condition which has also activated its protection circuit to prevent internal damage.
Note: It is normal for Protect to flash on for 1 – 2 seconds after the unit is turned on.
Hi-Temp Indicator
Hi-Temp will illuminate red when the Zamp v.3 reaches its maximum safe operating temperature.
If the heat persists the unit will soon shut itself off for protection and will remain off until the
temperature drops. If Hi-Temp appears, the unit has been over-driven at too high a listening level
and/or too low impedance speaker load or has not been provided with sufficient ventilation.
Headphone Jack
The headphone jack on the front panel accepts a
1
⁄8
" (3.5 mm) plug. Its high current headphone
circuit will easily drive headphones with an impedance of 8 Ω or higher. The output to the
speaker terminals is disconnected when you plug headphones into the Zamp v.3.
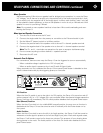
Maintaining Your Zamp v.3
Your Parasound Zamp v.3 power amplifier requires no periodic maintenance other than to
receive an occasional flattering remark. It has no user-serviceable parts inside. To avoid the risk
of electric shock, do not remove its top cover. The exterior can be cleaned with a soft cloth
pre-moistened only with a few drops of water or glass cleaner.
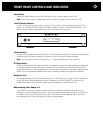
Power
Hi-TempRLProtect
Zamp v.3 Zone Amplifier
7