6
UNPACKING YOUR JC 2 AND PLACEMENT GUIDELINES
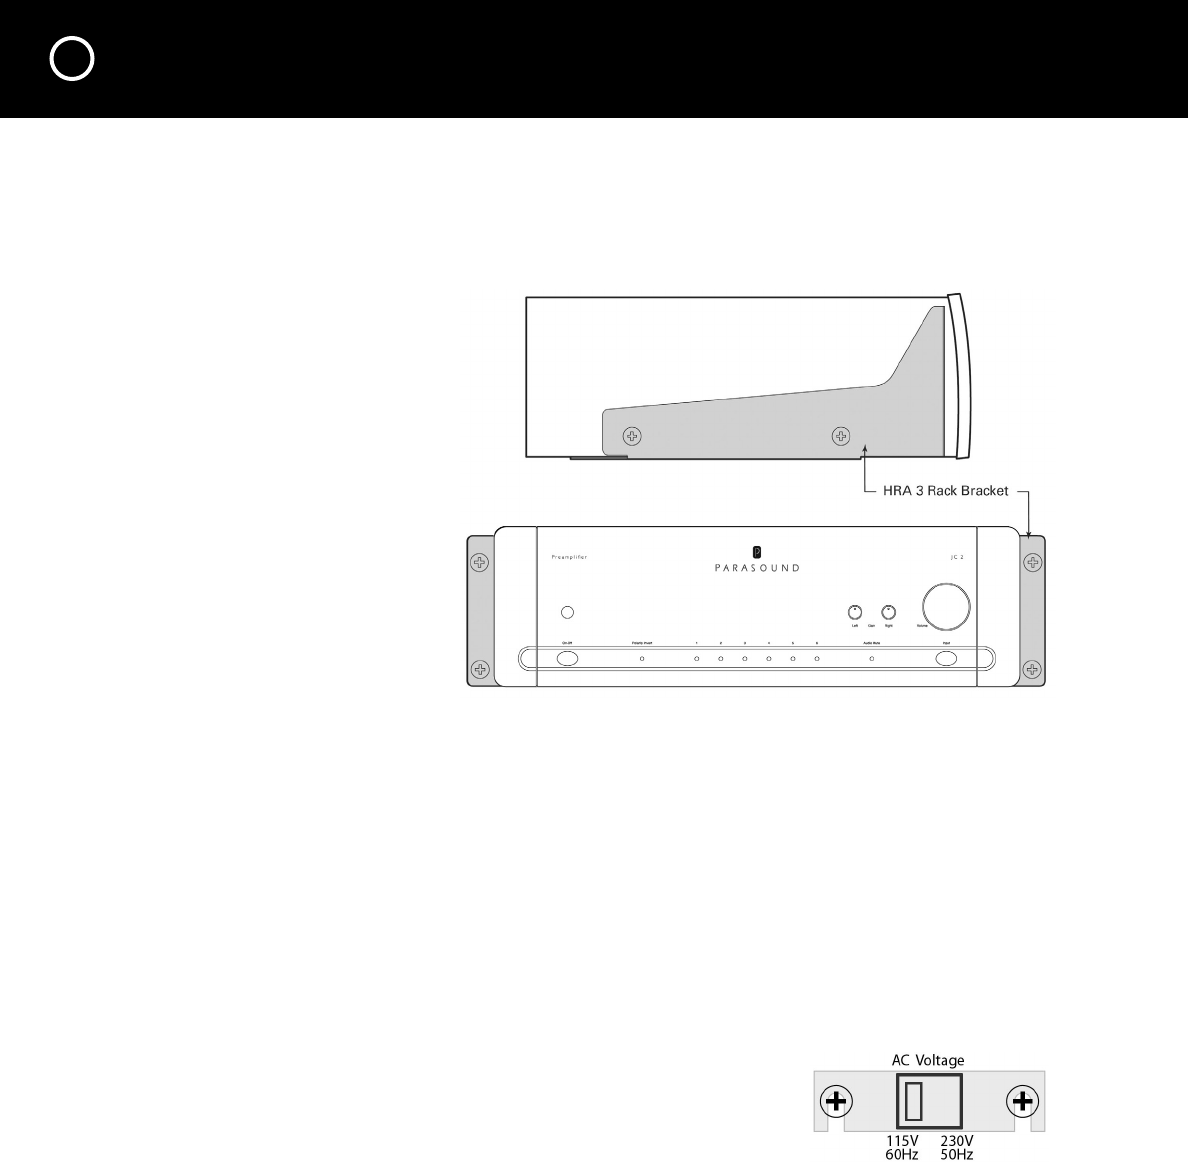
Rack Mounting Your Parasound JC 2
With its four feet removed, the JC 2’s front panel height occupies three rack spaces (5
1
/
4
” or
133 mm. (A single standard rack space occupies 1
3
/
4
” vertical space.) For mounting in a standard
19” equipment rack, you must use the Parasound HRA 3 rack mount kit (purchased separately).
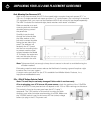
The HRA 3 includes four bolts and eight plastic washers with raised “shoulders.”
Slide one washer onto each
mounting bolt with its raised
shoulder pointing toward
the panel hole.
Carefully insert the bolt
through the hole and slide
the other washer on the
bolt with its raised shoulder
facing the rear side of the
panel. The washers will
sandwich the JC 2 panel
and the four mounting bolts
to prevent metal-to-metal
contact between the Model
JC 2 chassis, the equipment
rack, and the other compo-
nents mounted in the rack.
Note: Tighten each bolt just enough to keep the unit secure in the rack to avoid deforming the
shoulder washers.
Eliminating metal-to-metal contact reduces the likelihood of creating a ground loop that might
introduce hum into your system.
A custom rack-mount shelf for the JC 2 is available from Middle Atlantic Products, Inc.
®
,
http://www.middleatlantic.com/
115v – 230v AC Voltage Selector Switch
Note: The unit may be seriously damaged if this switch is set incorrectly.
Prior to plugging your JC 2 into an AC power source, check the position of the 115v/230v
switch on the JC 2’s rear panel and do not depend on the 115v or 230v markings on the carton.
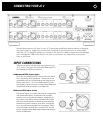
This switch is found on the rear panel near the AC (“mains”)
receptacle. The 115V position of this switch is correct for North
America; most other countries require setting it to 230V. Make sure
the 115/230V switch is set for the correct AC line (mains) voltage
before you plug in the JC 2’s power cord.


