


RQT9995
6
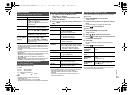
Network settings
You can stream music from an iOS device (iPhone/iPad/
iPod), an Android™ device or a PC (Mac/Windows) to
this system’s speakers by using the Qualcomm
®
AllPlay™ smart media platform, DLNA feature, or
AirPlay. To use these features, this system must join the
same network as the compatible device.
• Please update the system’s software after the network
settings are complete. (> 17)
Choose a network setting method from the
following.
Note:
• The setting will be cancelled after the set time limit. In that
case, try the setting again.
To cancel this setting in the middle, press [∫].
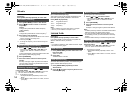
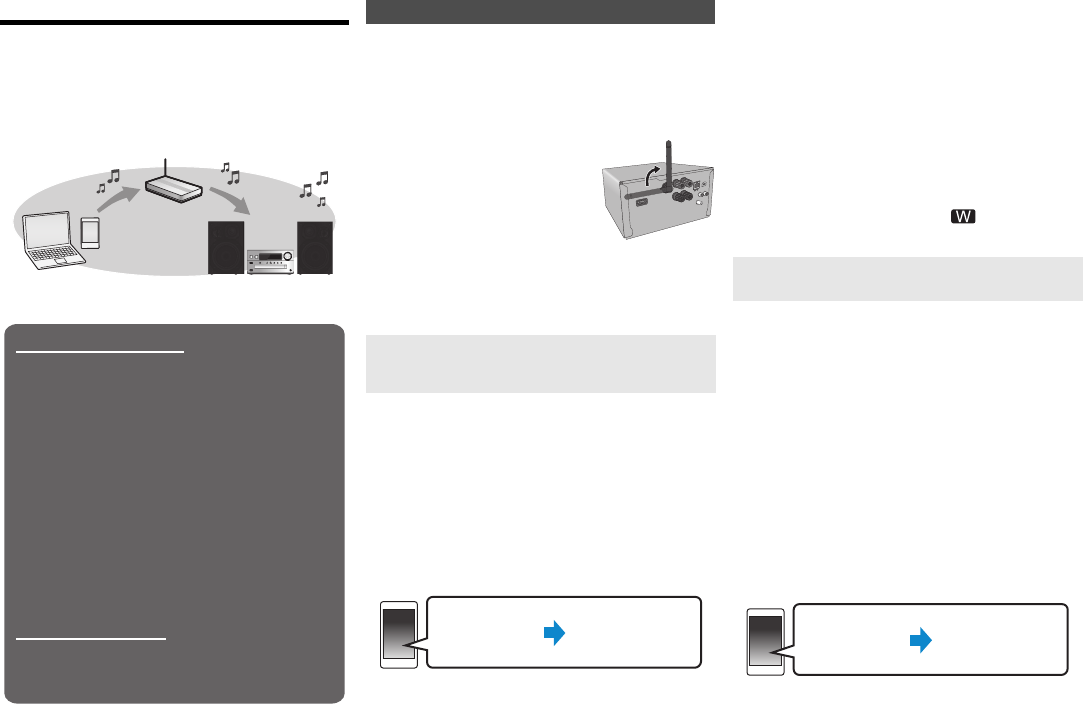
This system has built-in Wi-Fi
®
and can be connected to
a wireless router.
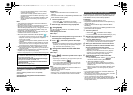
Preparation
• Place this system as close to the wireless router as
possible.
• Do not connect a LAN cable. Doing so will disable the
Wi-Fi
®
function.
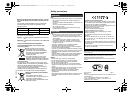
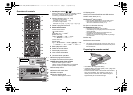
• Point the antenna on the rear of
the main unit up as shown in the
figure.
• Do not perform the following:
- Tilting the antenna forward or
backwards when it is pointing up
- Applying too much force to the
antenna
- Carrying this unit by holding the antenna
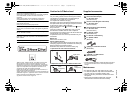
1 Turn this system on.
2 Proceed to “Method 1”, “Method 2” or
“Method3”.
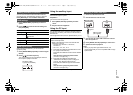
• The following explanations are based on an iPhone.
1 Connect the iPhone to your home wireless
network.
2 Press [RADIO, EXT-IN] on the remote control
repeatedly to select “Network”.
• When “WAC Mode” is indicated on the display, proceed
to step 3.
– If the display stays at “Network”, perform the
operation for network reset. (> 18)
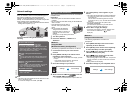
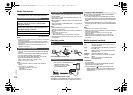
3 Go to Wi-Fi settings on your iPhone.
4 Select “Panasonic PMX100 ” under the
“SET UP NEW AIRPLAY SPEAKER...”.
•“ ” stands for a character that is unique to each set.
5 The “AirPlay Setup” screen appears on your
iPhone.
• This system will be displayed as “Panasonic PMX100”*.
* To change the name, enter a new name to replace
the existing one.
You can also do the renaming after the network
connection is set up. (> 8, “To make network-related
settings”)
• You can set a password for this system under
“SPEAKER PASSWORD”.
(You will need this password if you make network
settings by Internet browser next time.)
6 Select “Next” to apply the settings.
• On the main unit’s display, “Success” appears when
the connection is established. (“ ” will be
displayed.)
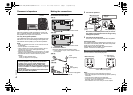
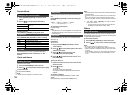
• The following explanations are based on a
smartphone.
1 Press [RADIO, EXT-IN] on the remote control
repeatedly to select “Network”.
2 Press [SETUP] on the remote control repeatedly
to select “Net Setup” and then press [OK].
3 Press [3, 4] on the remote control to select
“Manual” and then press [OK].
4 Press [2, 1] on the remote control to select
“OK? Yes” and then press [OK].
• After pressing [OK] to confirm “OK? Yes”, the previous
network connection you have set with this unit will be
cleared.
“Setting” blinks on the display.
5 Go to Wi-Fi settings on your compatible device.
Wireless LAN connection
Method 1: “Using the WAC (Wireless
Accessory Configuration)” (> right)
• If you are using an iPhone/iPad/iPod touch (iOS
version 7.0 or later), or Mac (OS X 10.9 or later,
with AirPort Utility 6.3.1 or later), you can sent its
Wi-Fi configuration to this system.
Method 2: “Using an Internet browser”
(> right)
• You can access this unit’s network settings from
the Internet browser on your smartphone or PC,
etc.
Method 3: “Using WPS (Wi-Fi Protected
Setup™)” (> 7)
• If your wireless router supports WPS, you can set
up a connection by either pressing the WPS
button, or entering the WPS PIN code.
Wired LAN connection
Method 4: “Using a LAN cable” (> 8)
• You can make a stable connection to the network
with a LAN cable.
Wireless LAN connection
Method 1:
Using the WAC
(Wireless Accessory Configuration)
Settings
Wi-Fi settings
Method 2:
Using an Internet browser
Settings
Wi-Fi settings
SC-PMX100-100B_EGEBGN-RQT9995-B.book 6 ページ 2015年4月20日 月曜日 午後3時45分