RQT8779
22
Using on-screen menus
Using on-screen menus
∫ Audio Menu
∫ Display Menu
∫ Other Menu
Other Settings Items shown differ depending on the type of disc.
Dolby Pro Logic II
(➜ page 30, Enhancing the stereo sound:
Dolby Pro Logic II)
Dialogue Enhancer
To make the dialogue in movies easier to
hear
[DVD-V] (Dolby Digital, DTS, 3-channel or
higher, with the dialogue recorded in the
center channel)
On ,------. Off
Sound
Enhancement
Enhances audio output to reduce noise and
improve clarity.
On ,------. Off
Information
[JPEG] Off, Date, Details
Subtitle Position
0 to s60 (in 2 unit steps)
Subtitle Brightness
Auto, 0 to s7
4:3 Aspect
To select how to show images made for
4:3 aspect screens on a 16:9 aspect
television
Normal: Laterally stretches images.
Auto: Expands 4:3 letterbox images to fill
more of the screen. Other images
appear in full in the center of the
screen.
Shrink: Images appear in the center of the
screen.
Zoom: Expands all images to fill the screen.
If your television has a similar feature, use it
instead for a better effect.
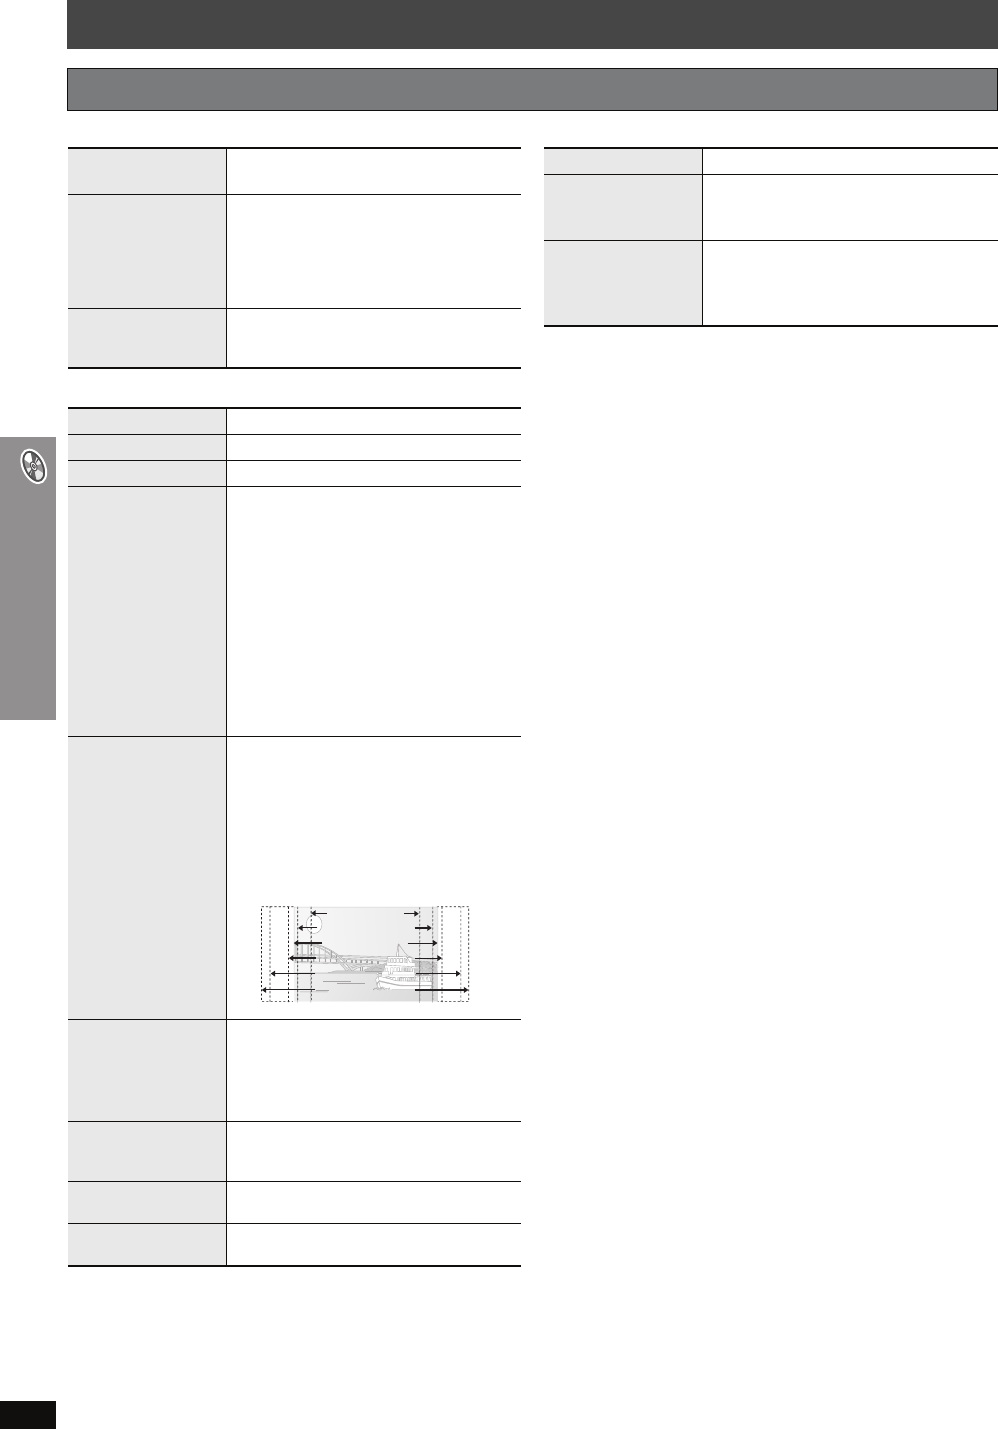
Just Fit Zoom
To select the appropriate screen size to fit
your television screen
[DVD-A] (Motion picture part)
[DVD-VR] [DVD-V] [VCD]
Auto, 4:3 Standard, European Vista,
16:9 Standard, American Vista,
Cinemascope1, Cinemascope2
Manual Zoom
To zoom in and out manually
– in 0.01-unit steps from “k1.00” to “k1.60”
– in 0.02-unit steps from “k1.60” to “k2.00”
≥To change the steps more quickly, press
and hold [3, 4].
Bit Rate Display
[DVD-A] (Motion picture part)
[DVD-VR] [DVD-V] [VCD]
On ,------. Off
GUI See-through
To make the on-screen menu transparent
Off, On, Auto
GUI Brightness
To adjust the on-screen menu brightness
s3 to r3
16:9 Standard (16:9)
4:3 Standard (4:3)
European Vista (1.66:1)
American Vista (1.85:1)
Cinemascope1 (2.35:1)
Cinemascope2 (2.55:1)
e.g.
Setup
(➜ page 23)
Play as DVD-Video
or
Play as DVD-Audio
To play DVD-Video contents of DVD-Audio
Select “Play as DVD-Video”.
Play as DVD-VR,
Play as HighMAT
or
Play as Data Disc
To use functions for data discs
(➜ page 18)
Select “Play as Data Disc”.
