RQT7534
16
Before Before
Before
Before
Before
Before
Disc operations
Zoom function
(Motion picture parts only)
Change the zoom ratio so the picture expands to the optimum size
to fill the screen.
Preparation
Change the setting “TV Aspect” to suit your television (
AA
AA
A page 28).
During play
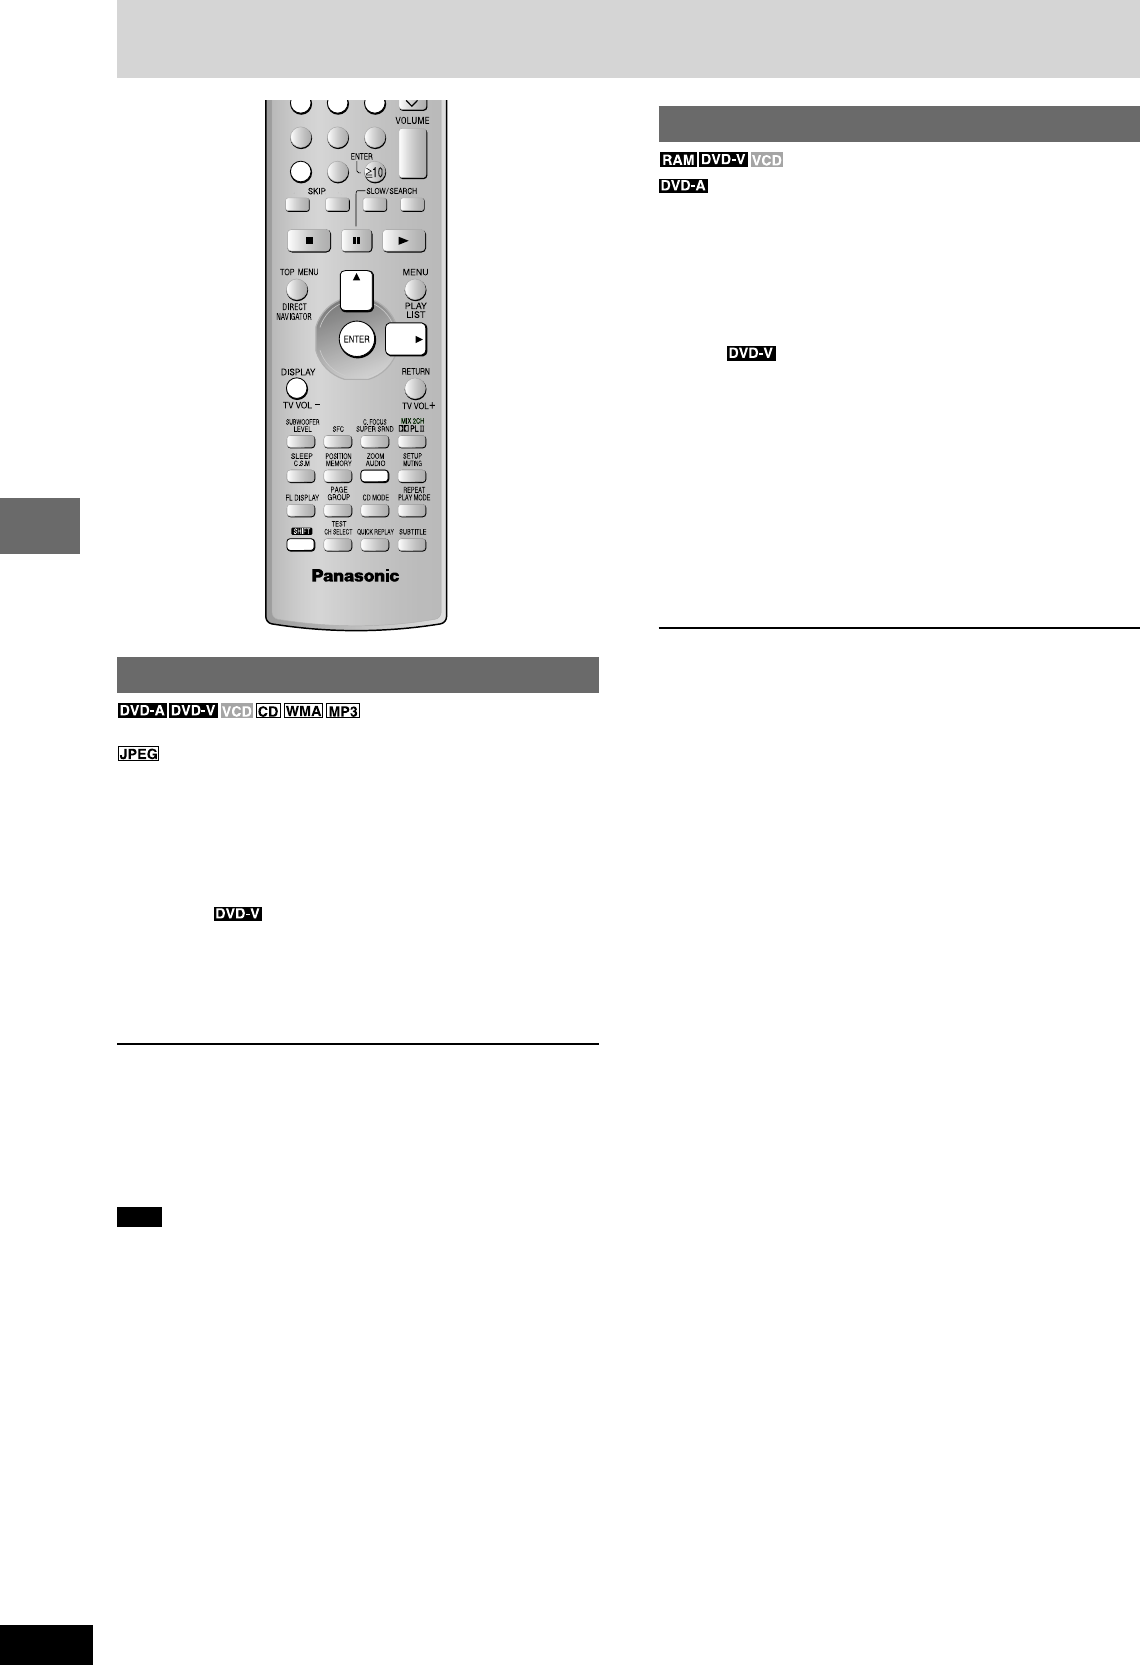
Press [SHIFT]+[ZOOM] to select the aspect ratio.
Example
Each time you press the button:
Auto → 4:3 Standard → European Vista → 16:9 Standard
Cinemascope2 ← Cinemascope1 ← American Vista
¡ Refer to the disc’s instructions and “Screen size” below for the aspect
ratio of the picture.
To restore the original ratio
Press [SHIFT]+[ZOOM] until the ratio returns to 1.00.
¡ The ratio also returns to 1.00 when you change the disc, change
the source or switch the unit to standby.
¡ The ratio may return to 1.00 when a menu is displayed.
Making fine adjustments (Manual Zoom) to the zoom ratio
Press [;, :].
– From x1.00 to x1.60 (in 0.01 units).
– From x1.60 to x2.00 (in 0.02 units).
¡ Press and hold [;, :] to alter faster.
L Screen size
Movies are made using a variety of screen sizes.
Discs—Convenient functions
Marking places to play again
(Only when the elapsed play time
can be displayed)
You can mark a position so you can return to it easily at a later time.
1 During play
Press [DISPLAY] (A page 21).
2 Press [8, 9] to select “Other Settings” and press
[ENTER].
3 Press [8, 9] to select “Play Menu” and press [ENTER].
Example
4 Press [8, 9] to select “Marker” and press [ENTER].
5 Press [ENTER] at the point you want to mark.
To mark another position
Up to 5 points
1 Press [:] to select “¤”.
2 Press [ENTER] at the point.
To recall or erase a marker
1 Press [;, :] to select a marker.
2 Press [ENTER] to recall or press [CANCEL] to erase.
Note
Markers added with this unit clear when you switch the unit to
standby, change the source, or change the disc.
→
→
