


- 4 - - 5 -
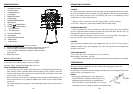
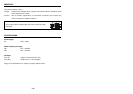
REMOTE CONTROL
1 STANDBY/ON Button
2 CD /MP3 Button
3 TUN/BAND Button
4 P.EQ Button
5 MEM/PROG Button
6 SLEEP Button
7 RANDOM/MEM-DN Button
8 MUTE Button
9 TRACK/TUNING Button
10 TRACK/TUNING Button
11 - VOLUME Button
12 + VOLUME Button
13 PLAY/PAUSE Button
14 STOP Button
15 REPEAT/MUM-UP Button
16 TIMER Button
17 CLOCK Button
PREPARATION BEFORE USE (Batt. not included)
1. Remove the battery cover from the back of the remote control unit.
2. Insert two "AAA" size batteries. Insert the batteries with the
+ and - terminals matching the indication inside the battery
compartment.
3. Replace the cover.
BATTERY REPLACEMENT
When the remote control operation becomes unstable
or the distance from which remote control is possible
becomes shorter, replace the batteries with new ones.
USING THE REMOTE CONTROL UNIT
• To use remote control unit, point it at the remote sensor and press the button gently and
frimly. Remote control is possible within about 5m (approx. 16FT). However, since the
remote control range is less when the unit is used at an angle, use directly in front of the
remote sensor, as far as possible.
• Do not expose the remote sensor to strong light (direct sunlight or artificial lighting) and
make sure that there are no obstacles between the remote sensor and the remote
control unit.
• The remote control also incorporates a stand-by facility. Please note, this does not turn
the unit off.
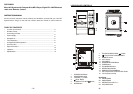
CONNECTING TO POWER
CAUTION
Do not plug the power cord into an AC wall outlet until all connections have been made.
Be sure to make the correct connections, paying attention to the left and right speakers.
Plug in the cables securely; loose connections will result in unsatisfactory sound
reproduction or cause noise problems.
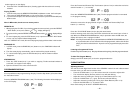
1. Speaker Jacks - Connect the left and right speakers to these ternimals.
2. AC Cord - Plug into a conveniently located 120V AC, 60Hz outlet.
SPEAKER CONNECTION
1. Place the speakers in convenient locations on either side of the unit. Usually a distance
of five to eight feet between speakers provides the best stereo effect, but this may vary
depending on the size and acoustics of the room.
2. Locate the Speaker Terminals on the rear of the unit and connect the left speaker to
the jack marked L and the right speaker to the jack marked R.
CAUTION
Only connect the speakers which are supplied with the unit. The use of any other or
additional speakers may cause damage to the unit. Never operate the unit without the
speakers connected.
SAFETY PRECAUTION
Do not allow this unit to be exposed to rain or moisture.
Mains Supply: 120V 60Hz - AC only
This symbol means that this unit is double insulated. An earth connection is not required.
POWER SUPPLY
Remove the stereo carefully from the box, retaining the packaging for future use.
AC POWER OPERATION
Plug the power cord into an AC outlet having 120V, 60Hz only. Connecting this unit to other
power sources may damage the unit.
NOTES:
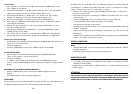
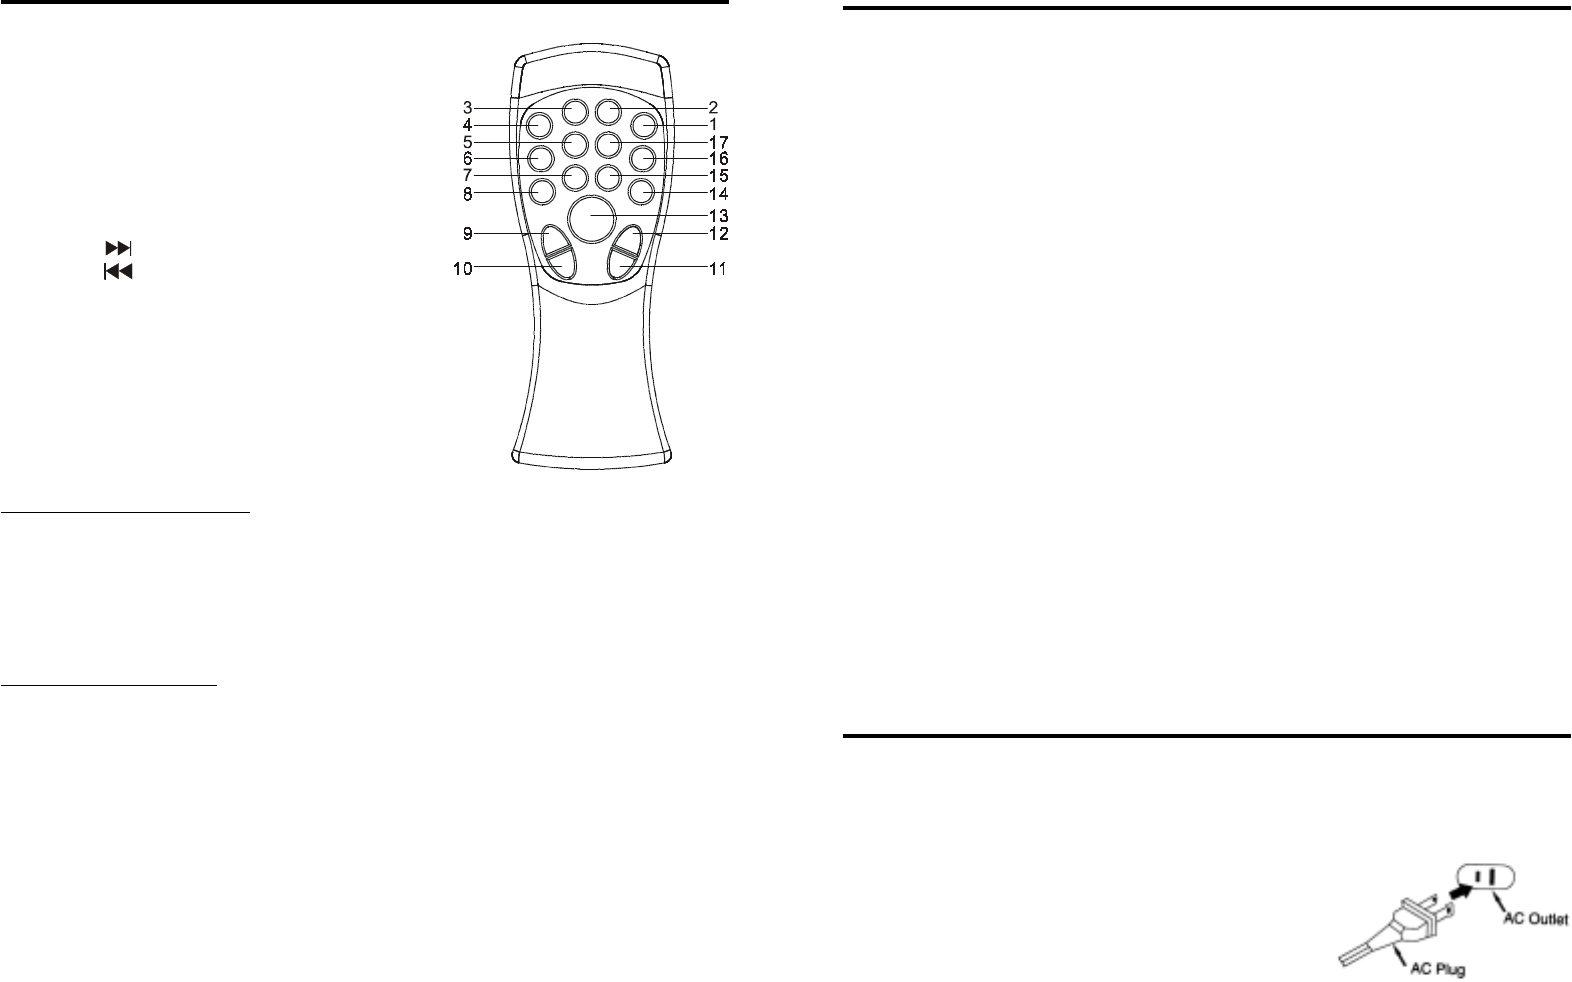
1.The AC plug supplied with the unit is polarized to
help minimize the possibility of electric shock. If the
polarized plug does not fit into a nonpolarized AC
outlet, do not file or cut the wide blade; it is the user's
resonsibility to have an electrican replace the obsolete outlet.