75
En
If you’ve connected your Zone 2/3 speakers to the AV
receiver, as explained in “Connecting Your Zone 2 Speak-
ers Directly to the AV receiver” (➔ 73) or “Connecting
Your Zone 3 Speakers Directly to the AV receiver”
(➔ 74), you must set the “Powered Zone2” or “Powered
Zone3” setting to “Act” (Activated).
Note
• Powered Zone 2 cannot be used if “Speakers Type(Front)” is
set to “Bi-Amp” (➔ 47).
• This procedure can also be performed on the AV receiver by
using SETUP, arrows, and ENTER.
Note
• This procedure can also be performed on the AV receiver by
using SETUP, arrows, and ENTER.
■ Zone2 Out, Zone3 Out
`Fixed
:
The Zone 2/3 volume must be set on the amp in that
zone.
`Variable:
The Zone 2/3 volume can be set on the AV receiver.
If you’ve connected your Zone 2/3 speakers to an amp
with no volume control, set the “Zone2 Out” and “Zone3
Out” setting, respectively, to “Variable” so that you can
set the volume, balance, and tone of zone 2 and volume of
zone 3 on the AV receiver.
■ Zone2 Maximum Volume,
Zone3 Maximum Volume
`Off
, 50 to 99 (Absolute display)
`Off
, –32dB to +17dB (Relative display)
With this setting, you can limit the maximum volume for
Zone 2/3.
■ Zone2 Power On Volume,
Zone3 Power On Volume
`Last
, Min, 1 to 99 or Max (Absolute display)
`Last
, – dB, –81dB to +18dB (Relative display)
This setting determines what the volume will be for
Zone 2/3 each time the AV receiver is turned on.
Setting the Powered Zone 2/3
1
Press RECEIVER followed by SETUP.
The main menu appears onscreen.
Tip
• If the main menu doesn’t appear, make sure the appropri-
ate external input is selected on your TV.
2
Use / to select “Speaker Setup”, and then press
ENTER.
The “Speaker Setup” menu appears.
3
Use / to select “Speaker Settings”, and then
press ENTER.
The “Speaker Settings” menu appears.
4
Use / to select “Powered Zone2” or “Powered
Zone3”, and use / to select:
`Not Act
:
FRONT WIDE/ZONE 2 L/R or FRONT
HIGH/ZONE 3 L/R speaker terminals not
activated (Powered Zone 2/3 disabled).
`Act:
FRONT WIDE/ZONE 2 L/R or FRONT
HIGH/ZONE 3 L/R speaker terminals acti-
vated (Powered Zone 2/3 enabled).
5
Press SETUP.
The setup menu closes.
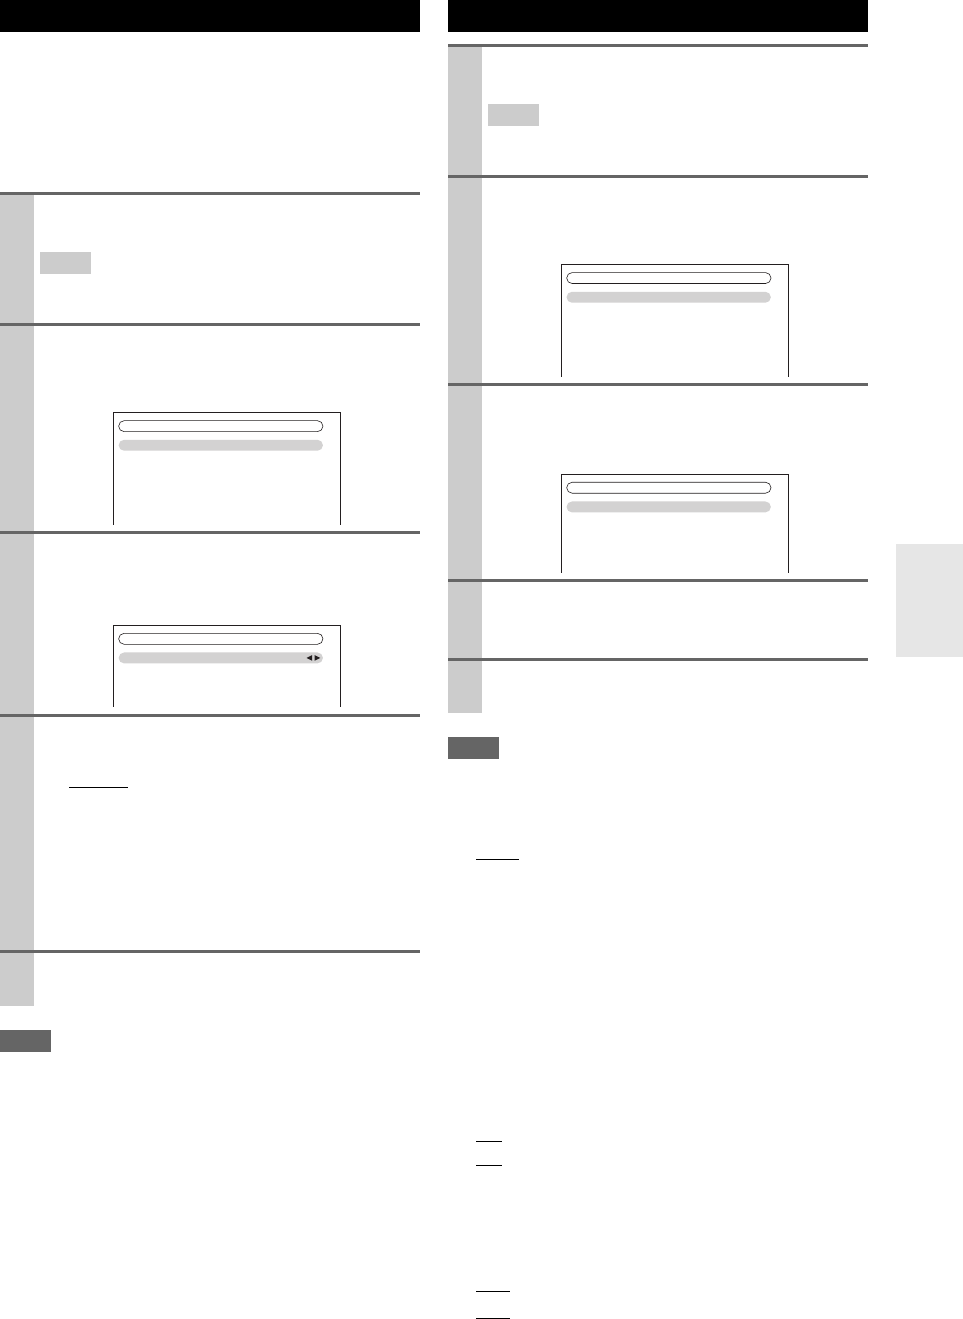
2. Speaker Setup
1. Speaker Settings
2. Speaker Configuration
3. Speaker Distance
4. Level Calibration
5. Equalizer Settings
6. THX Audio Setup
2–1. Speaker Settings
Speaker Impedance
Speakers Type(Front)
Powered Zone2
Powered Zone3
6ohms
Normal
Not Act
Not Act
Setting the Multi Zone
1
Press RECEIVER followed by SETUP.
The main menu appears onscreen.
Tip
• If the main menu doesn’t appear, make sure the appropri-
ate external input is selected on your TV.
2
Use / to select “Hardware Setup”, and then
press ENTER.
The “Hardware Setup” menu appears.
3
Use / to select “Multi Zone”, and then press
ENTER.
The “Multi Zone” menu appears.
4
Use / to select an item, and use / to change
it.
The items are explained below.
5
Press SETUP.
The setup menu closes.
7. Hardware Setup
1. Remote ID
2. Multi Zone
3. Tuner
4. HDMI
5. Auto Power Down
6. Network
7. Firmware Update
7-2. Multi Zone
Zone2 Out
Zone2 Maximum Volume
Zone2 Power On Volume
Zone3 Out
Zone3 Maximum Volume
Zone3 Power On Volume
Fixed
Off
Last
Fixed
Off
Last


