76
Advanced Setup
—Continued
PowCtrl
To link the power functions of RIHD-compatible com-
ponents connected via HDMI, select Enable.
Disable:
Power Control disabled.
Enable:
Power Control enabled.
Notes:
• The Power Control setting can be set only when the
above Control setting is set to Enable.
• HDMI power control only works with RIHD-compat-
ible components that support it and may not work
properly with some components due to their settings
or compatibility.
• When set to Enable, the AV receiver consumes more
power.
• When set to Enable, the AV receiver enters Ready
mode when set to Standby, and the STANDBY indica-
tor lights up.
• When set to Enable, regardless of whether the AV
receiver is On or on Standby, both audio and video
received by an HDMI input will be output by the
HDMI OUT for playback on the TV or other compo-
nent that’s connected to the HDMI OUT.
TV Ctrl
Select Enable to control the AV receiver from an RIHD-
compatible TV connected via HDMI.
Disable:
TV Control disabled.
Enable:
TV Control enabled.
Notes:
• Select Disable if your TV is incompatible or you’re
not sure about its compatibility.
• The TV Control setting can be set only when the above
Control and Power Control settings are both set to
Enable.
• When the AudioTVOut setting is set to On, or TV
Control is set to Enable and you’re listening through
your TV’s speakers (see page 28), if you turn up the
AV receiver’s volume control, the sound will be output
by the AV receiver’s speakers. To stop the AV
receiver’s speakers producing sound, change the set-
tings, change your TV’s settings, or turn down the AV
receiver’s volume.
With this setting, you can protect your settings by lock-
ing the setup menus.
Note:
• After changing the Control, Power Control, or TV
Control setting, be sure to turn all of your compo-
nents off and then back on again. Refer to the
instruction manuals for your other components.
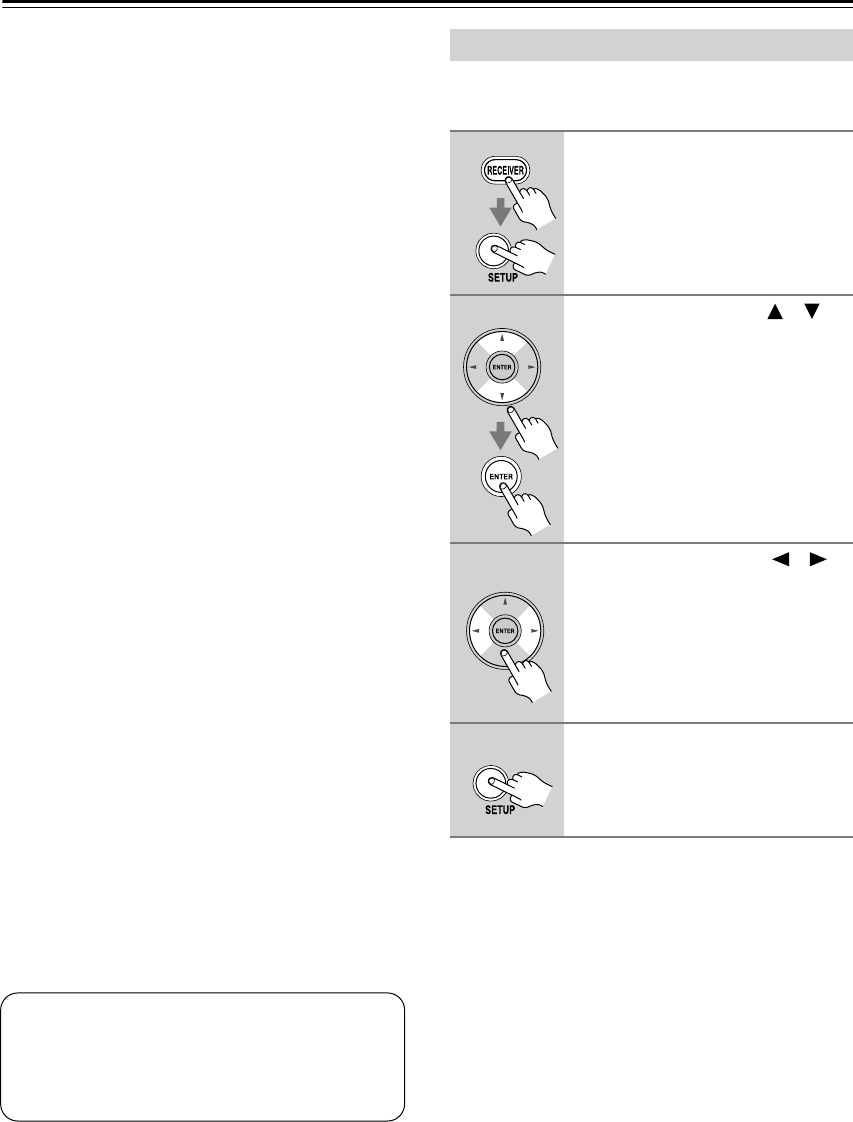
Lock Setup (TX-SR576 only)
1
Press the [RECEIVER] button,
followed by the [SETUP] button.
2
Use the Up and Down [ ]/[ ]
buttons to select “8.Lock Setup,”
and then press [ENTER].
3
Use the Left and Right [ ]/[ ]
buttons to select:
Locked:
Setup menus locked.
Unlocked:
Setup menus unlocked.
When Locked is selected, only this
Lock Setup item can be accessed.
4
Press the [SETUP] button.
Setup closes.


