24
Setting the Clock
• The explanation in this section assumes
that the unit has been powered on (set to
“Stand-by On”). This section explains how
to set the clock using the 24-hour display.
However, you can later change this set-
ting to the 12-hour display.
• The display indicator turns off if you do
not operate any buttons for more than
one minute during the clock setting pro-
cedure.
• The display indicator turns off if a power
outage occurs or if the power cord is dis-
connected from an AC outlet after you
set the clock. In this case, re-set the clock.
• To use the clock function, be sure to con-
nect the power cord to the AC outlet that
provides an uninterrupted current flow.
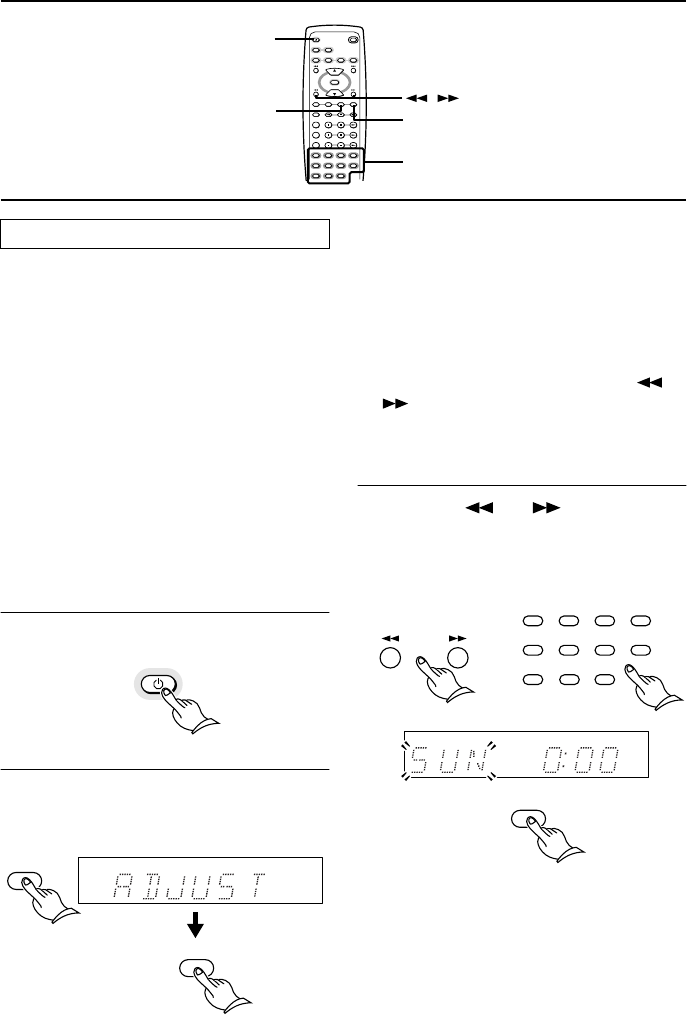
1 Press the STANDBY/ON button.
The STANDBY indicator goes out.
2 Press the TIMER button until “AD-
JUST” is selected on the display, then
press the ENTER button.
The day of the week will flash on the dis-
play.
• If you do not operate any buttons for
about eight seconds after you press the
TIMER button, the display returns to the
previous indication.
•“AUTO” or “MANUAL” appears on the
display in Standby mode.
If “MANUAL” appears on the display,
press the ENTER button. If “AUTO”
appears on the display, press the or
button to select “MANUAL,” then
press the ENTER button.
The day of the week will flash on the dis-
play.
3 Press the or button or the
number buttons until the desired day
of the week is selected, then press the
ENTER button.
The time will flash on the display.
The number buttons on the remote con-
troller:
1: SUN 3: TUE 5: THU 7: SAT
2: MON 4: WED 6: FRI
REPEAT
STANDBY/ ON
TAPE
TAPE REW TAPE FF
SLEEP TIMER ENTER
CLOCK
MODE
CLEAR
SCROLL
CDR/PC
CD/ DVD
MD FM AM
ACOUSTIC
PRESENCE
INPUT SELECTOR
TAPE
CDR/PC
CD/DVD
MD
V
O
L
U
M
E
MUTING
7
8
9
10/0
4
5
6
2
3
1
--
/
---
UP
DOWN
TIMER
ENTER
STANDBY/ON
,
Number buttons
Setting the clock manually
STANDBY/ ON
ENTER
TIMER
ENTER
7
8
9
10/0
4
5
6
2
3
1
--
/
---
or


