


64
Advanced setup
—Continued
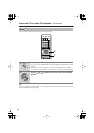
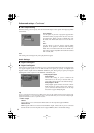
Video settings
Here you can make video-related settings such as television size and image adjustments. For
both interlaced output and progressive output, you can memorize three separate sets of video-
related settings. For example you might memorize one set of settings for use during the day
when the sun is coming in through the windows, another for use at night when the curtains are
closed, and another for use with room lighting.
■
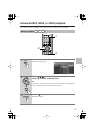
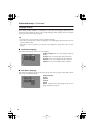
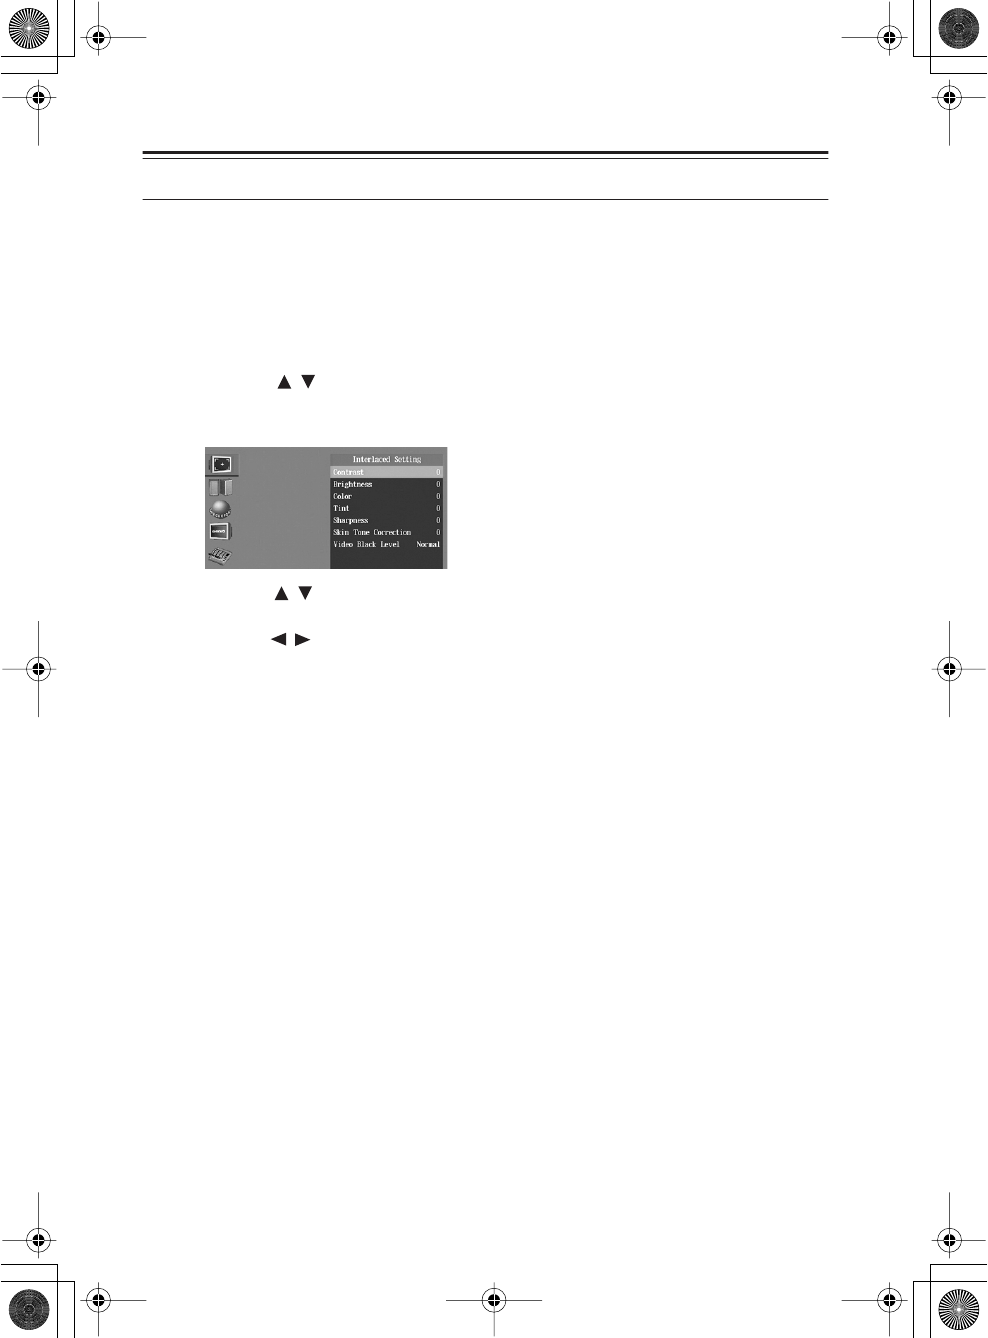
Interlaced video settings
Here you can make video settings for when interlaced output is used.
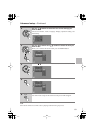
1 Use the
/
buttons to select either Interlaced Setting
“1, 2 or 3” and
press the ENTER button
The Interlaced Setting menu will appear.
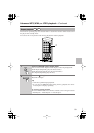
2 Use the
/
buttons to select the setting you want to adjust, and press
the ENTER button
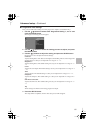
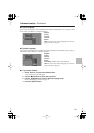
3 Use the
/
buttons to adjust the setting, and press the ENTER button
Repeat steps 2 and 3 to adjust the desired settings.
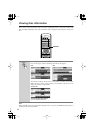
Contrast:
Adjusts the brightness ratio between the lightest and darkest portions of the image. The
default setting is 0, but you can adjust this in a range of –7 – +7.
Brightness:
Adjusts the brightness. The default setting is 0, but you can adjust this in a range of –7 –
+7.
Color:
Adjusts the color depth. The default setting is 0, but you can adjust this in a range of –7
– +7.
Tint:
Adjusts the hue. The default setting is 0, but you can adjust this in a range of –7 – +7.
Sharpness:
Adjusts the sharpness. The default setting is 0, but you can adjust this in a range of –7 –
+8.
Skin Tone Correction:
Adjusts the skin tones. The default setting is 0, but you can adjust this in a range of 0 –
+7.
Video Black Level:
Adjusts the brightness of black images. The default setting is “Normal,” but you can
change this to “Light” if desired.
Tip
These settings are effective when using interlaced output.
4 Press the SETUP button
The setup will be completed, and the video setup screen will disappear.