PAGE 7 CABLE SETUP
CABLE SETUP
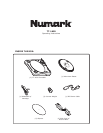
This turntable is shipped with two sets of special cables:
(1) Right Angle IEC Power Cord
(1) Right Angle RCA cord w/ground wire
NOTE: Before connecting any cables, make sure that the voltage selector switch is set to the proper
setting, either 110V or 220V depending on region.
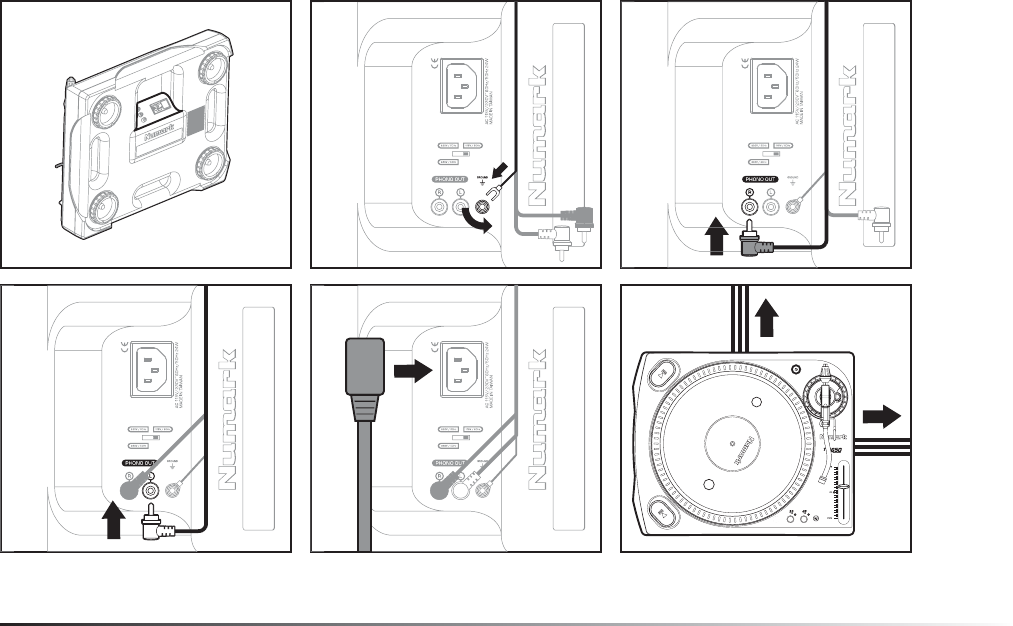
Making the power and audio connections:
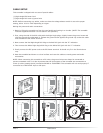
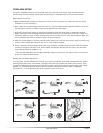
1. Begin by lifting the turntable up from the rear handle and resting it on its side. (NOTE: The turntable
must be supported because it is not stable in this position!)
2. First, using the side of the RCA cable with the Right Angle plugs, slightly loosen the ground screw and
slide the ground clip underneath it. Tighten the ground screw against the ground clip so that the cable
exits towards the IEC Power Terminal.
3. Next connect the Red Right Angle RCA Plug to the Red RCA jack with the "R" indication.
4. Then connect the White Right Angle RCA Plug to the White RCA jack with the "L" indication.
5. Finally connect the IEC power cord to the IEC Power terminal. It should only fit in the Terminal one
way.
6. Rest the turntable back down on a level surface and route the cables to nearby power and audio
accessories.
NOTE: When connecting this turntable to a DJ mixer, the ground wire must always be connected to
prevent unwanted noise. It is also important that the RCA outputs of the turntable are connected to a
mixer (or other preamp device) marked as PHONO or TURNTABLE. This turntable will not work properly if
connected to a LINE LEVEL input or CD input.
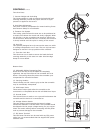
1. 2. 3.
4. 5.
6.
REAR or
SIDE


