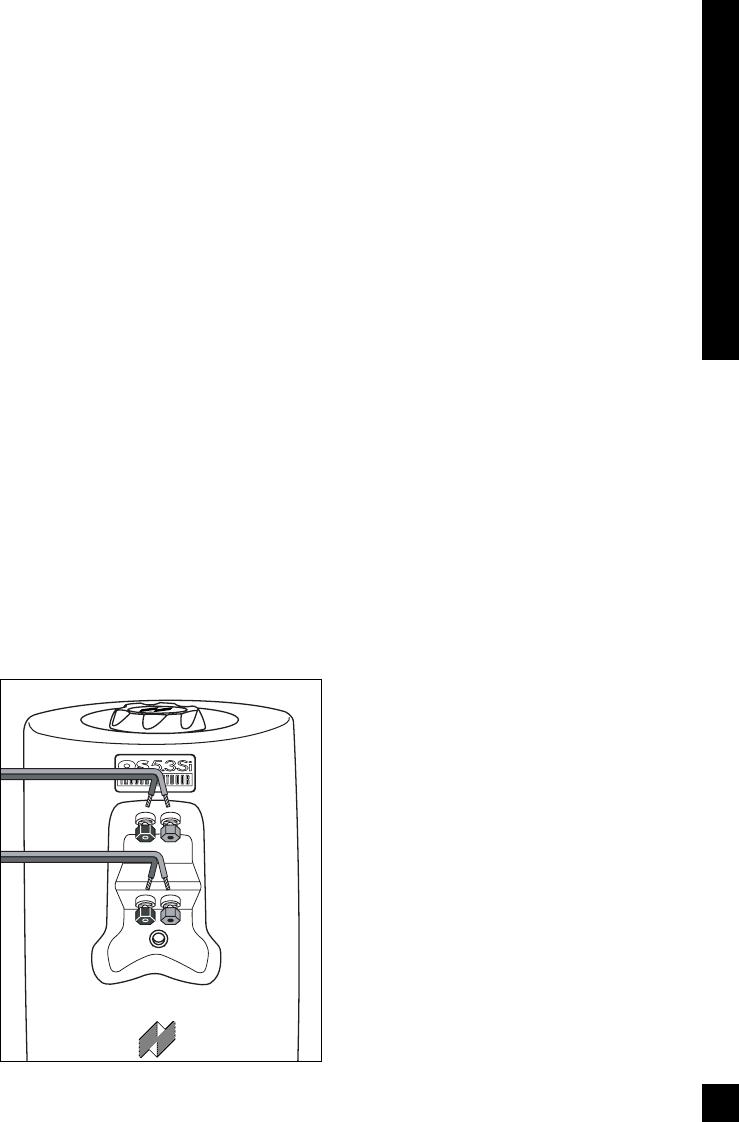
Connecting the Loudspeaker
1. Separate the two conductors of each loudspeaker wire so that at least two inches
of each conductor are free.
2. Strip one half inch of insulation from the end of each conductor of the
loudspeaker wires.
3. If you have any connectors (gold pins or bananas) which you prefer to use, affix
them to the stripped wire ends now. Only gold plated connectors should be used
outside as they will not tarnish or corrode.
4. If using the bracket to attach to a solid surface, slide the loudspeaker onto the
bracket. Do not tighten the knobs completely. Angle the loudspeaker so that the
rear terminals are accessible.
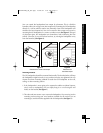
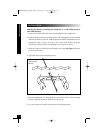
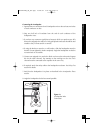
5. Connect one stripped wire end to the black and one to the red terminal (repeat
this for the other channel). Pay attention to the markings on the wire. Each
channel must be connected to the amplifier in the same way.
6. If required, attach the safety cable to the loudspeaker enclosure. See Safety First
section for details.
7. Verify that the loudspeaker is in-phase as described in the Loudspeaker Phase
section.
8. Angle the loudspeaker for the best sound possible.
16
INSTALLATION
Figure 10
Loudspeaker Wire
Connection
DS00427ACN_OS_3Si.qxp 12/20/04 5:52 PM Page 15


