17
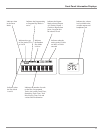
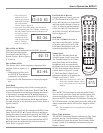
5. The Text Display
Mode may be can-
celed by pressing the
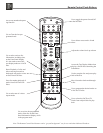
DSP/TIME Push-but-
ton on the Remote
Control. Refer to figure 16.
6. One of the Track Time Modes may also be dis-
played instead of the Track Number, by pressing
the DSP/TIME Push-button on the Remote Con-
trol. Refer to figure
13. For additional
information on the
Time Display Modes
refer to “Display
Modes” on page 19.
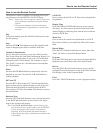
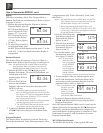
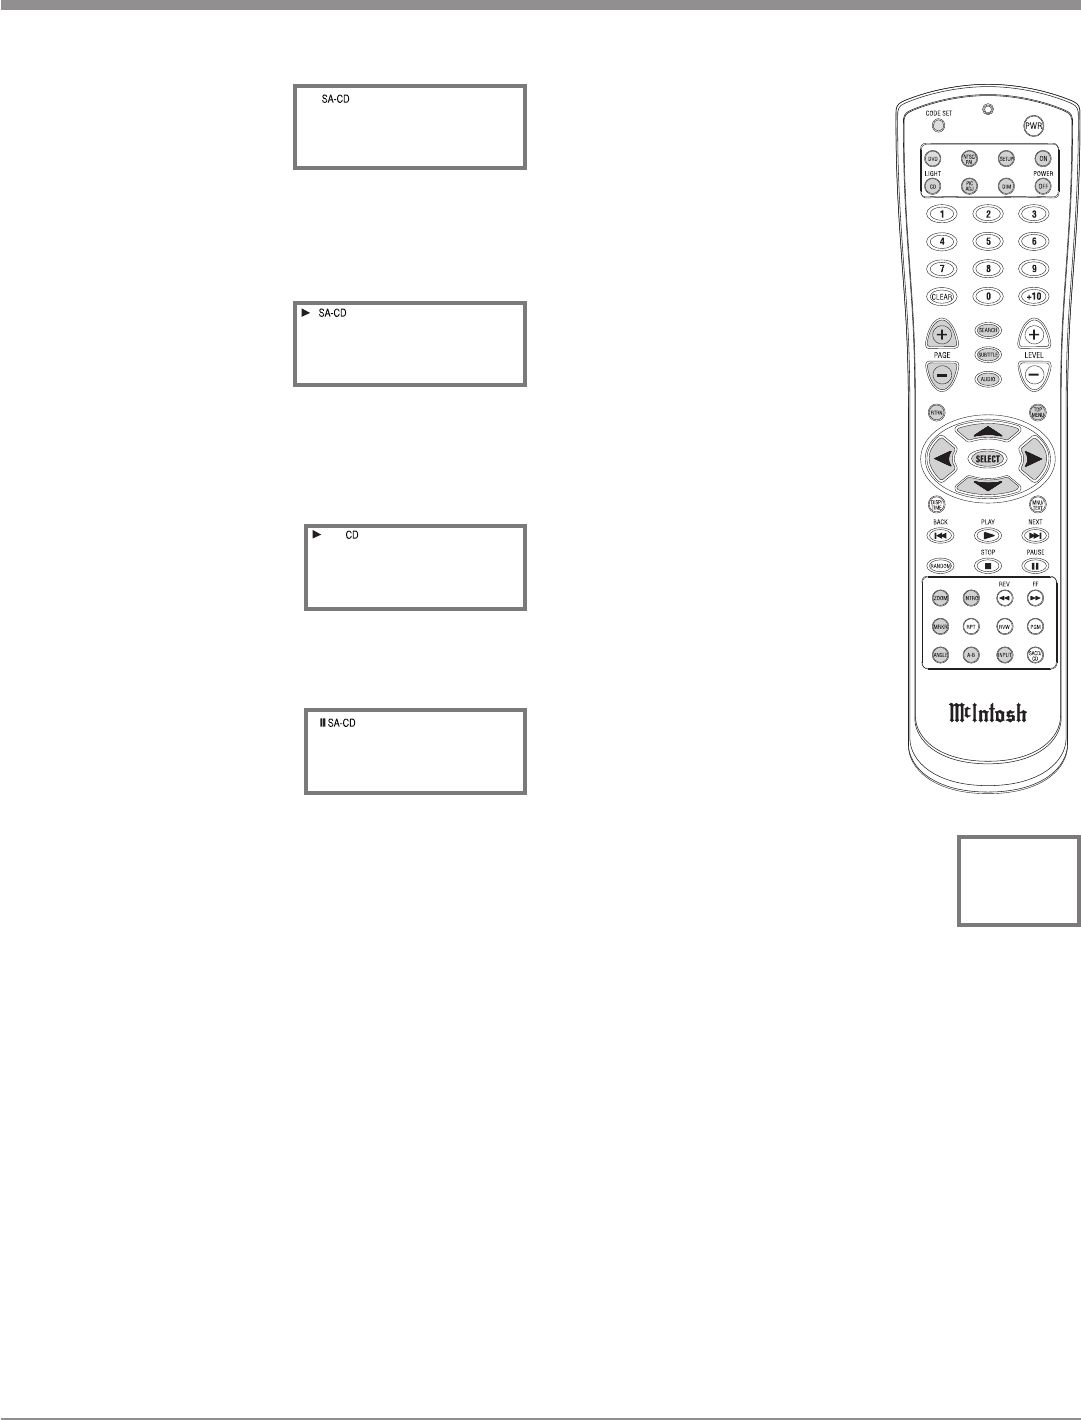
How to Play a CD Disc
With a disc already loaded into the MCD301, press the
PLAY Push-button on the
Front Panel of the MCD301 or
Remote Control. Refer to figures
6, 14 and 16.
How to Pause a Disc
This feature allows for the temporary stopping of disc
playback. Refer to figures 6, 15
and 16.
1. When playing a Disc, press
the PAUSE
Push-button to
temporarily stop playback.
2. Press the PLAY Push-button to resume playing the
disc.
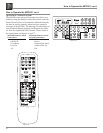
Track Back
Return to the beginning of the Track currently playing
by rotating the MCD301 Front Panel TRACK BACK
Control counterclockwise and then releasing the control
or momentarily pressing the BACK Push-button on
the Remote Control. Rotate and hold the TRACK BACK
Control or press and hold the BACK Push-button
for rapid selection of the desired previous Tracks. Refer to
figures 6 and 16.
Track Next
Advance to the next Track by rotating the MCD301 Front
Panel TRACK NEXT
Control clockwise and then re-
leasing the control or momentarily pressing the NEXT
Push-button on the Remote Control. Rotate and hold the
TRACK NEXT Control or press and hold the NEXT
Push-button for rapid selection of the next desired
Track. Refer to figures 6 and 16.
How to Operate the MCD301
Fast Forward or Reverse
Using the Remote Control, press the
FF (Fast Forward) or REV (Re-
verse) Push-button to search back
and forth rapidly through a Track on
a disc. To return to normal playback
release the same FF (Fast Forward)
or REV (Reverse) Push-button.
Refer to figure 16.
Stop Mode
Press the STOP
Push-button at
any time to stop Playback. To listen
to the disc again, press the PLAY
Push-button and playback will start
from the beginning of the disc.
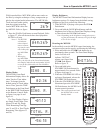
Volume Level
The MCD301 has both Fixed and
Variable Output Level Connections.
The Variable Output Level Connec
-
tions (Rear Panel and Front Panel
Headphone Jack) are controlled by
the Front Panel Level Control and the
LEVEL Push-buttons on the Remote
Control. Refer to figures 6, 16 and
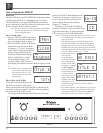
17. The Front Panel Volume Level
Information Display will indicate the
Volume Level from 0 - 100%.
Note: When the Volume Level is 81%, the
Rear Panel Variable Outputs will be
at the same volume level as the Fixed
Outputs.
Mute
Press the MUTE Push-button to mute the audio (-50dB
down in level) at both the Fixed and Variable Output Con-
nections on the Rear Panel. Refer to figure 6. The LED
above the MUTE Push-button will illuminate. Pressing the
MUTE Push-button a second time restores the audio at the
output connections and the LED will no longer be illumi-
nated.
Note: The Headphone Jack is not affected by the Mute
Function.
Direct Track Selection
The MCD301 Front Panel Display indicates the Disc Track
currently playing. Use the Remote Control NUMERIC
Push-button(s) to enter the desired Track Number. Refer
to pages 14 and 15 for additional information using the
Remote Control.
Figure 16
Figure 12
0 3 : S O N I
Figure 13
0 2 : 3 6
Figure 15
0 2 : 4 6
Figure 17
8 1 %
LEVEL
Figure 14
0 2 : 1 3


