12
4 - Operating Instructions
The MicroTrack 24/96 is an easy to use, portable audio recorder. Its emphasis is on creating high-quality recordings that can be transferred easily
to a computer. As such, the steps for operating the MicroTrack 24/96 are few and simple to understand.
In essence, the MicroTrack 24/96 has two functions: Recording audio files and playing audio files. Because a file needs to be recorded before it
can be played back, we will explain the recording process first, followed by playback and file management functions.
Recording
To begin recording a new audio file, you’ll need to connect an audio source to the MicroTrack 24/96, select the proper input source, select your file
format, sampe rate and bit depth, adjust your recording levels, then initiate the recording. The MicroTrack 24/96 will automatically assign a name
to the file in the format “FILExxx.eee” where xxx is a number from 001 to 999 and eee is either “wav” or “mp3.” The procedure is outlined below:
1. Connect an audio source to the MicroTrack 24/96. This can be any one of the following:
< A mono or stereo electret microphone connected to the 1/8” input.
< One or two professional microphones to the 1/4” TRS inputs. As most professional microphones have XLR connectors, you’ll need to
use XLR-to-TRS cables to make your connections. Set the [L/M/H] switch to the M, or microphone, position. If you are using a condenser
microphone, switch the [phantom power] switch to on.
< A mono or stereo line-level source to the 1/4” TRS inputs. The [L/M/H] switch should be moved to the L position.
< A digital source connected to the S/PDIF input.
2. Select the INPUT SOURCE of the MicroTrack 24/96. Use the [MENU] key and [NAV] wheel to select “Settings” > “Recording” > “Input Source.”
Select the proper input and press the [NAV] wheel in again to make your selection.
3. Select the ENCODER of the MicroTrack 24/96. Use the menu key and [NAV] wheel to select “Settings” > “Recording” > “Encoder.” Select MP3
or WAV and press the [NAV] wheel in again to make your selection.
4. Select the SAMPLE RATE of the MicroTrack 24/96. Use the Menu key and [NAV] wheel to select “Settings” > “Recording” > “Sample Rate.”
Select the appropriate sample rate and press the [NAV] wheel in again to make your selection.
5. Select the BIT RATE of the MicroTrack 24/96. Use the menu key and [NAV] wheel to select “Settings” > “Recording” > “Bit Rate.” Select the
appropriate bitrate and press the [NAV] wheel in again to make your selection.
6. Enable INPUT MONITORING. This will allow you to see the level of you incoming signal on the MicroTrack 24/96’s on-screen meters and hear
the input signal when you start to record. This option is enabled by default, but you can manually adjust it by using the [MENU] key and the
[NAV] wheel to select “Settings” > “Recording” > “Input Monitoring.” Select “On” and press in on the [NAV] wheel to activate.
7. Use the [LEVELS] buttons to adjust the recording levels. Start by pressing the [REC] button. Next, play the loudest sound that you wish to
record into the MicroTrack 24/96. For example, if you’re recording your band, play the loudest section of the song to set levels. While the
sound is being fed into the MicroTrack 24/96, you will see the meters register the audio levels on the LCD. For best quality, you’ll want to
set the record level as high as possible without clipping (the red indicators on the MicroTrack 24/96 will light if the input clips). Clipping is
when the input signal is too loud for the MicroTrack 24/96, thus exceeding the headroom of the recorder. To adjust the recording levels, use
the [LEVELS] buttons to increase or decrease the recording levels (shown by triangular markers on the meters). If “Link L+R” is active in the
Advanced menu, using one of the [LEVELS] buttons will cause both the left and right channels to be adjusted simultaneously.
8. Once the recording levels and parameters are set, press the [REC] button again to stop the recording. Press the [DEL] button to delete the
bit of audio you have just recorded. Press the [REC] button again to start recording your new file.
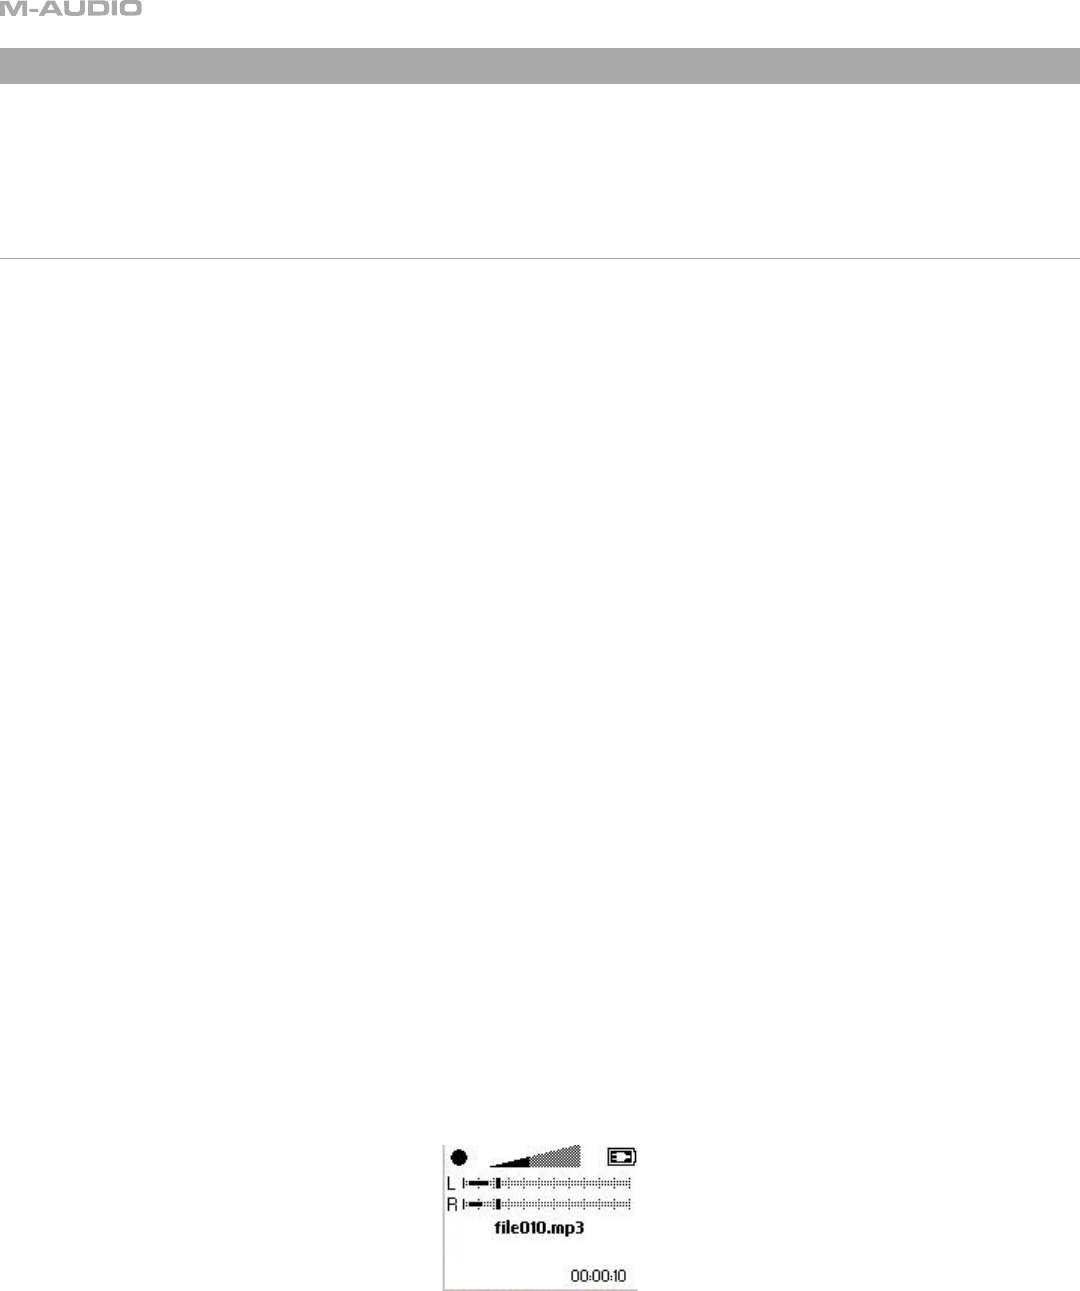
The circle in the upper-left corner of the screen shows that the MicroTrack 24/96 is recording. The numbers in the lower-right corner
show the length of the current recording followed by the recording time remaining on the media with the current recording settings.
4 - Operating Instructions


