18
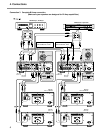
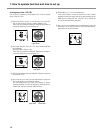
If using more than 1 SC-7S1
Set up the ID numbers to the respective SC-7S1s to identify
each of the SC-7S1s.
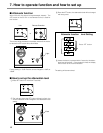
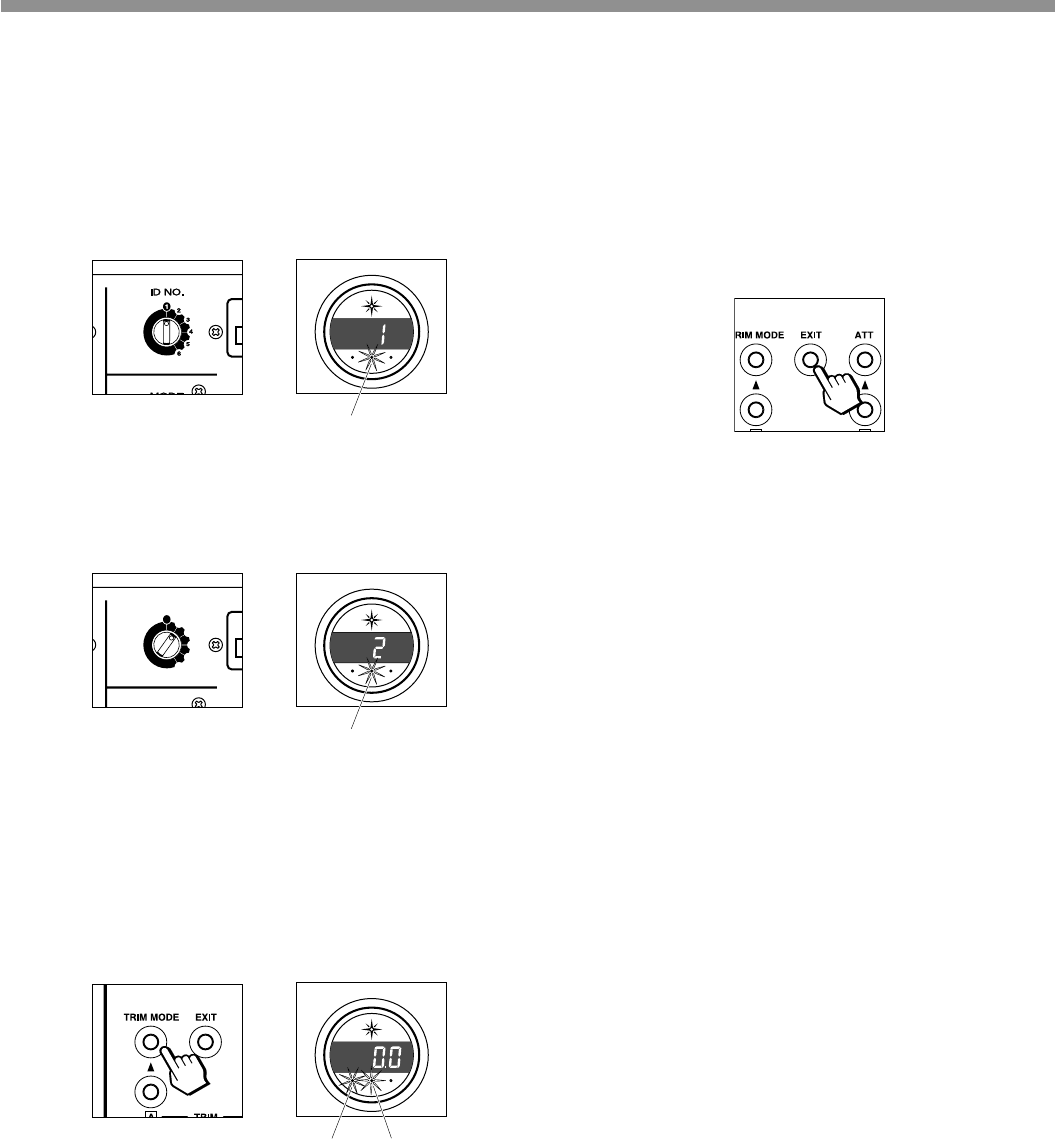
ቢ Set up the ID No. switch <1> for the main unit of the SC-
7S1 to control others, which is called <Master> unit.
The ID No. set up will be indicated in the display window for
3 seconds when the unit is powered on.
ባ Set up the other SC-7S1s <2>–<6> which will be controlled
by the Master.
They are called <Slave> units.
The ID No. set up will be indicated in the display window for
3 seconds when the unit is powered on.
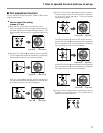
ቤ The Trim adjustment set by the Master, will be the same for
all Slave SC-7S1s.
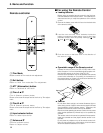
ብ Once the set up for the Trim has been finished, press the
Trim mode button on the Remote control.
The trim adjustment will move from Master to Slave.
Then the indicator on the Front display of the Slave will illu-
minate Red, the Sync indicator will flash Red.
7. How to operate function and how to set up
ቦ Please refer to p.17 for Trim adjustment .
If the whole system consist of more than 3 units, please
repeat the same procedure and set up the remaining units.
Make sure to change the ID # in the SC-7S1 to match the
ID # of the amplifier being adjusted.
ቧ Once you have completed the trim adjustment, press the
Exit button on the remote control. This concludes the ad-
justments and memorizes them.
A
SYNC B
input
selector
power
stereo
control
amplifier
sc
-
7s1
volume
ID NO.
REMOTE
CONTROL
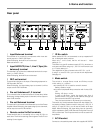
PRE OUTINPUT
BALANCED
REC
OUT
TAPE
1 LINE 2
SACD/CD
BALANCED
A
BI-
AMP
21
UNBALANCED
IN
OUT
MODE
BI-AMPSTEREO
1
6
5
4
3
2
AC IN
BALANCED
CONNECTION
1
COLD
2
COLD
(
-
)
3
HOT
(
+
)
CH
B
CH
A
SYNC B
input
selector
power
stereo
control
amplifier
sc
-
7s1
volume
A
SYNC B
input
selector
power
stereo
control
amplifier
sc
-
7s1
volume
Light Red
Flash Red
Light RED
Light Green


