REFERENCE SERIES
IMPORTANT SAFETY INSTRUCTIONS
1. READ these instructions.
2. KEEP these instructions.
3. HEED all warnings.
4. FOLLOW all instructions.
5. DO NOT use this apparatus near water.
6. CLEAN ONLY with dry cloth.
7. DO NOT block any ventilation openings.Install in accordance with the manufacturer's
instructions.
8. DO NOTinstall near any heat sources such as radiators,heat registers,stoves,or other
apparatus (including amplifiers) that produce heat.
9 . DO NOT defeat the safety purpose of the polarized or grounding type plug.A polarized plug
has two blades with one wider than the other.A grounding type plug has two blades and a
third grounding prong.The wider blade or the third prong are provided for your safety. If the
provided plug does not fit into your outlet, consult an electrician for replacement of the obso-
lete outlet.
10. PROTECT the power cord from being walked on or pinched,particularly at plugs,
convenience receptacles,and the point where they exit from the apparatus.
11. ONLY USE attachments/accessories specified by the manufacturer.
12. USE only with a cart,stand,tripod,bracket,or table specified by the manufacturer, or sold
with the apparatus.When a cart is used,use caution when moving the cart/apparatus
combination to avoid injury from tip-over.
13. UNPLUG this apparatus during lightning storms or when unused for long periods of time.
14. REFER all servicing to qualified service personnel.Servicing is required when the apparatus
has been damaged in any way, such as power-supply cord or plug is damaged,liquid has
been spilled or objects have fallen into the apparatus,the apparatus has been exposed to
rain or moisture,does not operate normally, or has been dropped.
This symbol indicates that there are important operating and maintenance instructions
in the literature accompanying this unit.
This symbol indicates that dangerous voltage constituting a risk of electric shock is
present within this unit.
WARNING: To reduce the risk of fire or electrical shock,do not expose this apparatus to rain
or moisture.
WARNING: Voltages in this equipment are hazardous to life.No user-serviceable parts inside.
Refer all servicing to qualified service personnel.
CAUTION: Changes or modifications not expressly approved by the manufacturer could void the
user’s authority to operate this device.
ABOUT YOUR KLIPSCH PURCHASE
Thank you for your purchase of a Klipsch subwoofer.After reading this manual and connecting
your system,you will hear the result of over 55 years of stringent engineering and class-leading
research and development. Please be sure to fill out the warranty card at the back of this
manual or online at www.klipsch.com so we are better able to serve you.Again,thank you
for choosing Klipsch and we hope that your subwoofer brings life to your music and movies for
many years.
RISKOFELECTRICSHOCK
DONOTOPEN
PLACEMENT
Although your Reference Series subwoofer will perform well in a wide variety of locations,you
will get the most out of it by following some simple guidelines:
• Although the subwoofer’s orientation is not critical, avoid placing the front (driver) side of the
cabinet up against a wall.
• The subwoofer’s output will increase as it is moved closer to walls,with maximum output
achieved when it is placed in a corner. If practical,always place the subwoofer against or
near a wall.
• In most rooms,a subwoofer will deliver smoothest bass response when placed in a corner
away from room openings,such as doors.
• If you are using more than one subwoofer,you will usually achieve the best performance by
placing them together in the same area rather than by spacing them apart.
CONNECTION AND ADJUSTMENT
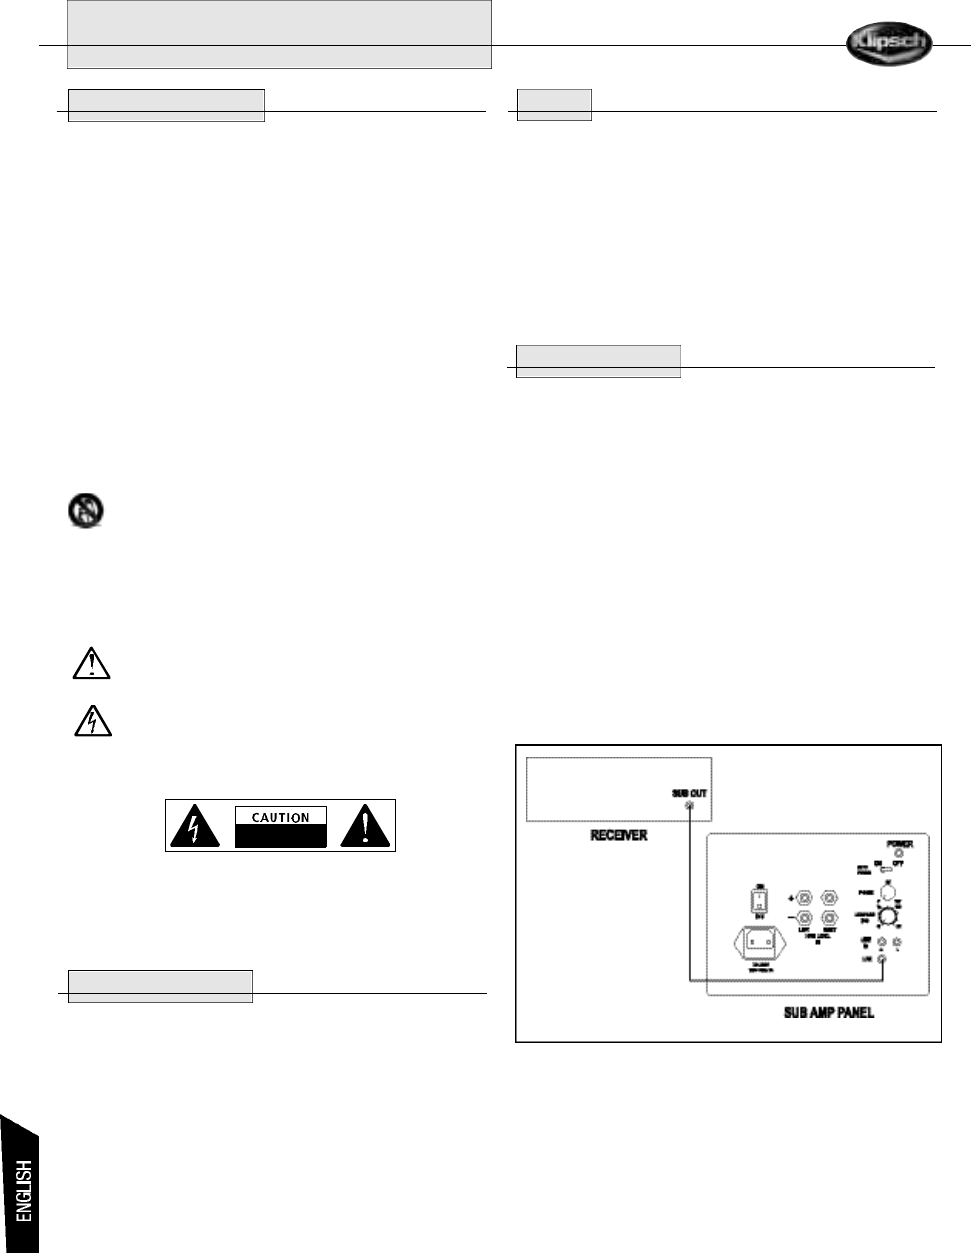
Make all connections with the power turned off on your subwoofer and main amplifier.Your
subwoofer has three sets of input connections on its back panel:(1) a single LFE-Direct RCA
jack that bypasses the internal crossover; (2) a pair of RCA jacks for line-level stereo (or mono)
input; and (3) a set of terminals for connection to speaker outputs on a receiver or amplifier. In
addition,there are four controls on the back panel:(1) Main Power; (2) Auto Power On/Off;
(3) Phase; and (4) Lowpass Crossover Frequency.The Volume Level control is located on the
upper right side panel of the subwoofer.
Digital Surround Receiver or Processor
Connection — Today’s Dolby Digital
®
(AC-3) and DTS
®
digital surround receivers and
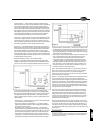
processors have line-level subwoofer outputs and built-in subwoofer crossovers.If your system
is built around one of these,it will almost always be best to connect the subwoofer output on
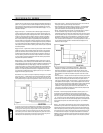
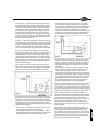
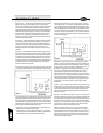
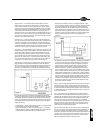
the receiver or processor to the subwoofer’s LFE Direct input (See Figure 1).This will bypass
the subwoofer’s internal crossover and should only be done if these can be managed internally
in the receiver.Use a shielded,high quality subwoofer interconnect cable of appropriate length
with RCA plugs on each end. Your dealer can help you select a suitable cable.Be sure to go
into your receiver or processor’s speaker setup menu and set Subwoofer to "On" or "Yes."
Your receiver or processor may have additional bass management abilities beyond simply
activating the subwoofer output.Consult your receiver or processor’s owner’s manual or your
dealer for more information on the proper bass management settings for your system.
Power — Set the subwoofer’s Main Power switch to "Off." Then plug the power cord into an
AC outlet. You can turn the power on and off manually using the switch,or you can leave the
Main Power turned on and set the Auto Power switch to "On," which will automatically turn the
subwoofer on when a signal is detected at one of the inputs and off after a period of inactivity.
We recommend Auto Power "On" for most systems.
Figure 1


