


38
Chapter Two : Setting Up the Remote Control Unit
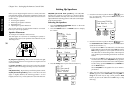
Remote Setup
6. Test noise is generated from the front left speaker. Lis-
ten to the volume of the noise carefully.
The test noise moves from a speaker to the next speaker
every about 2 seconds. The test noise does not move
while a control is manipulated.
7. Listen to the test noise level carefully. If the noise level
from the center speaker differs from that from the front
left speaker, press the
or button to make the
noise level equal. (Do not adhere to the displayed vol-
ume levels because they are provided for mere references.
Use your own ears to check if the levels from two speak-
ers are identical or not.)
8. Set the reproduce levels of all the speakers in the system
in the same way as above.
9. Press the Next button to proceed to the “Bass Peak Level”
setting below.
To quit setting and return to the normal operation screen,
press the Home button.
Setting the Subwoofer Level: Because of the way hu-
mans hear, the test noise the Speaker Level menu sends
through the subwoofer will not sound as loud as it re-
ally is. (The Speaker Level menu subwoofer test noise is
designed to be used with a sound pressure level meter
for balancing. See “Balancing the Speaker Levels with a
Sound Level Meter” on page 42)
Because of this, you cannot use that test noise to prop-
erly calibrate the level of your subwoofer by ear. To set
the subwoofer level, listen to familiar music or films that
have strong bass content and adjust the subwoofer level
until it sounds balanced with the rest of the speakers.
Bass Peak Level
The LFE (bass effects) channel of Dolby Digital and DTS pro-
grams can contain up to 10dB more energy than the other
channels, which is enough to damage some speakers. The
VR-5700/VR-5090/VR-5080 has a bass limiter circuit that
keeps the output to your subwoofer (or left & right speakers,
if your system doesn't have a subwoofer) within safe limits.
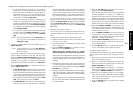
1. In step 9 of the “Balancing the Speaker Volumes” set-
ting procedure above, press the Next button (LCD func-
tion button 2)
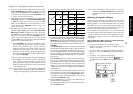
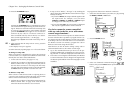
Bass Peak Level
-26
Home Next
REC
2. Press the LCD cursor up or down button ( or ),
then “-30 dB” appears on the display.
3. The test tone is output and its level is set automati-
cally to -30 dB.
The level of the test tone is not affected by the current
setting of the volume control.
4. Press the LCD cursor up/down button (
/ ) to
adjust the speaker level at a level just before the au-
dio starts to be distorted.
5. Press the Next button to proceed to the “Adjusting the
Speaker Distances” setting below.
To quit setting and return to the normal operation screen,
press the Home button.
Do not output the test tone for a long period while the
speaker audio is distorted.
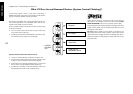
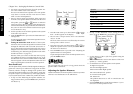
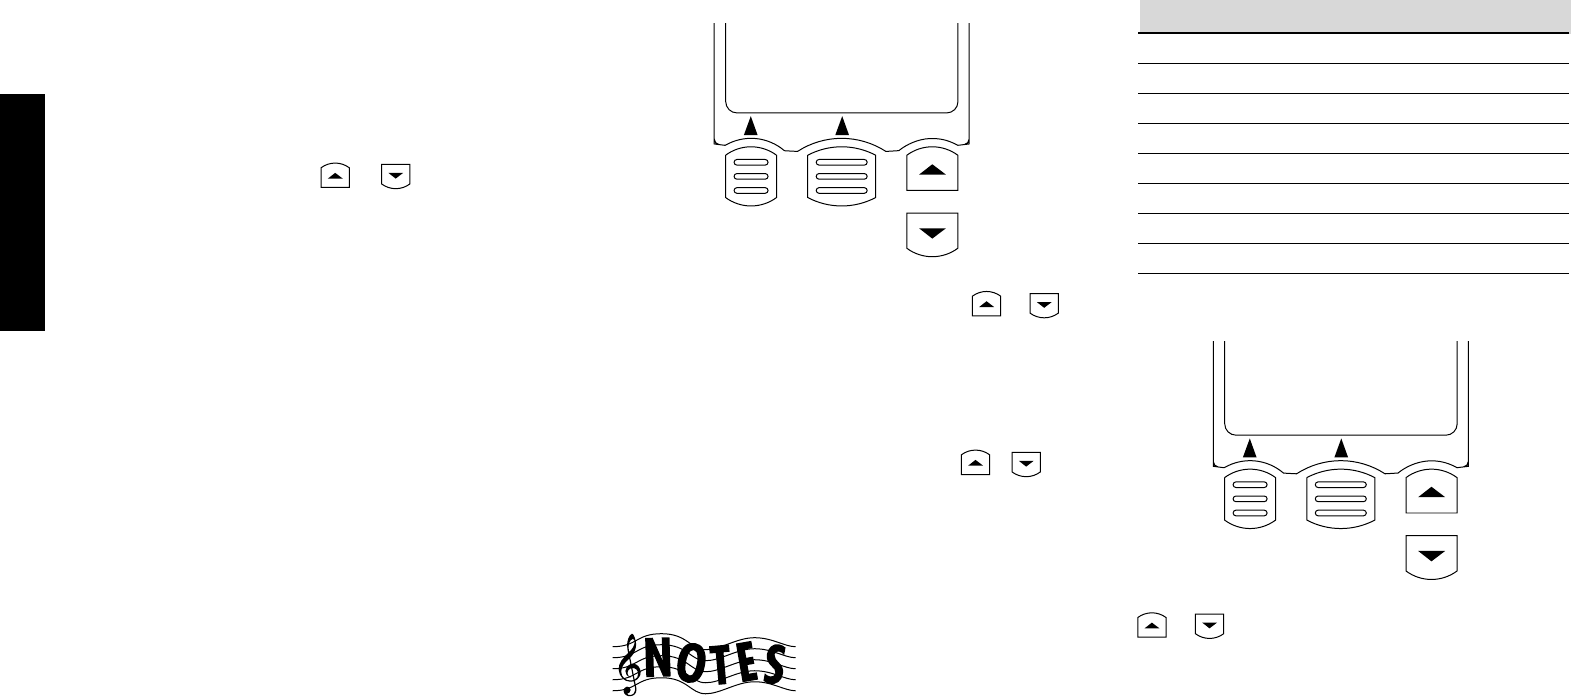
2. Set the distance of the L (left front) speaker using the
or button.
3. Press the Next button and set the distance of the next
speaker (C = Center) speaker.
4. Set the distances of all the speakers in the system.
R: Right Front speaker
SR: Surround Right speaker
SBR: Surround Back Right speaker
SBL: Surround Back Left speaker
SL: Surround Left speaker
SW: Subwoofer
The speakers that are set to "Off" in "SP Selection" are
not displayed.
5. Press the Home button (LCD function button 1) to re-
turn to the normal operation screen.
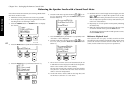
REC
Surround SetUp
Distance = L
9.0m/30ft
Home Next
1. In step 5 of the “Bass Peak Level” setting procedure
above, press the Next button (LCD function button 2).
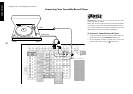
Adjusting the Speaker Distances
Measure the distance from each speaker to the seat you most
often use. Note the distance in the table below:
Front left
Center
Front right
Surround right
Surround back right
Surround back left
Surround left
Subwoofer
Speaker
Distance (ft or m)