36
Knowledge
DV-402/DVF-3530 (EN/K,P,T,M,X)
÷Load a disc and press the play (3) key.
÷Turn the disc over and properly place it on the
disc tray.
÷Turn on the TV.
÷Properly reconnect the connection cords.
÷This is not a malfunction.
÷Properly connect the audio cords.
÷Set the sound volume to an appropriate level.
÷Press the play (3) key to resume normal
playback mode.
÷Separate this unit as far as possible from the
device you think is generating the noise.
÷Refer to the “Disc handling precautions” sec-
tion and wipe dirt from the disc.
÷Use a new disc.
÷Refer to the “Beware of condensation” sec-
tion and evaporate the condensation.
÷Approximately 10 to 20 seconds are required
for a disc to start playing, although the time
differs depending on the disc.
÷Properly place the disc on the tray.
÷Refer to the “Video formats” section ,and use
a disc with the appropriate video format for
your TV or a TV with the appropriate video
format for the disc.
÷The subtitle cannot be displayed when the
DVD disc being played does not contain the
recording of subtitles.
÷Press the SUB TITLE-ON/OFF key to switch
on the subtitle mode.
÷The voice (or subtitle) language cannot be
changed when the DVD disc being played
does not contain the recording of more than
one voice (or subtitle) language.
÷The viewing angle cannot be changed when
the DVD disc being played does not contain
the recording of more than one angle.
÷More than one viewing angle may be re-
corded only in limited sections in a disc.
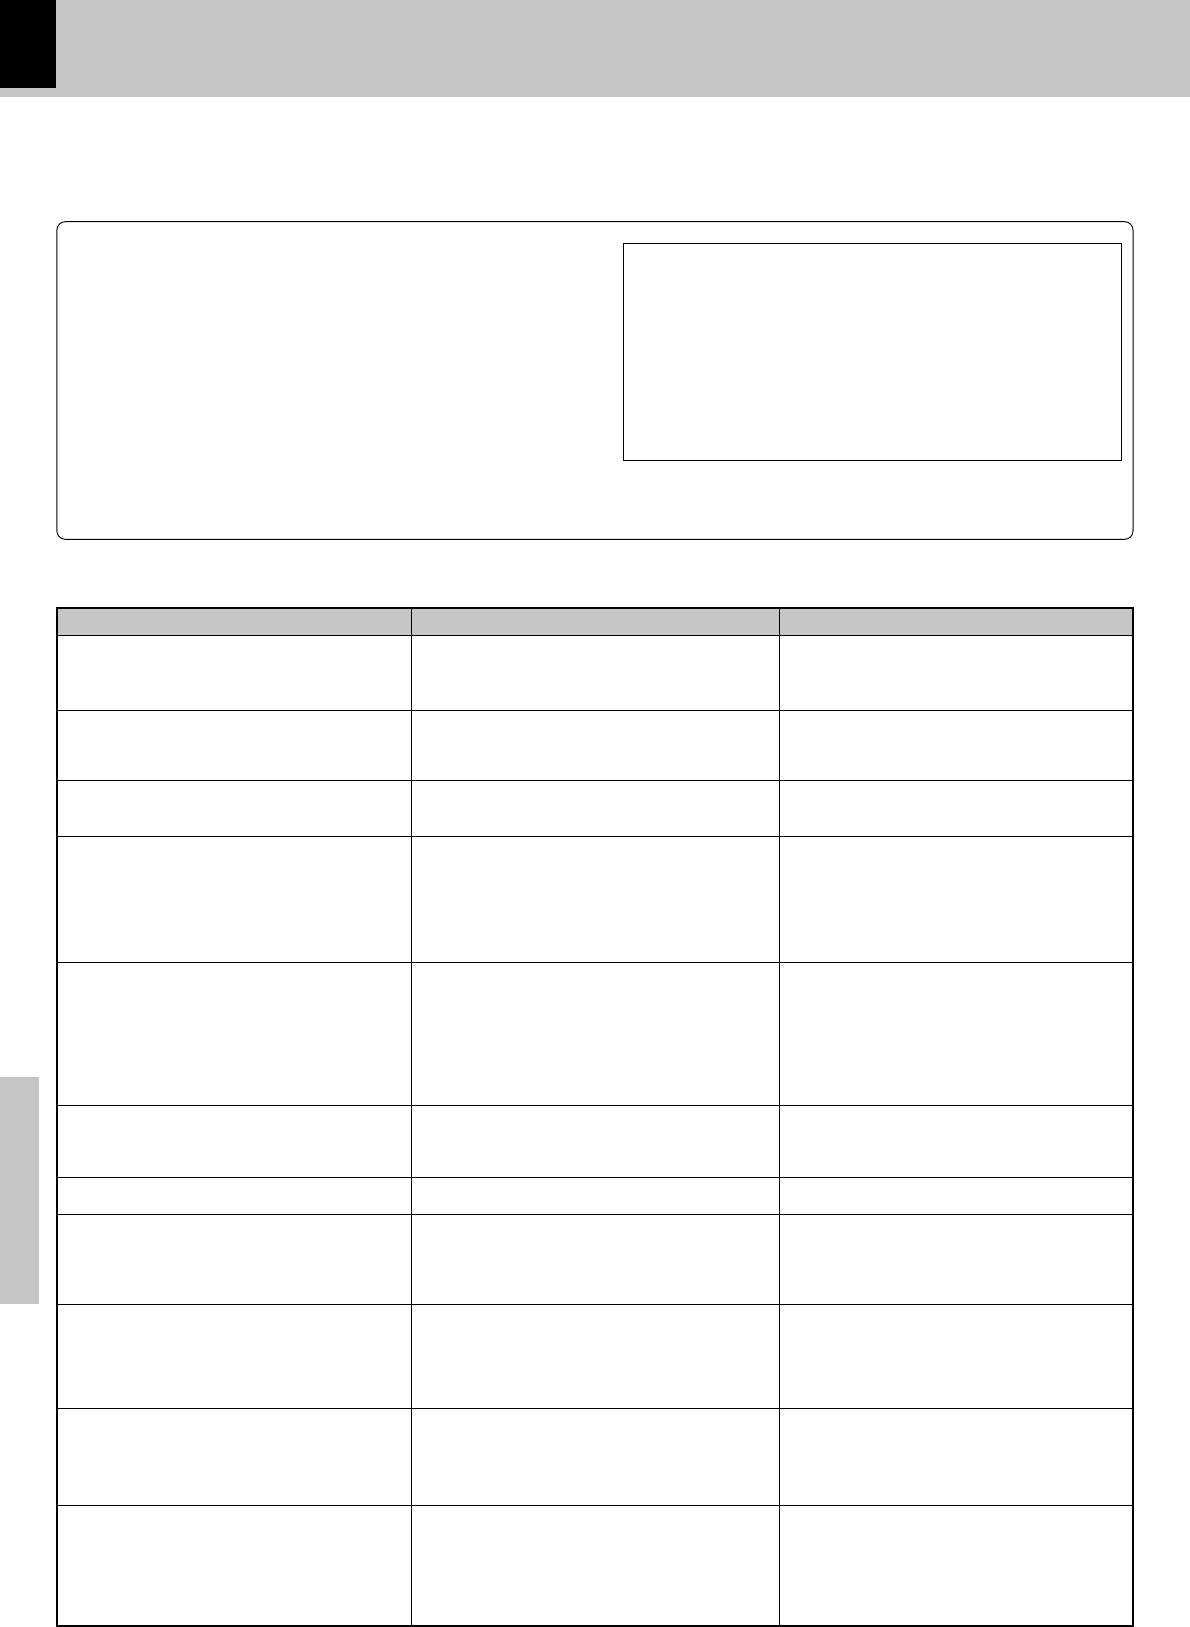
In case of difficulty
Operation to reset
The microprocessor may fall into malfunction (impossibility to
operate erroneous display, etc.) when the power cord is unplugged
while power is ON or due to an external factor. In this case, execute
the following procedure to reset the microprocessor and return it to
normal condition.
÷Please note that resetting the microprocessor clears the
contents stored in, it returns the microprocessor to the condi-
tion when it left the factory.
What appears to be a malfunction may not always be serious. If your unit should not perform as expected, consult
the table below to see if the problem can be corrected before seeking help from your dealer or service
representative.
÷There is no disc in the player.
÷There are no signals recorded on the side of the
disc being played.
÷The TV is not turned on.
÷The connection cords are not properly con-
nected.
÷The picture is slightly disrupted during fast
forward and fast reverse operations.
÷The audio output cords are not properly con-
nected.
÷The volume control of the TV or amplifier is not
adjusted properly.
÷The player is in a special playback mode.
÷A nearby device is generating noise.
÷The disc is dirty.
÷The disc is damaged.
÷There is condensation on the optical lens.
÷Time is required for the unit to detect the disc
type and size and for the rotation of the motor to
stabilize. This is not a malfunction.
÷The disc is not placed horizontally.
÷The video format of the disc being played does
not match that of the connected TV monitor.
÷The DVD disc being played does not contain the
recording of subtitles.
÷The subtitle mode is set to off.
÷The DVD disc being played does not contain the
recording of more than one audio (or subtitle)
language.
÷The DVD disc being played does not contain the
recording of more than one angle.
÷You are attempting to switch the angle in a DVD
section where more than one angle is not re-
corded.
RemedyCause
DVD player unit
Symptom
Playback does not start when the play (3)
key is pressed.
Playback starts but no image/sound is seen/
heard.
The picture is disrupted when the image is
fast forwarded or fast reversed.
No sound is heard.
The picture does not look good or the pic-
ture/sound quality is poor.
It takes a while for the disc to start playing.
The tray opens automatically.
The top and bottom of the screen cannot be
seen.
The subtitle is not displayed.
The voice (or subtitle) language cannot be
changed.
The viewing angle cannot be changed.
1In POWER ON condition, keep the 7 (STOP) key and the
¡¡
¡¡
¡
(Search) key pressed at the same time.
2When both keys are pressed, the region code of the unit, the
software version, etc. will be displayed on the display. (When
nothing is done, the display of this information continues.)
Example: 71 . 101 . 06:14
3Press the ON/OFF key to go to Power OFF.
4When Power ON is performed with the ON/OFF key, the
settings become the default factory settings.


