


15
English
■■
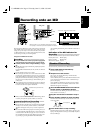
Recording onto an MD
><
VOLUME
CD
TUNER
BAND
MD
DOWN
SET
UP
TREBLE CANCELBASS
RANDOM REPEATPROGRAM
AUTO
PRESET
DISPLAY
/CHARA
EDIT
/TITLE
DISPLAY MODE
PTY/EON
AHB.
SUPER PRO
FM MODE TAPE/AUXCLOCK
SLEEPDIMMER
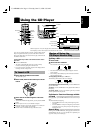
REMOTE CONTROL RM-RXUMD9000R
DISPLAY
MODEPTY/EON
TAPE
/AUX
VOLUME
TUNER
BAND
CD
MD
CD
MD
OPEN/CLOSE
TIMER/
SNOOZE
CLOCKUPMULTI CONTROLDOWN
U
L
T
R
A
M
I
C
R
O
C
O
M
P
O
N
E
N
T
S
Y
S
T
E
M
U
X
-
M
D
9
0
0
0
R
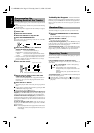
REC
PAUSE
CD SYNCHRO
REC
UPDOWN
EJECT
DISPLAY
/ CHARA
REC PAUSE
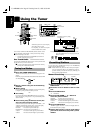
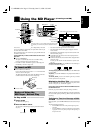
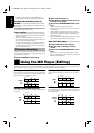
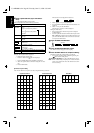
Track number, Playing time, Preset number
7
MD
38
MD
0
/
8
7
MD
38
CD SYNCHRO REC
Music calender
OVER indicator which lights up if the
number of tracks of the MD exceeds 20.
When the System is in use, the display shows other items as well.
For simplicity, we show here only the items described in this section.
Recording onto an MD from any of the sound sources is simple. Just
insert an MD to the Unit, have the source ready, make one or two
settings, and you are ready to record. For each source, the procedure
is a little bit different so we explain each separately. But first, here
are a few things to make your recordings better.
Things To Know Before You Start
Recording —————————————
■
It may be unlawful to record or play back copyrighted
material without the consent of the copyright owner.
■
Carefully read the “Rules of Digital Dubbing” on page
25.
■
The MD Recorder supports the following sampling frequencies
for digital sources.
For the OPTICAL DIGITAL IN (AUX2): 32 kHz, 44.1 kHz and
48 kHz.
For the CD Player of the Unit: 44.1 kHz.
■
The recording level, which is the volume at which the new MD
is being made, is automatically set correctly, so it is not affected
by the VOLUME level of the System. Nor it is affected by ad-
justing the sound effects. Thus, during recording you can adjust
the sound you are actually listening to without affecting the re-
cording level.
■
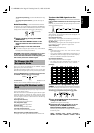
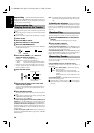
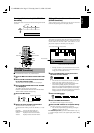
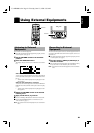
The accidental erasure prevention knob is provided on the back
of an MD cartridge to prevent accidental erasure or recording.
It must be set to the close position beforehand.
■
When you stick an adhesive label onto the MD cartridge, adhere
it securely. If it peels off, ejection trouble, etc. will occur.
Preparation Before Recording ———
■
Be sure that the MD is not the Play-only type one.
■
Be sure that the accidental erasure prevention knob of the MD
cartridge is set to the close position. Otherwise, "DISC PRO-
TECTED" will appear when you try to record a signal to the
MD.
■
Be sure that the MD has enough space for recording. If not, car-
ry out ALL ERASE or ERASE function to erase all the tracks
or desired tracks in the MD. (See page 18-19.) You can check
the recordable remaining time of the MD in Stop mode or dur-
ing recording by pressing the DISPLAY/CHARA button.
(See "Checking the Remaining Time of the MD" mentioned on
page 16.)
Indication of the MD Indicator for
Recording ——————————————
The MD indicator on the front panel of the Unit blinks as follow.
Record-pause mode: Blinks rapidly.
During recording: Blinks slowly.
MD inserted or played: Stays lit.
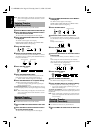
You can record any sound source to an MD as follows.
■
1. Insert a MD with its label side up.
The MD indicator lights up.
■
2. Prepare one of the sources.
CD: Use the "CD Synchro Recording" mentioned below.
Tuner: Tune in to a station.
AUX1 (LINE IN (AUX1)): Press the TAPE/AUX button on the
Unit or the Remote Control until “AUX 1 ANALOG IN” ap-
pears on the display.
AUX2 (OPTICAL DIGITAL IN (AUX2)): Press the TAPE/
AUX button on the Unit or the Remote Control until “AUX 2
DIGITAL IN” appears on the display.
■
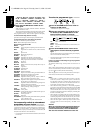
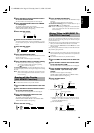
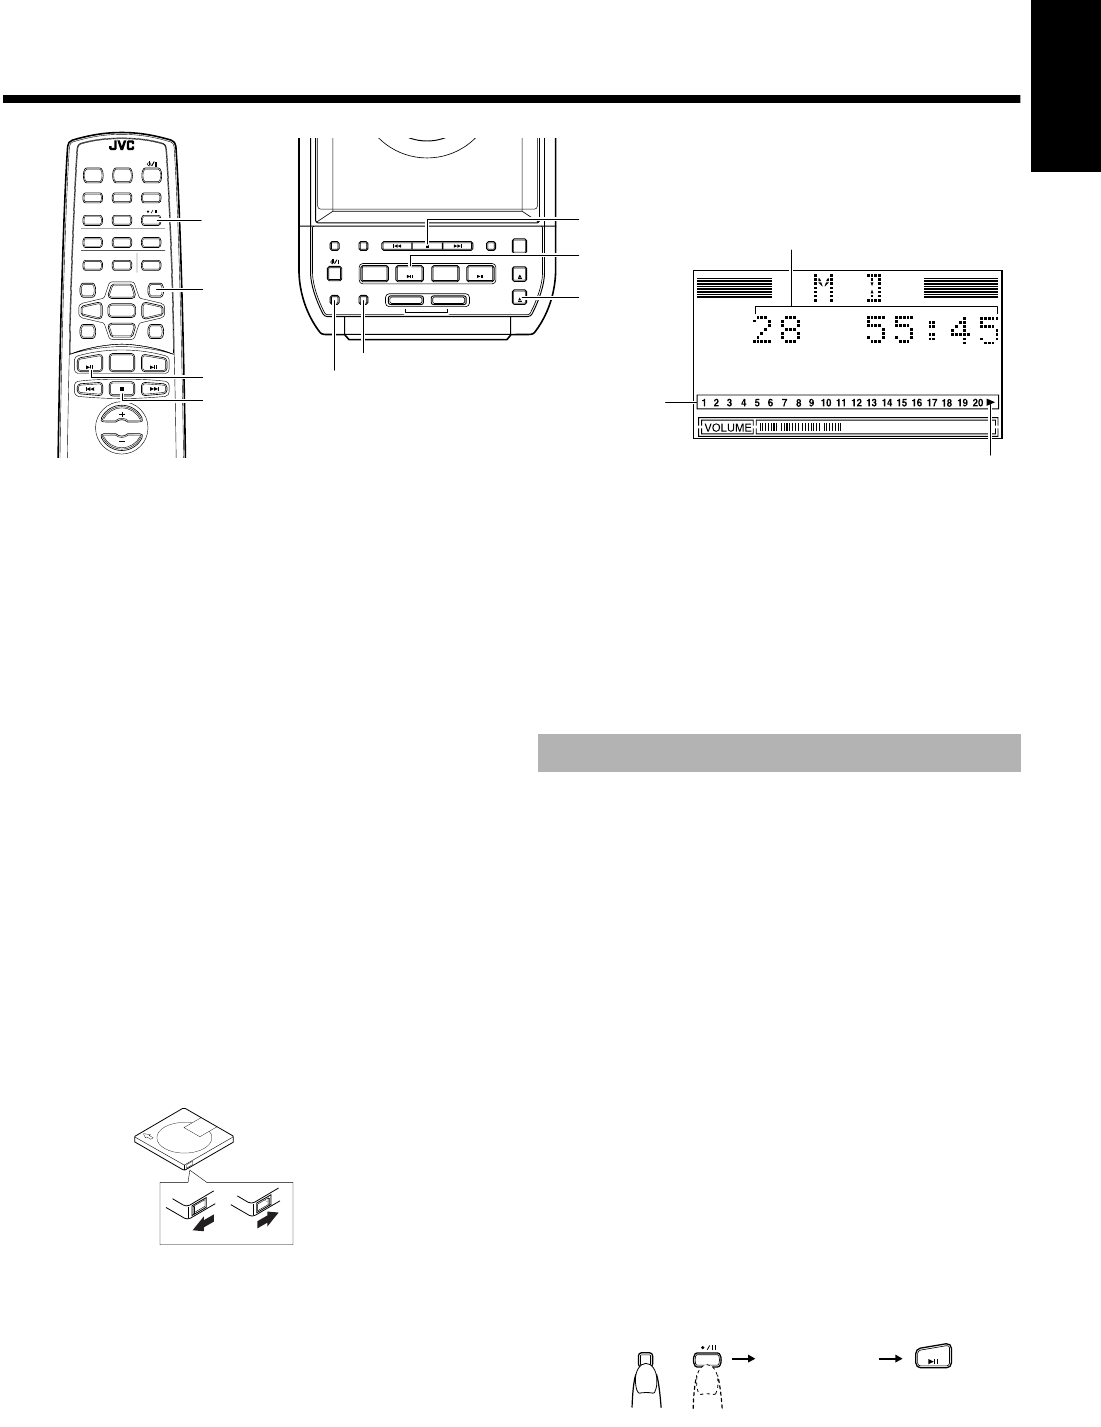
3. Press the REC PAUSE button on the Unit or
the ¶/8 button on the Remote Control.
The MD indicator starts blinking and the track number in the
music calender is increased by 1.
■
4. Play the record source selected in step 2.
■
5. Press the MD 38 button to start recording.
The MD indicator blinks slowly and the selected source is re-
corded on the MD.
■
6. Press the 7 button to stop recording.
The MD indicator stays lit and "UTOCwriting" appears on the
display, indicating that the recording is successfully completed.
Then, the MD stops.
Accidental erasure prevention knob
Close
Open
Standard Recording
MD
(Source playback)
(Track is increased by 1.)
or
REC
PAUSE
Ux-MD9000-e.fm Page 15 Tuesday, June 23, 1998 9:38 AM