


Masterpage:Right+
Filename [TH-R1R3EU_05Name.fm]
Page 18Monday, 28 March 2005 21:23
INITIAL SETTINGS
18
Auto Channel Set by Downloading from TV/Auto Clock
Set/Auto Guide Programme Number Set
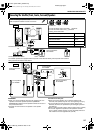
If you have connected the unit to your TV via a 21-pin SCART
cable (A pg. 11), the unit will automatically perform Preset
Download instead of the AAuto Set UpB in step 4 on page 17. After
downloading, the unit sets the clock and Guide Programme
numbers automatically.
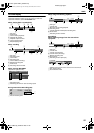
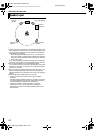
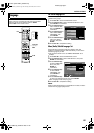
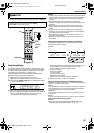
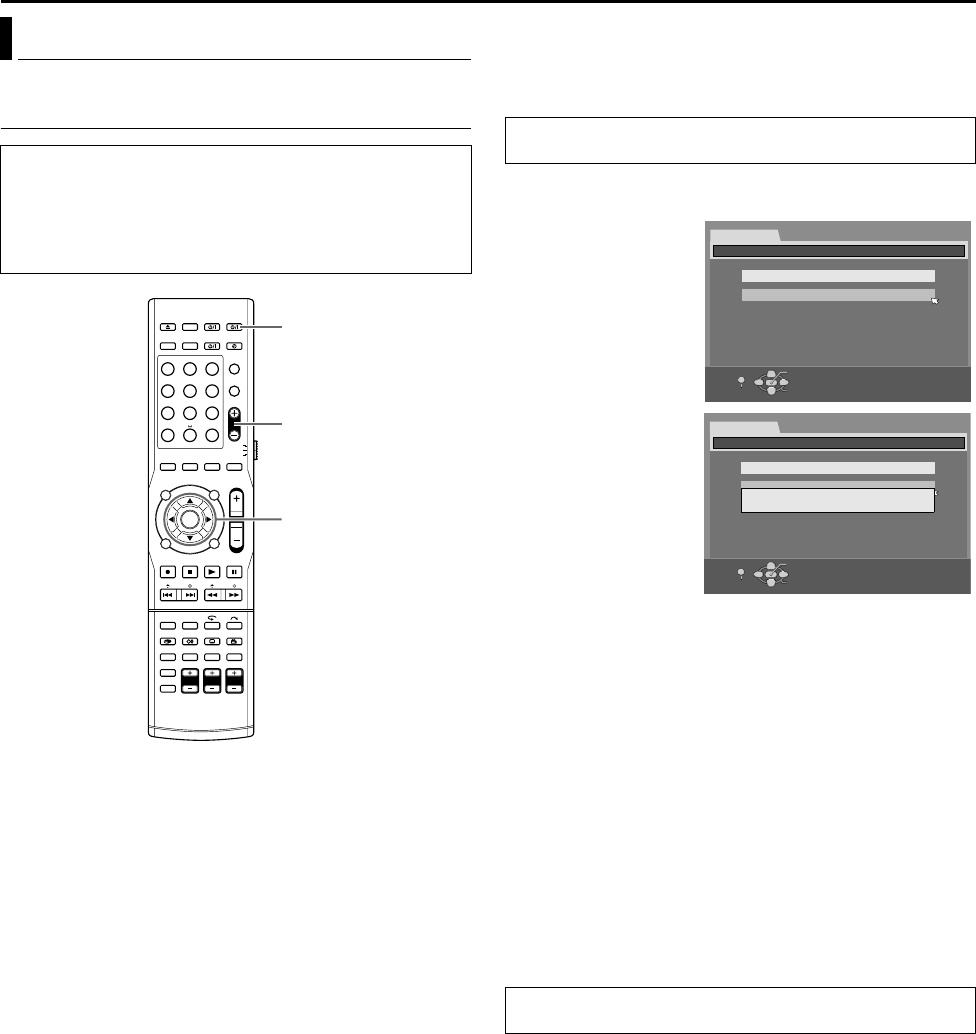
1 Press selection keys to select AT-V LINKB, then press ENTER
for confirmation.
● T-V LINK setting is
performed.
● When T-V LINK
setting is completed,
ASCAN
COMPLETEDB
appears on the TV
screen for about 5
seconds, then the
normal screen
resumes.
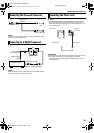
ATTENTION:
Preset positions on the front display panel increase from
APR1B…APR3B…; do NOT press any button on the unit or remote
control until the front display panel shows clock time, APR1B or
A- - : - -B as illustrated on page 19.
● If you press any button on the unit or remote control while
downloading is in progress, it will be interrupted.
NOTES:
● For details, refer to the instruction manual of your TV.
● In areas where no TV station transmits a PDC (Programme
Delivery Control) (A pg. 50) signal, the unit can perform neither
Auto Clock Set nor Auto Guide Programme Number Set.
● If there is a power cut, or if you press A or SET UP while
downloading or set up is in progress, it will be interrupted. Be
sure to turn off the unit power once and try again from the
beginning.
● Auto Clock Set may not function properly depending on the
reception condition.
● On this unit, the characters available for station names (ID) are
A–Z, 0–9, –, Z, + and & (space). Some names of downloaded
stations may differ from those of your TV. (A pg. 81)
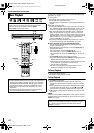
Preset Download
ATTENTION:
You can use this function only with a TV offering T-V Link, etc.*
Be sure to use a fully-wired 21-pin SCART cable.
* Compatible with TVs offering T-V Link, EasyLink, Megalogic,
SMARTLINK, Q-Link or DATA LOGIC via a fully-wired 21-pin SCART
cable. The degree of compatibility and available functions may differ by
system.
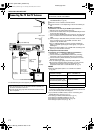
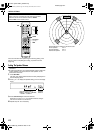
1 2 3
4 5 6
7 8 9
0
VOL
(FGDE)
ENTER
AUDIO A
PR +/
-
Selection Keys
●
Perform steps 1 to 3 of AAuto Set UpB (A pg. 17) before
continuing.
After APreset DownloadB is completed, perform AMonitor SetB
(A pg. 21).
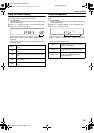
INITIAL SET UP
AUTO SET
INITIAL SET UP / CHANNEL SET
SELECT WITH [CURSORS]
THEN PRESS [ENTER]
OK
SELECT
SET UP
T-V LINK
RETURN
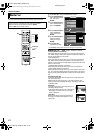
INITIAL SET UP
AUTO SET
INITIAL SET UP / CHANNEL SET
SELECT WITH [CURSORS]
THEN PRESS [ENTER]
T-V LINK
PLEASE WAIT...
OK
SELECT
SET UP
RETURN
TH-R1R3EU_00.book Page 18 Monday, March 28, 2005 9:23 PM