


6
Getting Started
EnglishEnglishEnglishEnglishEnglishEnglishEnglish
LVT0688-001A / MX-K7(J) / English
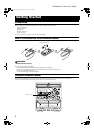
Connecting External Equipment
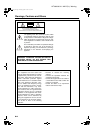
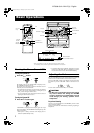
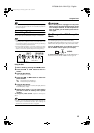
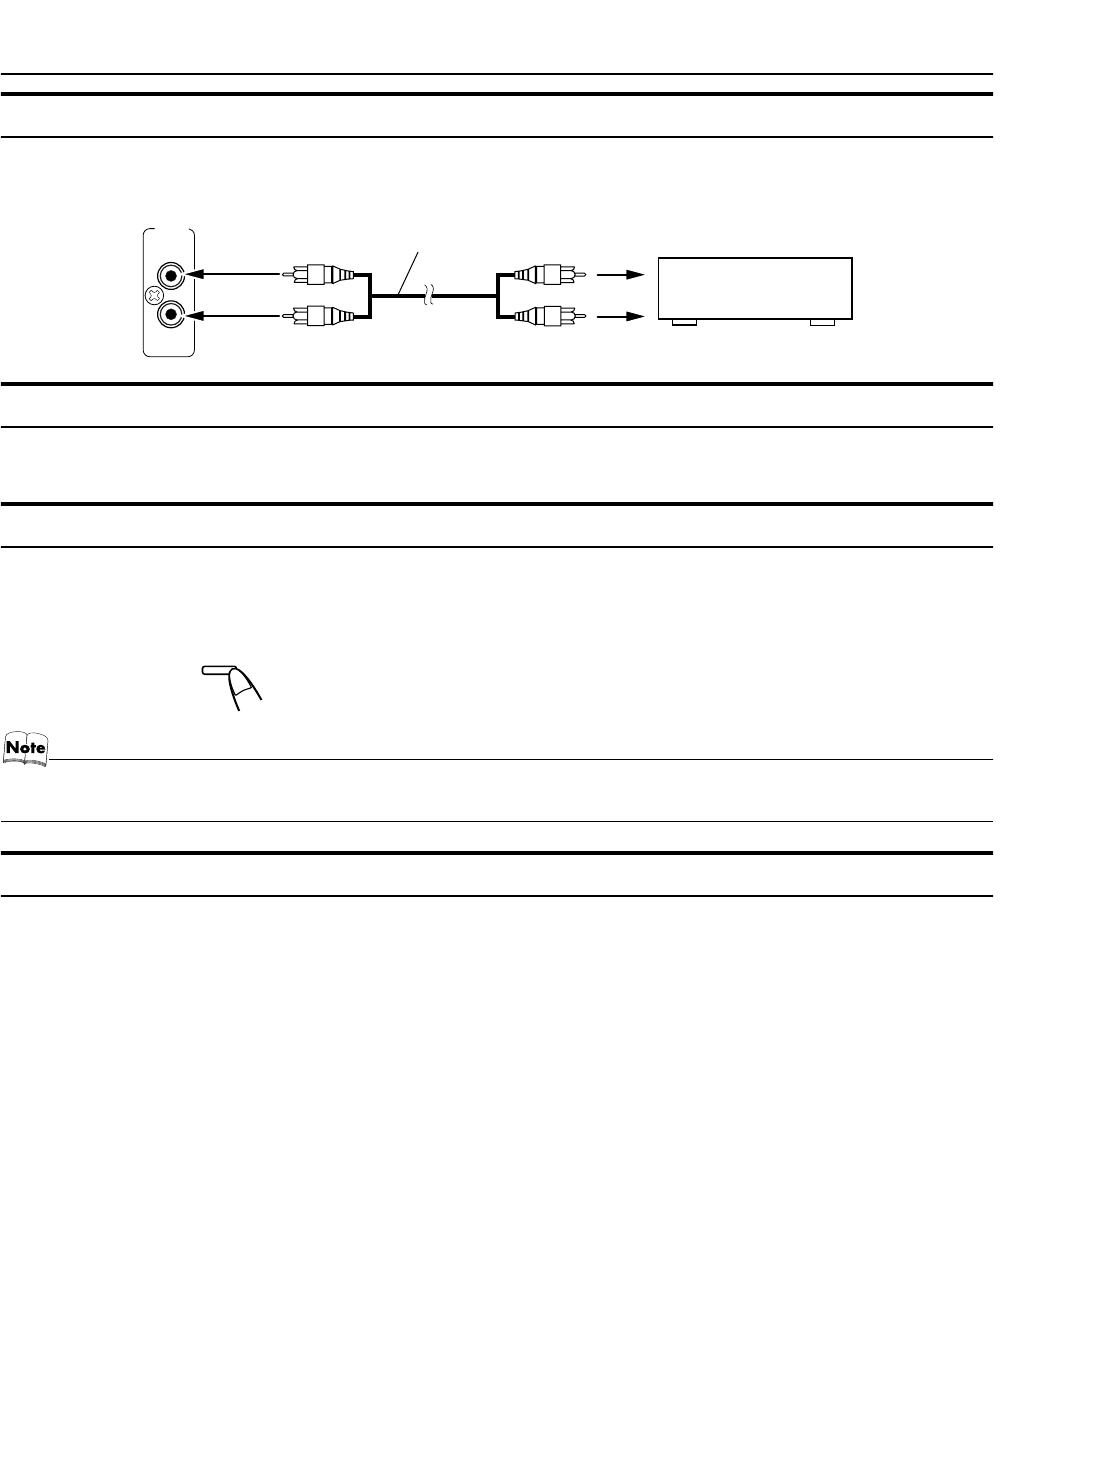
Connect a signal cord (not supplied) between the System’s AUX-IN terminals and the output terminals of the external MD recorder, tape
deck, etc.
You can then listen to the external source through the System.
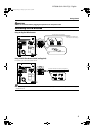
Connecting to the Wall Outlet
Plug the AC power cord into the wall outlet.
Now, your System is at your command!
DEMO Mode
When the System is connected to the wall outlet, a DEMO mode displaying some of the system’s features automatically starts.
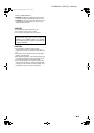
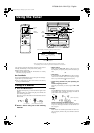
To turn the DEMO display off,
press any of the operation buttons. The DEMO display automatically stops.
To turn the DEMO display on,
press the DEMO button on the Unit for more than 2 seconds.
• The DEMO display will automatically turn on again if no button operation is made for 2 minutes. To cancel this auto DEMO
display function, press the CANCEL button on the Unit during DEMO display.
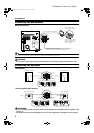
COMPU Play
JVC’s COMPU PLAY feature lets you control the most frequently used System functions with a single touch.
With One Touch Operation you can play a CD, a tape, turn on the radio, or listen to an external equipment with a single press of the play
button for that function. One Touch Operation turns the power on for you, then starts the function you have specified. If the System is not
ready (no CD or tape in place), the System still powers on so you can insert a CD or tape.
How One Touch Operation works in each case is explained in the section dealing with that function.
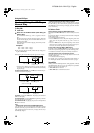
The COMPU PLAY buttons are:
On the Unit
CD 6 button
FM/AM button
TAPE 3 button
AUX button
CD1, CD2 and CD 3 buttons
CD Open/Close 0 button
On the Remote Control
CD 6 button
FM/AM button
TAPE 3 button
AUX button
CD1, CD2 and CD 3 buttons
RIGHT
LEFT
AUX IN
Signal cord (not supplied)
Pin-plug x 2Pin-plug x 2
MD recorder, tape deck, etc. (not supplied)
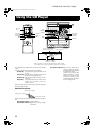
CANCEL
/ DEMO
(For 2 seconds)
MX-K7(J).book Page 6 Thursday, April 12, 2001 10:30 AM