18
Using the Cassette Deck (Recording)
EnglishEnglishEnglishEnglishEnglishEnglishEnglish
LVT0688-001A / MX-K7(J) / English
Standard Recording
This is the basic method for recording any source. The System also
has special ways for recording CD to tape, and tape to tape, which
save you time and effort, as well as give you some special effects.
However, when you need to add a selection to a tape you have
made, or are combining selections from several sources on one
tape, use the method described below; just substitute the source
you want into this procedure, such as a tape in Deck A, a CD, or
the Tuner. You can also record from an external equipment with
this procedure.
To Record Any Sound Source to Tape
Follow these steps to record from any sound source onto a tape in
Deck B.
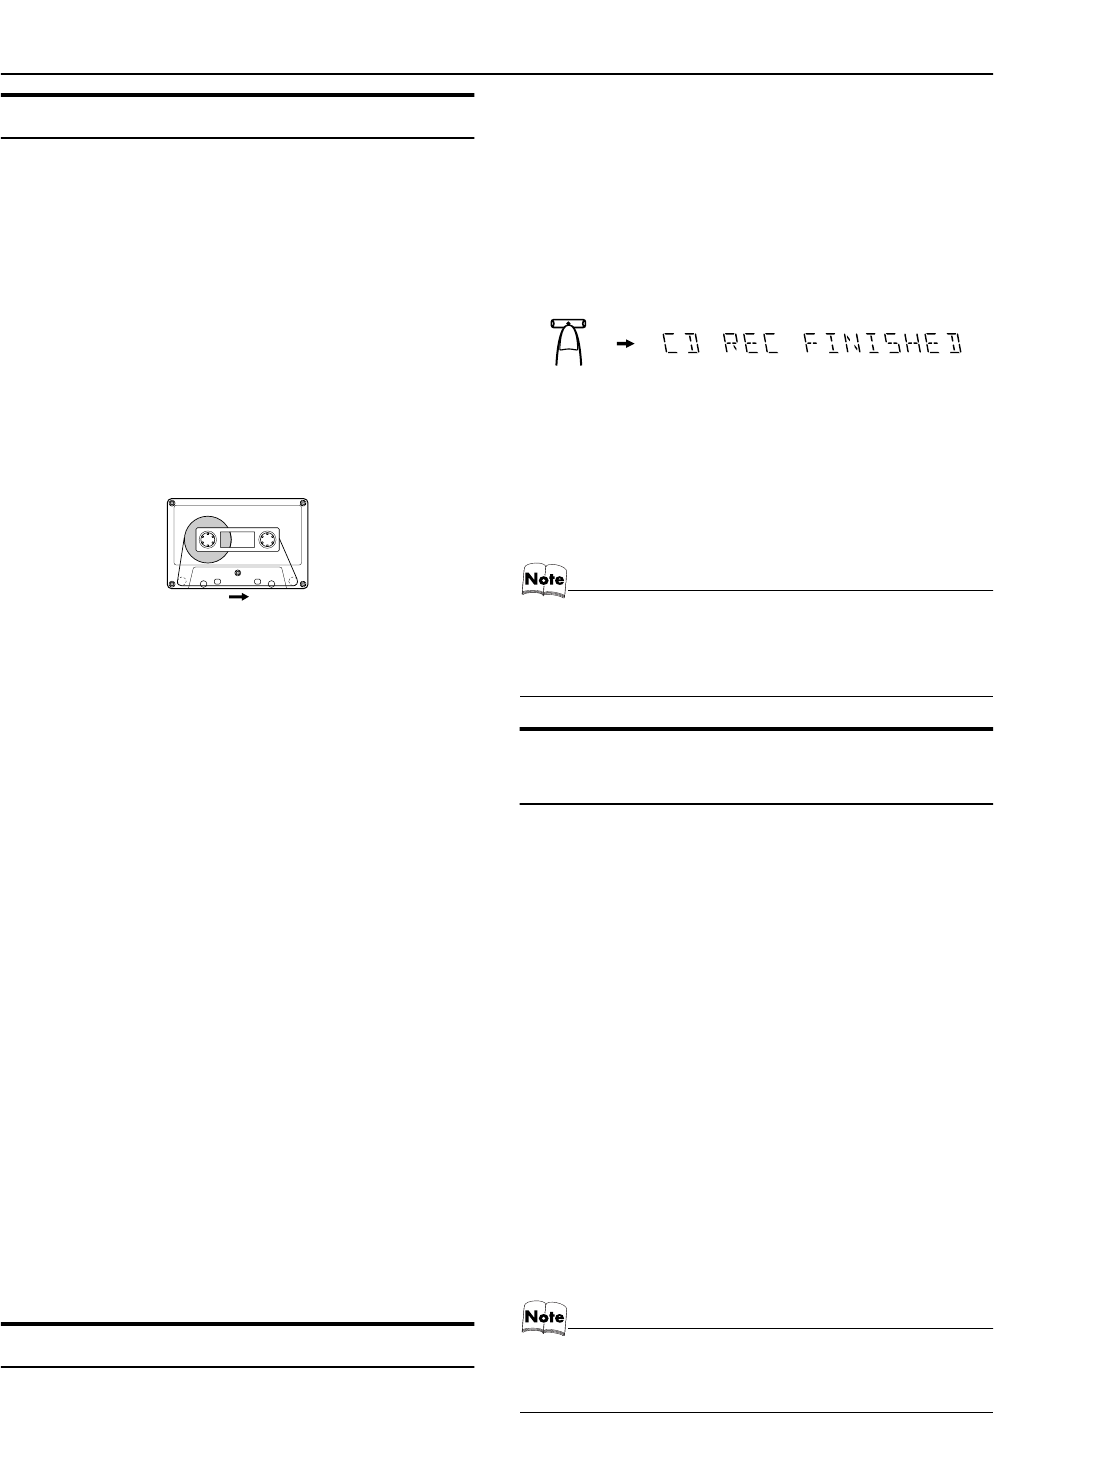
1
Insert a blank or erasable tape into the Deck
B and wind past the tape leader.
2
Prepare the source, by, for example, tuning
in a radio station, loading CDs, or turning on
connected equipment.
• For CD recording, see “CD Synchro Recording” mentioned
below.
• For dubbing, see “Tape to Tape Recording (Dubbing)”
described below.
3
Press the REC START/STOP button on the
Unit.
The “REC” indicator lights up and the System begins record-
ing.
The Tape indicator (3) blinks on the display.
• If the tab of the cassette tape on the Deck B is removed to
prevent erasure or recording, "NO REC" will appear on the
display.
To stop during recording
, press the REC START/STOP but-
ton on the Unit, or press the 7 button.
Recording an AM Station to Tape (Beat Cut)
When recording an AM broadcast, beats may be produced which
are not heard when listening to the broadcast. If this happens, press
the PROGRAM button on the Unit to eliminate the beats.
1
Set to AM station and start recording.
2
Press the PROGRAM button on the Unit to
eliminate the beats.
Each time you press the button, the display changes as shown
below:
CUT 1= CUT 2 = (back to the beginning)
CD Synchro Recording
Everything on the CD goes onto the tape in the order it is on the
CD, or according to the order you have set in a program.
1
Prepare CDs. (See page 12.)
Press the CD1-3 button (that you want to make recording), and
then press the 7 button.
• If you want to record specific tracks only, you need to pro-
gram the tracks beforehand. (See page 14.)
2
Insert a blank or erasable tape into the Deck
B and wind past the tape leader.
3
Press the CD REC START button on the Unit.
“CD REC” appears on the display and the “REC” indicator
lights up. Then, the System begins CD Synchro Recording and
the tracks on the CD are recorded on the tape.
When recording of the tracks of all CDs is finished, “CD REC
FINISHED” scrolls on the display and the CD Player and Cas-
sette Deck stop.
• If the tab of the cassette tape on the Deck B is removed to
prevent erasure or recording, "NO REC" will appear on the
display.
• After the CD Player has played the entire CD or all the pro-
grammed tracks, the tape automatically stops.
To stop at any time during the recording process
, press
the REC START/STOP button on the Unit or the 7 button. “CD
REC FINISHED” scrolls on the display and the CD Player and
Cassette Deck stop.
• When making SLEEP timer settings while doing CD Syn-
chro recording, set enough time to allow for the CD to fin-
ish playing, otherwise the power will go off before
recording is completed.
Tape to Tape Recording (DUB-
BING)
Recording from one tape to another is called dubbing.
You can dub tapes simply, with just a single button.
1
Press the TAPE
3
33
3
button, and then press the
„
„„
„
button.
2
Insert the source cassette you want to copy
from into Deck A for playback.
3
Insert a blank or erasable cassette you want
to copy onto into Deck B for recording.
4
Press the DUBBING button on the Unit.
Deck A and Deck B will start simultaneously and the "REC"
indicator lights up.
During dubbing, the Deck indicators "A" and "B" light up al-
ternately.
• If no tape is inserted into Deck A, "NO TAPE" will appear
on the display.
• If no tape is inserted into Deck B, "NO TAPE" will appear
on the display.
To stop dubbing
, press the REC START/STOP button on the
Unit or the 7 button.
• During dubbing, you can hear sound effects through the
speakers or headphones. However, the sound is dubbed
without sound effects.
Tape travelling direction
REC START
CD
(When finished)
MX-K7(J).book Page 18 Thursday, April 12, 2001 10:30 AM


