


13
English
SETTING
SOURCE SELECTOR
INPUT
ANALOG/DIGITAL
Digital Input (DIGITAL IN) Terminal
Setting
When you use the digital input terminals, you have to register what
components are connected to which terminals (DIGITAL IN 1/2/3).
Before you start, remember....
• There is a time limit in doing the following steps. If the setting is
canceled before you finish, start from step 1 again.
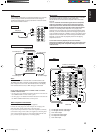
On the front panel ONLY:
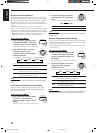
1. Press SETTING repeatedly until
“DIGITAL IN” appears on the
display.
The display changes to show the current setting.
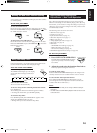
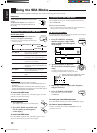
2. Turn MULTI JOG to select the
appropriate digital terminal
setting.
• As you turn it, the display changes to show the following:
1 DBS 2 DVD 3 CD “ 1 MD 2 DVD 3 CD “
1 MD 2 DBS 3 CD “ 1 MD 2 DBS 3 DVD “
1 CD 2 DVD 3 MD “ 1 CD 2 DBS 3 MD “
1 CD 2 DBS 3 DVD “ 1 DVD 2 CD 3 MD “
1 DVD 2 DBS 3 MD “ 1 DVD 2 DBS 3 CD “
1 DBS 2 CD 3 MD “ 1 DBS 2 DVD 3 MD “
(back to the beginning)
Note:
When shipped from the factory, the DIGITAL IN terminals can be used
as the digital input for the following components.
• DIGITAL 1 (coaxial): For DBS tuner
• DIGITAL 2 (optical): For DVD player
• DIGITAL 3 (optical): For CD player
Selecting the Analog or Digital Input
Mode
When you have connected some components such as CD player,
MD recorder, DVD player and the DBS tuner using digital terminals
(see page 8), you need to change the input mode for these
components to the digital input.
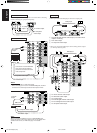
On the front panel:
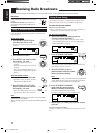
1. Turn SOURCE SELECTOR until
the source (CD, MD, DBS, or
DVD) for which you want to
change the input mode from
analog input to digital input
appears on the display.
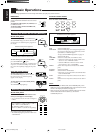
MULTI JOG
DIGITAL 2 terminal setting
DIGITAL 1 terminal setting
DIGITAL 3 terminal setting
VOLUME
DVD DVD MUILTI CD TAPE/MD
TV/DBS VIDEO PHONO FM/AM
VCR 1 VCR 2
ANALOG/DIGITAL
MULTI JOG
SETTING
NORMAL TEXT
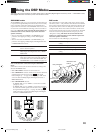
2. Press INPUT ANALOG/DIGITAL
to change the input mode.
• Each time you press the button, the input
mode alternates between the digital input
and analog input.
From the remote control:
1. Press the source selecting button
(CD, TAPE/MD, TV/DBS*, or
DVD) for which you want to
change the input mode from
analog input to digital input.
2. Press ANALOG/DIGITAL to
change the input mode.
• Each time you press the button, the input
mode alternates between the digital input
and analog input.
Notes:
*
Before pressing TV/DBS, make sure that the remote control mode
selector on the remote control is set to “CATV/DBS.”
• Once you have set the digital input for these components, it is always
used every time you select these components as the source.
Showing the Text Information on the
Display
When you have connected an MD recorder or CD player equipped
with TEXT COMPU LINK remote control system (see page 40),
you can show the text information, such as disc title or track title, on
the display of this receiver. To show it on the display, follow the
procedure below.
Before you start, remember....
• There is a time limit in doing the following steps. If the setting is
canceled before you finish, start from step 1 again.
On the front panel ONLY:
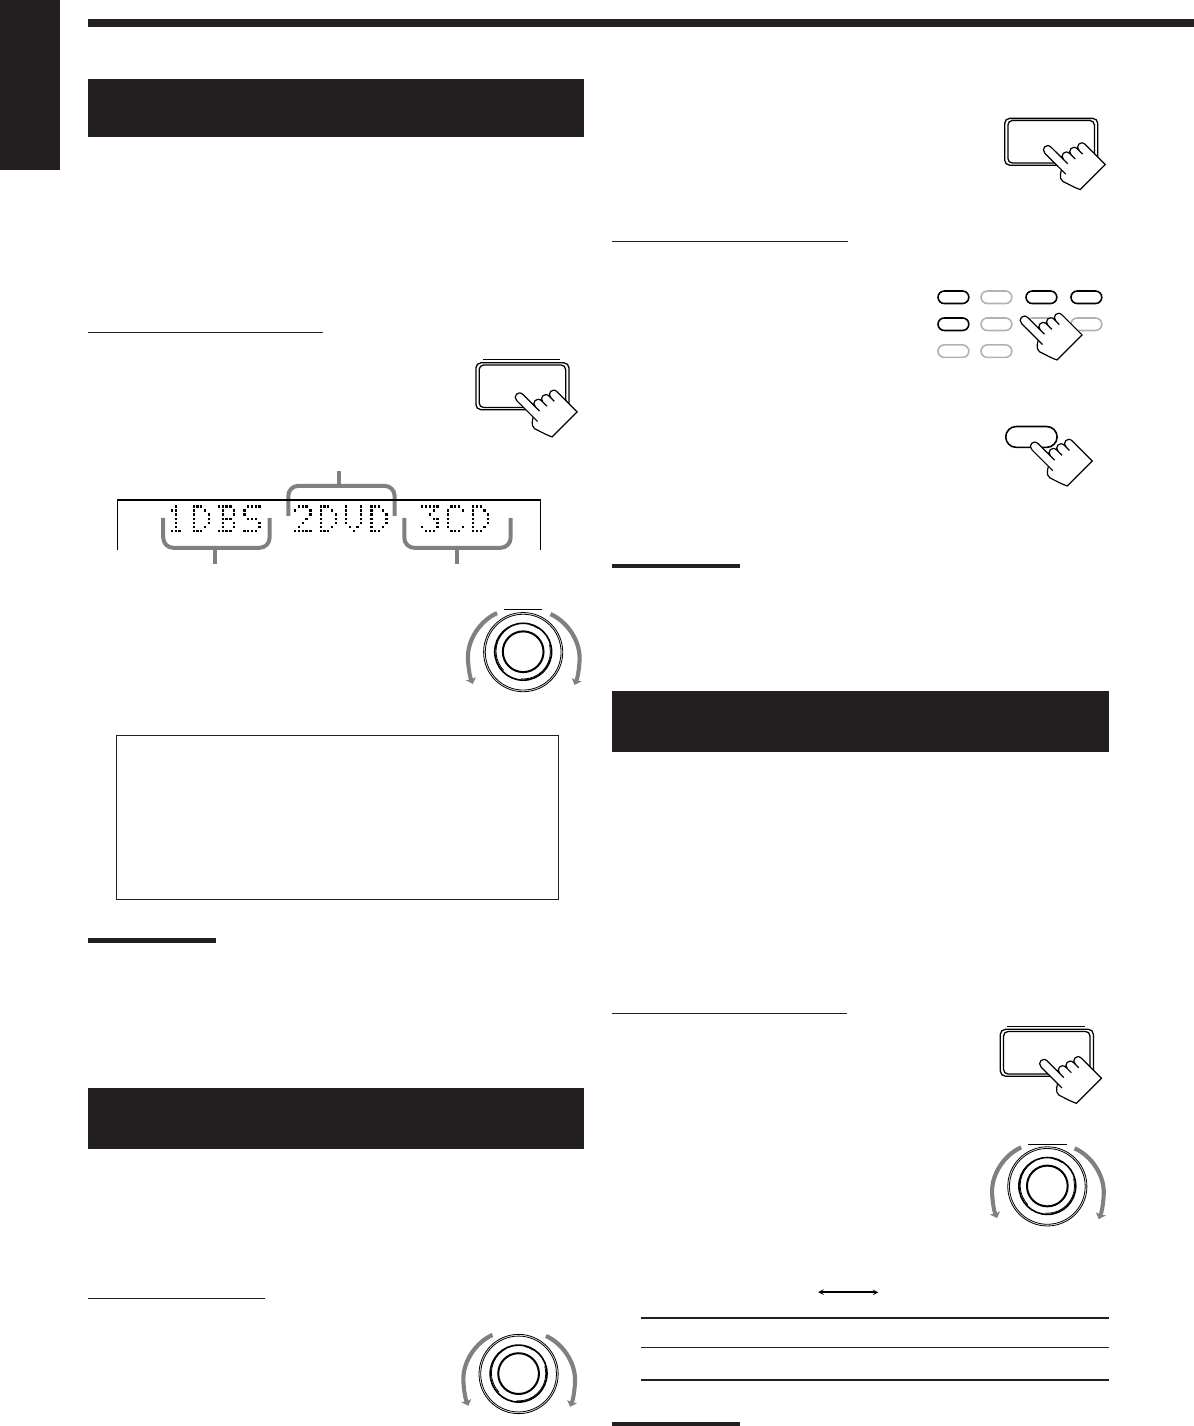
1. Press SETTING repeatedly until
“FL DISPLAY” appears on the
display.
The display changes to show the current setting.
2. Turn MULTI JOG to select either
the source name or the text
information to be shown on the
display.
• As you turn it, the display changes to show the following:
NORMAL: Source name appears during play.
TEXT: Text information appears during play.
Notes:
• Though you have selected “TEXT,” the source name such as “CD”
or “MD” appears if a playing disc has no text information.
• Though you have selected “NORMAL,” the setting is changed to
“TEXT” in the following case:
– If the power failure occurs.
– If you unplug the AC power cord.
EN09_16.RX-889P[US, UB]/f 99.4.12, 5:30 PM13