31
ENGLISH
1
Press EQ (equalizer) twice.
The last selected level meter
appears on the display.
The next-step-operation button
starts flashing.
2
Select the level meter pattern you
want.
As you turn the control
dial, the level meters
change as follows:
Standard:
No level meter appears on the display. (Initially
selected when shipped from the factory.)
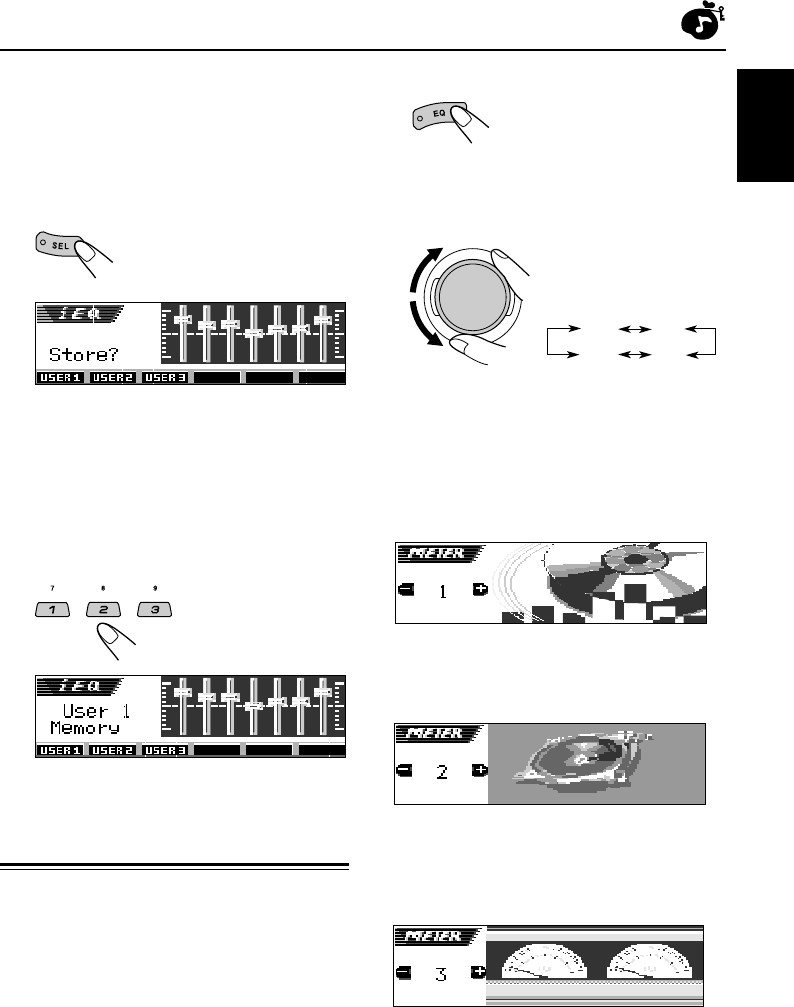
Meter 1:
The audio level meter fluctuates vertically.
Meter 2:
The speaker on the display vibrates as input
audio level changes.
Meter 3:
The left and right audio level meters appear.
• If the small animation display is selected, only
one audio level meter can be shown.
2) Press 5 (up) or ∞ (down) to adjust the
level of the selected band within the
range of –05 to +05.
3) Repeat steps 1) and 2) to adjust the
other frequency bands.
5
Store the adjustment you made.
The confirmation message
appears—whether you want to
store the adjustment.
If you want to cancel the adjustments,
press EQ (equalizer).
• Adjustment you made remains effective
until you select another sound mode.
6
Select one of the user sound modes
(USER 1, USER 2, or USER 3) you
want to store into.
Activating the level meter
You can show the level meters on the display
while playing any source. This unit is equipped
with three level meter patterns.
• There is a time limit in doing the following
procedure. If the setting is canceled before you
finish, start from step
1
again.
Ex.: When you select “User 1”
Off
1
2
3
EN28-31_KD-LH3105[U]f.p65 2/18/03, 4:36 PM31


