


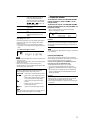
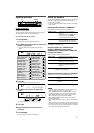
17
Operating procedure
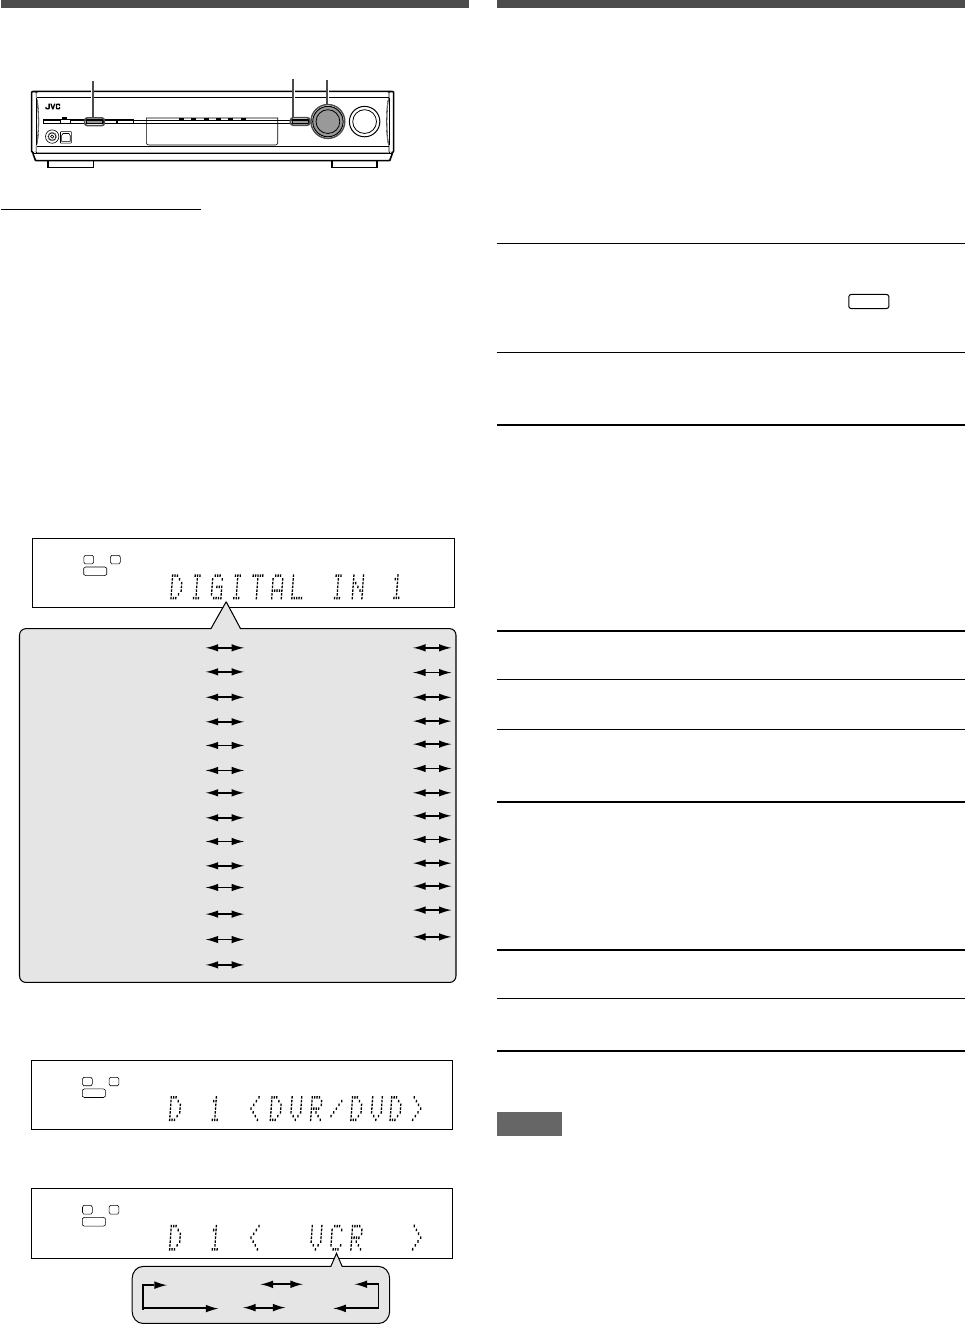
On the front panel ONLY:
Before you start, remember...
There is a time limit in doing the following steps. If the setting is
canceled before you finish, start from step
1
again.
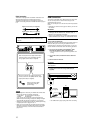
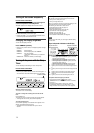
Ex.: When setting DIGITAL IN 1 terminal.
1
Press SETTING.
MULTI JOG now works for the setting operation.
2
Turn MULTI JOG until the item you want to set
appears on the display.
• As you turn MULTI JOG, the setting items change as
follows:
3
Press SET.
The current setting of the selected item appears.
4
Turn MULTI JOG to select the appropriate
setting.
Your setting is stored.
5
Press SET.
6
Repeat steps
2
to
5
to set other items if
necessary.
7
Press SETTING.
The source indication resumes on the display.
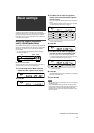
Setting the speakers
To obtain the best possible surround effect from the Surround and
DSP modes, register the setting about the speaker after all
connections are completed.
• If you have used Quick Speaker Setup on page 15, this setting
is not required.
Setting subwoofer information—SUBWOOFER
Select whether you have connected a subwoofer or not.
SUBWFR <YES> Select when you have connected a
subwoofer.
The subwoofer indicator (
S.WFR
) lights up
on the display. You can adjust the
subwoofer output level (see page 22).
SUBWFR <NO> Select when you have disconnected a
subwoofer. Selecting this changes the
front speaker size to “LRG” (see below).
Initial setting: SUBWFR
<NO>
Setting the speaker size—FRONT SPK (front
speakers), CENTER SPK (center speaker),
SURROUND SPK (surround speakers), S BACK SPK
(surround back speakers)
Register the sizes of all the connected speakers.
<LRG> (large) Select when the cone speaker size is
larger than 12 cm (4
3
/4 inches).
<SML> (small) Select when the cone speaker size is
smaller than 12 cm (4
3
/4 inches).
<NO> Select when you have disconnected a
speaker. (Not selectable for the front
speakers.)
Initial setting: <LRG> (for the front speakers)
<SML> (for other speakers)
Setting the surround back speaker(s)—S BACK OUT
Register the number of the surround back speaker(s).
SB OUT <1SPK> Select when you use 1 surround back
speaker.
SB OUT <2SPK> Select when you use 2 surround back
speakers.
Initial setting: SB OUT <2SPK>
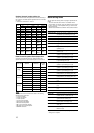
NOTES
• If you have selected “SML (small)” for the front speaker size,
you cannot select “LRG (large)” for other speakers.
• When “SUBWOOFER” is set to “SUBWFR <NO>,” the front
speaker size is fixed to “LRG” (and you cannot select “SML”).
• When “SURROUND SPK” is set to “SML (small),” you cannot
select “LRG (large)” for the surround back speaker.
• When “SURROUND SPK” is set to “NO,” the surround back
speaker is fixed to “NO.”
• When “S BACK SPK” is set to “NO,” you cannot select “S BACK
OUT.”
• When “SB OUT” is set to “<1SPK>,” connect the surround back
speaker to the left surround back speaker terminal (see page 6).
No sound comes from the surround back speaker if you connect
it to the right surround back speaker terminal.
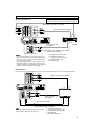
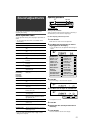
L
S.WFR
R
ANALOG
L
S.WFR
R
ANALOG
DVR/DVD
DBS
TV
VCR
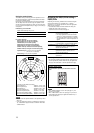
2,4
1,7
3,5
L
S.WFR
R
ANALOG
CENTER SPK
SURROUND SPK
FRONT R DIST
CENTER DIST
(Back to the beginning)
S BACK SPK
SUBWOOFER
FRONT SPK
DIST UNIT
FRONT L DIST
SURR L DIST
S BACK DIST
SURR R DIST
DUAL MONO
CROSSOVER
SUBWOOFER OUT
EX/ES/PLIIx
LFE ATT
MIDNIGHT MODE
DBS VIDEO IN
DVD VIDEO IN
VCR VIDEO IN
DIGITAL IN 1
DIGITAL IN 2
QUICK SPK SET
S BACK OUT
S BACK L DIST
S BACK R DIST