38
English
Using the Cassette Deck
(Recording)
Recording onto a cassette from any of the sound sources is simple. Just place a tape in the Tape Tray, have
the source ready, make one or two settings, and you’re ready to record. For each source the procedure is a
little different and now we’ll explain just what to do for each one. If you forget, just come back to the
section which has the specific procedures you need. But first, here are a few things to make your record-
ings better.
Things To Know Before You Start Recording ———————
o It may be unlawful to record or play back copyrighted material without the consent of
the copyright owner.
o Press the DOLBY B NR button — the indicator lights up — to reduce tape hiss.
o When you want to record onto both sides of a tape, you can set Reverse mode on to do so. However,
recording automatically stops after recording in the 2 direction in Reverse mode. Therefore, make
sure that the tape direction is 3 when recording with Reverse mode on.
o The recording level, which is the volume at which the new tape is being made, is automatically set
correctly, so it is not affected by the VOLUME control on the System. Thus, during recording you can
adjust the sound you are actually listening to without affecting the recording level.
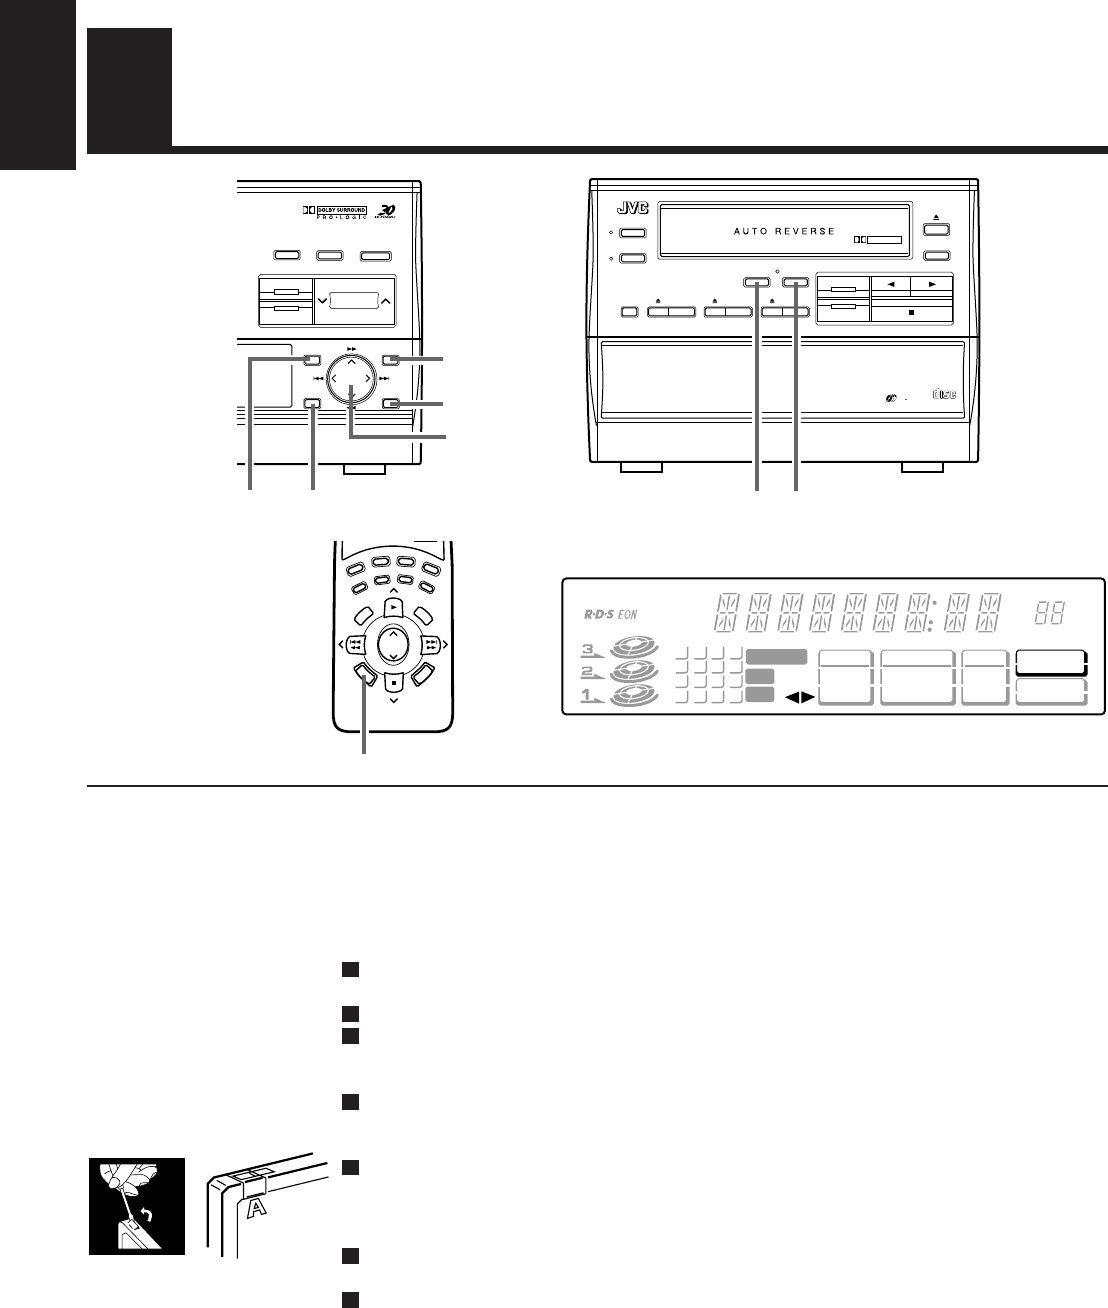
o Two small tabs on the back of the cassette tape, one for side A and one for side B, can be removed to
prevent accidental erasure or re-recording. To record on a cassette with the tabs removed, you must
cover the holes with adhesive tape first. However, when a type II tape is used, only cover part of the
hole as shown, since the other part of the hole is used to detect the tape type.
o When recording, you can hear Sound Mode effects through the speakers or headphones. However, the
sound is recorded without Sound Mode effects.
o Type I and Type II tapes can be used for recording.
Note: At the start and end of cassette tapes, there is leader tape which cannot be recorded onto. Depend-
ing on the recording source, the first part of the recording may be missing because of the leader. When
recording CDs or radio broadcasts, to get the beginning of the recording on the tape, first wind on the
leader before beginning recording.
CAUTION: If recordings you have made have excessive noise or static,
the Unit may be too close to a TV which was on during the recording.
Either turn off the TV or increase the distance between the TV and the
System.
REC START
/STOP
CD REC
START
COUNTER
RESET
DOLBY B NR
REVERSE
MODE
ALL CD
EJECT
TAPE
CD
DISC 1 DISC 2 DISC 3
DISC
3
PLAY & EXCHANGE SYSTEM
COMPACT
DIGITAL AUDIO
DOLBY B NR
R
SEA
MENU
CANCEL
SET
ENTER
FM/AM
TV SOUND/VCR
VOLUME
C
H
3D-PHONIC
S. A. BASS
TV SOUND
/ VCR
VCR
CONTORL
S. A. BASS
TAPE
TAPE
CONTROL
TUNER
SEA
CONTROL
CD
SEA
MODE
SURROUND
MODE
FADE
MUTING
REC
PAUSE
VOLUME
PTY SEARCH
PTY SELECT
+
PTY SELECT
–
R
D
S
D
I
S
P
L
A
Y
M
O
D
E
CD REC STARTREC START/STOP
REC PAUSE
SET
ENTER
Cursor keys
CANCELMENU
ON
OFF
SLEEP
TAPE
TIMER
DAILY
REC
CLOCK
SURROUND
SEA
DAP
TUNED STEREO
AUTO
[ TA NEWS INFO ]
1234
5678
9
10 11 12
1413 15 16
CD P. MODE
CONTINUE
PROGRAM
RANDOM
REPEAT
OFF
ALL
1CD
CD
=
TAPE
AUTO EDIT
SEA
CONTROL
kHz
MHz MEMORY
CH
VOL
Display
When the System is being used, the display shows other items as well.
However, we have only shown the items described in this section.
CA-TD77R[EF]/EN/p26-52 97.7.24, 2:43 PM38


