


29
Recording Operations
Recording onto a Tape
You can use type I tapes for recording.
• To play a tape, see page 12.
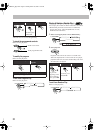
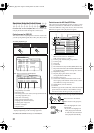
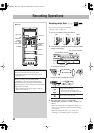
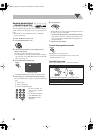
1
Insert a recordable cassette into deck B.
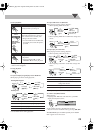
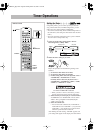
2
Check the tape running direction and Reverse Mode
settings on the display.
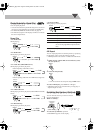
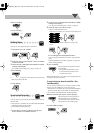
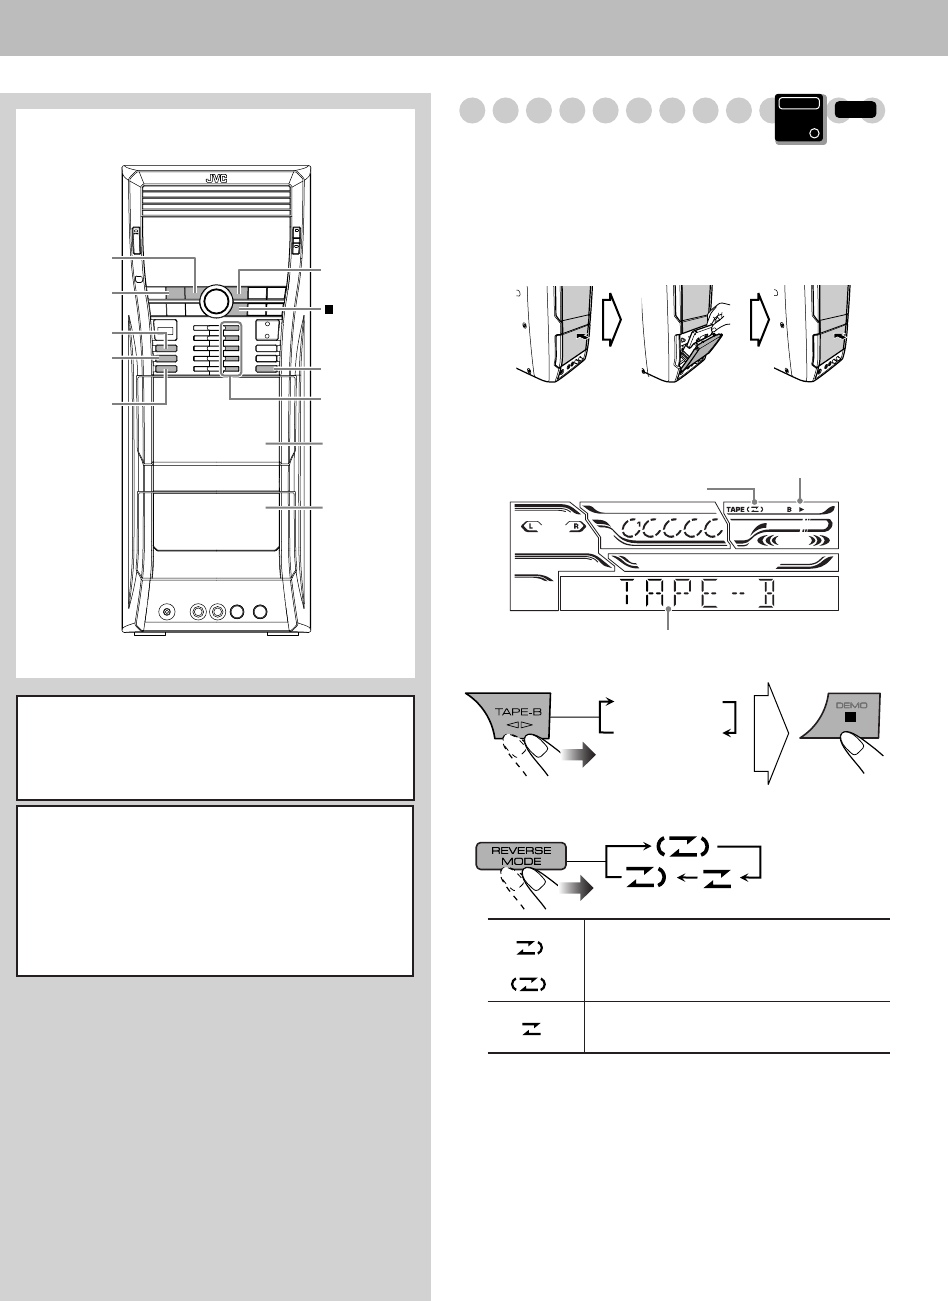
To change the direction
Change the Reverse Mode if necessary
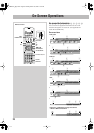
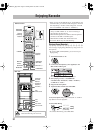
3
Start playing the source—“TUNER FM,”
“TUNER AM,” “DVD/CD,” “USB,” “TAPE-A” or
“AUX.”
• When recording from a disc/USB mass storage class
device, you can also use “Synchronized Recording”
(see page 30).
• When recording from deck A, you can also use
“Dubbing” (see “Dubbing Tapes” on page 30).
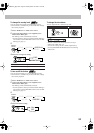
TAPE-A
~
TAPE-B
~
USB/DISC
REC START
USB
MEMORY #
REC
START/STOP
DUBBING
DISC 1–5 #
REVERSE
MODE
Main unit
Deck B
Deck A
IMPORTANT
It may be unlawful to record or play back
copyrighted material without the consent of the
copyright owner.
Before recording, select the Stereo Mode
(“STEREO”—see page 15) for multi-channel
encoded software to downmix its multi-channel
sound; otherwise, you can only record the front left/
right sound onto a tape.
• The channel level setting (see page 13 and 39)
affects the recording.
Push Insert Close
()
To record on both sides.
•
When using Reverse Mode, start
recording in the forward (
3
) direction.
To record on only one side.
Main Unit
ONLY
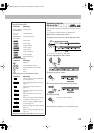
INFO
Tape direction indicator
Reverse Mode indicator
Current source
3 (
forward
)
2 (
reverse
)
DX-U10_8[U].book Page 29 Monday, March 26, 2007 2:24 PM