


6
‹
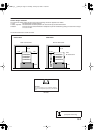
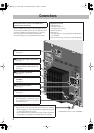
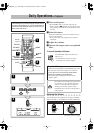
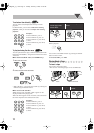
Voltage Selector
Use a screwdriver to rotate the voltage selector so that the
voltage mark is pointing to the same voltage as where you
are plugging in the unit. (See also the back cover page.)
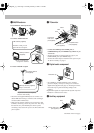
Preparing the Remote Control
• Dispose of batteries in the proper manner, according to
federal, state, and local regulations.
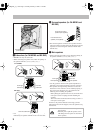
When using the remote control
Point the top of the remote control toward the remote sensor
as directly as possible. If you operate it from a diagonal
position, the operating range (approx. 5 m) may be shorter.
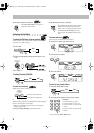
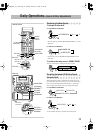
Changing the Color System and
Scanning Mode
You can select the video output to match the color system of
your TV (PAL or NTSC).
Also, CA-MXDK5 supports progressive scanning. If you
connect a progressive TV through the COMPONENT jacks,
you can enjoy a high quality picture from the built-in DVD
player by selecting “PAL/NTSC PRG.”
1
Enter the color system setting mode.
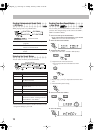
2
Select the color system and scanning mode.
* Only for CA-MXDK5. PROGRESSIVE indicator lights on
when progressive mode is selected.
3
Store the setting.
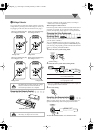
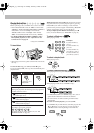
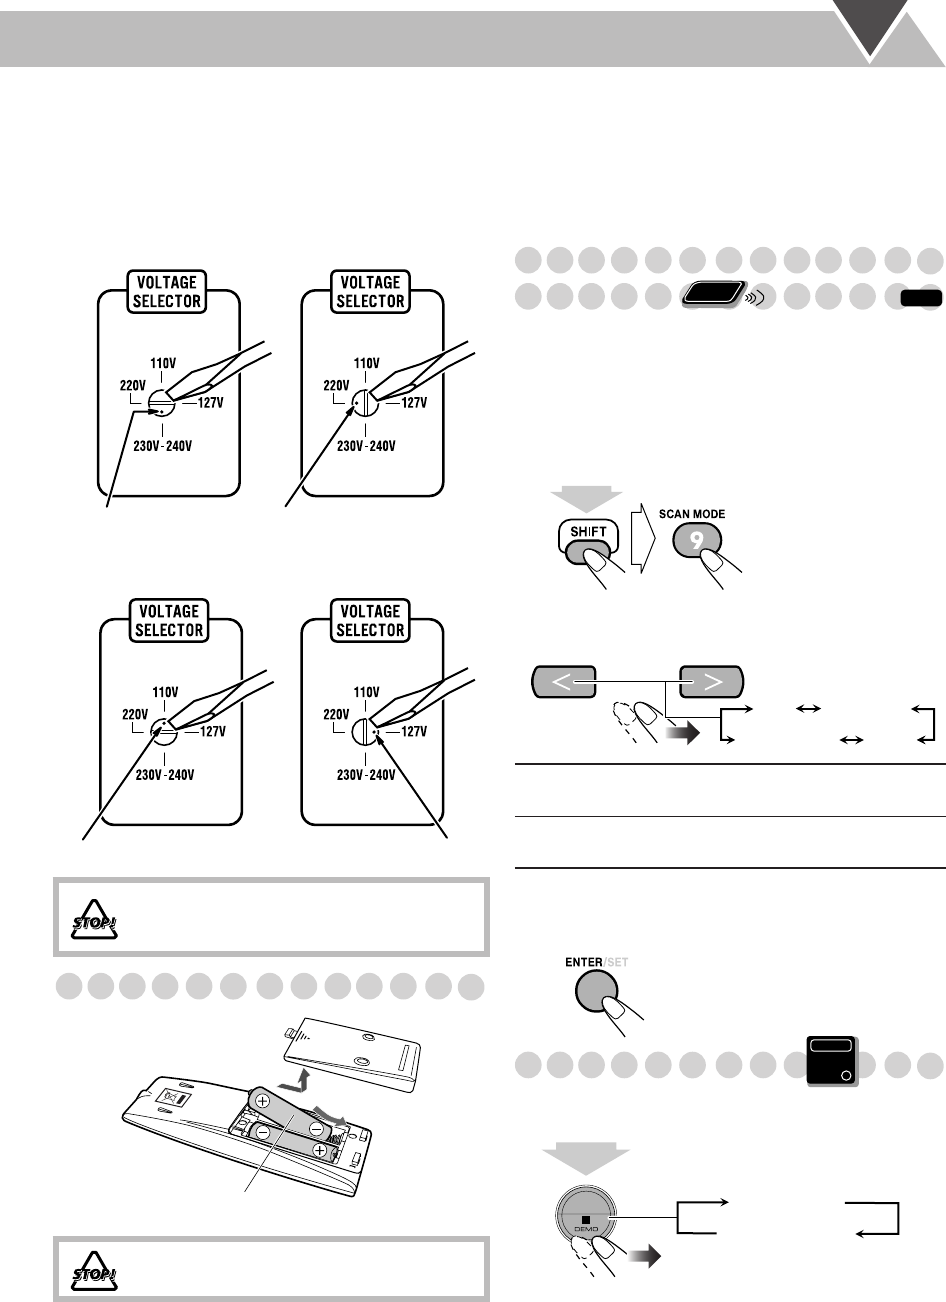
Canceling the Demonstration
When you plug in the AC power cord to a wall outlet, the
System automatically starts the display demonstration.
To start the demonstration
, select DEMO START.
DO NOT plug in before setting the voltage
selector on the rear of the unit and all
connection procedures are complete.
DO NOT recharge, short, disassemble, heat
the battery or dispose of it in a fire.
Voltage mark
When your mains lead (AC)
line voltage is 220 V
When your mains lead (AC)
line voltage is 230-240V
Voltage mark
Voltage mark
When your mains lead (AC)
line voltage is 127 V
When your mains lead (AC)
line voltage is 110V
Voltage mark
R6(SUM-3)/AA(15F)
PAL/NTSC
Interlaced scanning.
For a conventional TV.
PAL/NTSC PRG
* Progressive scanning.
For a progressive TV.
INFO
Remote
ONLY
(While holding...)
NTSC PRG* NTSC
PAL PRG*PAL
Main Unit
ONLY
DEMO START
DEMO OFF
2 sec.
MX_DK5_3_1.book Page 6 Tuesday, February 7, 2006 11:49 AM