6
ALL included support brackets, C-plate and tile rails
MUST be used when installing into suspended ceiling tiles.
FOR SAFETY: IMPORTANT TO USE BRACKETS
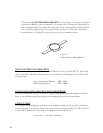
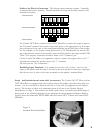
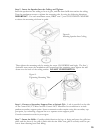
Suspended Ceilings - Insert the C-plate through the hole cut in the ceiling tile. Place
the C-plate around the hole with the tabs located as shown on Figure 4. Insert the tile
rails through the cut hole in the ceiling tile. Snap the two rails into the two tabs in the
C-plate and align the rails so that the ends extend OVER the T-channel grid on the
upper side of the tile. Secure the rails onto the C-bracket tabs by inserting a screw
though each tab into the rail. This can all be accomplished from below the ceiling tile,
if necessary.
The installation system has been designed so that the entire installation can be accom-
plished from beneath the ceiling, for instances when access above the tile is not possible
or practical. However, in some cases it may be easier with removable ceiling tiles to
access from both the top and bottom of the ceiling tile during various phases of the
installation.
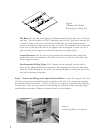
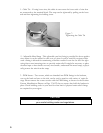
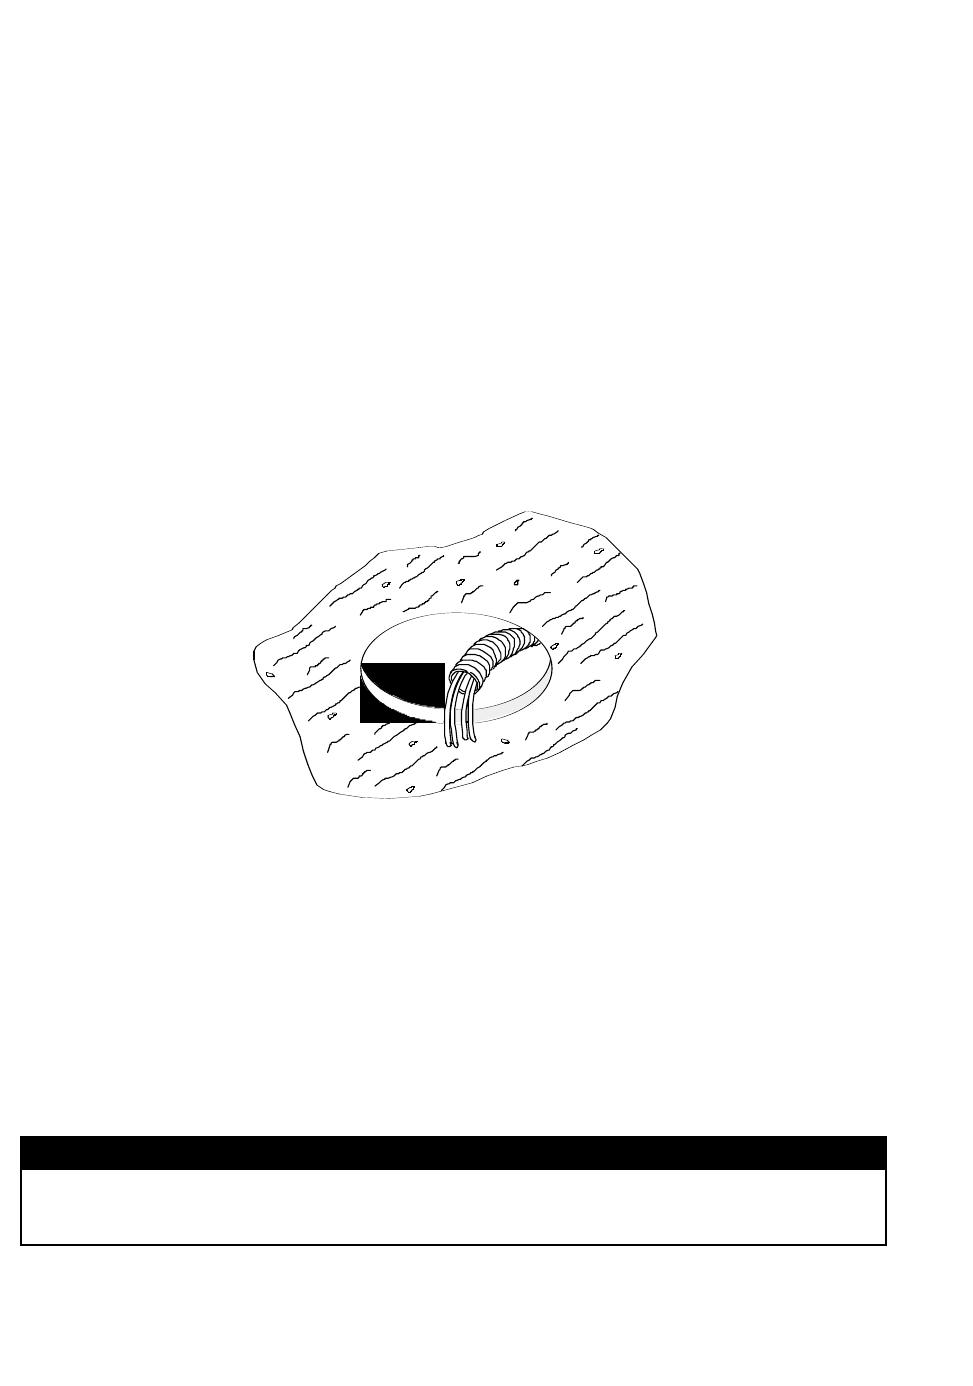
Step 1 - Cut Ceiling Hole. Cut out the hole size either by tracing the cardboard cutout tem-
plate and cutting the hole or by using a circular cutter set to the cutout sizes listed above. Pull
the wiring through the cutout hole.
Guide to the Pins for Connection - The locking input connector contains 7 terminals,
as marked above the connector. The pin functions are listed on the label located on the
terminal cover plate.
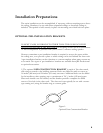
Figure 3:
Hole Cutout
Step 2 - Insert Backing Hardware Through the Hole. Packaged with the speakers are two
types of backing hardware - a C-shaped backing-plate bracket and two tile rails.
Step-by-Step Installation and Wiring


